
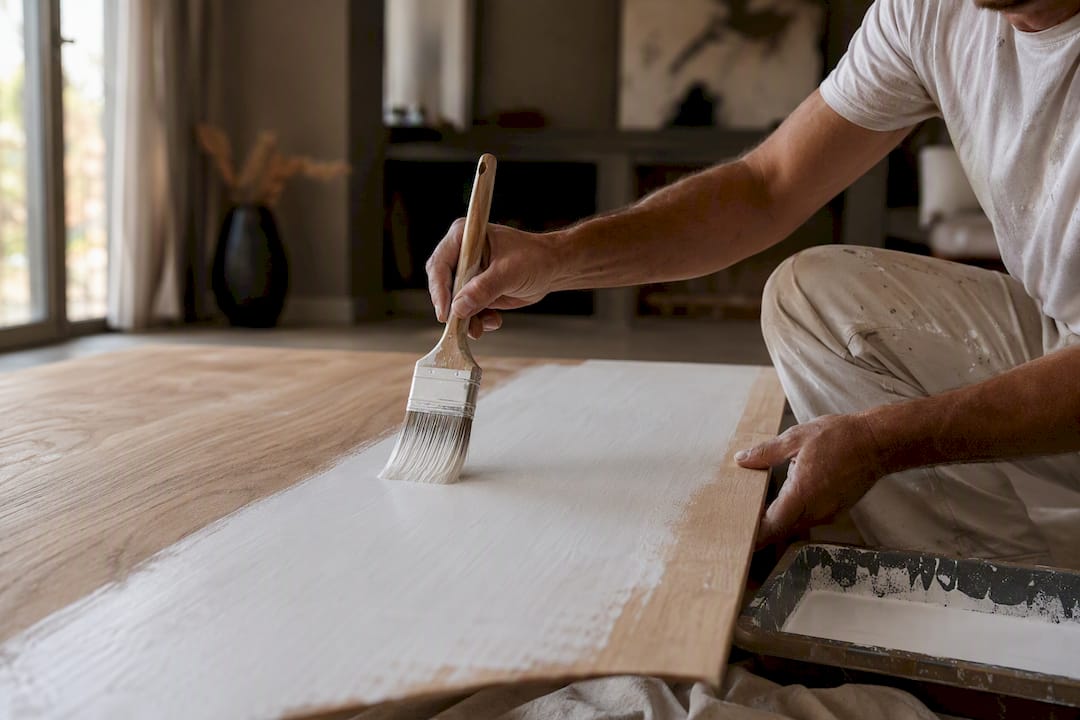
Yes, always prime bare wood before painting; here is what is primer paint and how to apply it to achieve best results. Spot-seal any visible knots with a shellac primer, then apply a stain-blocking field coat, oil-based for exterior or tannin-heavy species, waterborne for paint-grade interior trim. This combination stops tannin bleed, evens out absorption, and gives the topcoat something solid to grip.
TL;DR:
- Using primer on knotty or tannin-heavy wood prevents stains and ghosting, especially on exterior cedar, redwood, or pine, which are prone to bleed-through.
- Shellac primers are ideal for sealing knots quickly, while oil-based primers work best for tannin-prone species, and waterborne primers suit interior paint-grade projects.
- Proper wood preparation, including cleaning, sanding, knot sealing, and moisture testing, is essential to ensure primer adhesion and avoid peeling or bubbling later.
- Thin, even coats applied with appropriate tools and lightly sanded between layers lead to a smoother finish and reduce the risk of rough grain or raised fibers.
- Large or complex projects, especially with old or heavily tannin-stained wood, benefit from professional priming to prevent rework and ensure long-lasting results.
Table of Contents
- When does bare wood actually need priming?
- Shellac, oil, or waterborne: which primer fits your wood?
- Prepping bare wood before you open the primer can
- How do you apply primer for the smoothest result?
- Why did my primed wood still bleed, peel, or bubble?
- What Sigma Painting has learned from priming hundreds of surfaces
- When it’s time to call a pro instead of DIY-ing it
- Sources
When does bare wood actually need priming?
Bare wood is porous, and porous wood drinks paint unevenly. Some spots soak up significantly more resin than the surrounding grain, which leaves you with dull patches, flat spots, and a topcoat that never looks uniform no matter how many coats you brush on. Primer solves this by sealing the grain and giving every square inch the same absorption rate, so the paint color reads consistent from one end of the board to the other.
The bigger issue is bleed. Pine knots, cedar, redwood, and to a lesser degree oak all contain natural tannins and resins that migrate upward through paint over weeks or months, showing up as yellow or brown ghosting even through two coats of high-quality paint. Skip primer on a knotty pine door and you’ll likely see stains within a season.
Exterior wood adds a moisture variable indoors doesn’t have. New lumber should read below 15% moisture on a meter before you prime it; paint over damp wood and you’re setting up blisters and peeling almost immediately.
You need primer when:
- The wood is bare, unfinished, or freshly sanded down to raw grain
- You see knots, streaks, or sap pockets anywhere on the surface
- You’re painting cedar, redwood, or pine, all notorious for bleed-through
- Exterior lumber has been recently milled or exposed to rain
Shellac, oil, or waterborne: which primer fits your wood?
Primer chemistry isn’t a matter of preference. It’s matched to the wood and the problem you’re trying to solve.
Shellac primer, the classic example being Zinsser BIN, is the toughest stain-blocker on the market. It dries in about 45 minutes and sands to a glassy finish, which makes it the standard choice for spot-sealing knots on any species before the full coat goes on. Cleanup requires denatured alcohol, and the smell is sharp, so work with windows open.
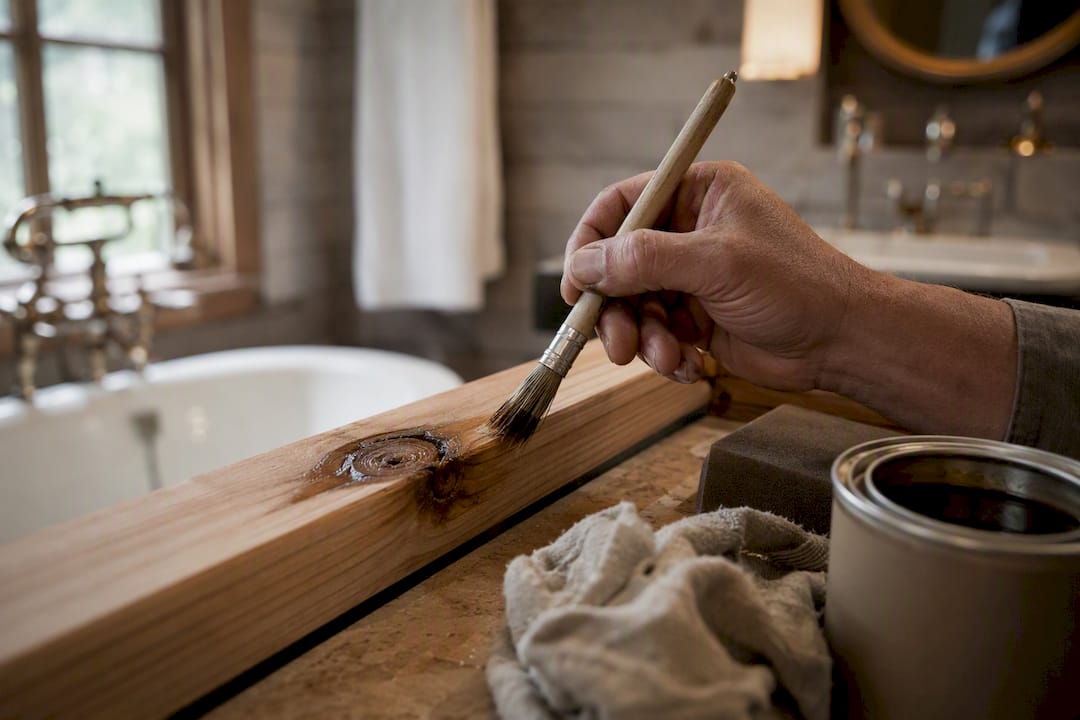
Oil and alkyd stain-blocking primers, like Zinsser Cover Stain or Sherwin-Williams’ exterior alkyd lines, are built for the field coat on tannin-heavy exterior wood. These formulas are engineered specifically to block cedar and redwood stains while bonding tightly to weathered or difficult substrates. Recoat time typically runs overnight, and cleanup needs mineral spirits.
Waterborne stain-blocking primers, including options like Tikkurila Ultra Primer and KILZ’s water-based lines, have closed much of the performance gap. They’re low odor, dry fast, and work well on paint-grade interior wood. Standard latex primer is still weaker at blocking heavy tannins than oil or shellac, so reserve it for mild cases, not raw cedar siding.
Pro Tip: If you’re only dealing with a few stray knots on an otherwise clean board, spot-shellac just those spots rather than coating the whole piece; it saves time and avoids the stronger fumes over a large area.
| Primer type | Best for | Recoat time | Cleanup |
|---|---|---|---|
| Shellac (BIN) | Knots, worst stains | ~45 minutes | Denatured alcohol |
| Oil/alkyd (Cover Stain) | Exterior, tannin-prone species | Overnight | Mineral spirits |
| Waterborne (Tikkurila, KILZ) | Paint-grade interior | 1 to 3 hours | Soap and water |
Prepping bare wood before you open the primer can
Primer only performs as well as the surface underneath it. Rushing prep is the single most common reason DIY primer jobs fail.
- Clean the wood. Use a low-suds cleaner or TSP substitute to strip grease, dust, and mildew. Rinse thoroughly and let it dry completely before touching sandpaper.
- Sand in stages. Start with 120 grit to knock down mill glaze and rough spots, then follow with 220 grit for a smooth, primer-ready surface.
- Seal every knot. Brush shellac (BIN) directly over each knot and resin streak, letting it dry fully before moving on. Knots reliably bleed through paint if left unsealed, no matter how many topcoats you apply.
- Back-prime and seal end grain. For any new boards, coat all faces and cut ends before installation; end grain absorbs water fastest and rots first if left bare.
- Check moisture on exterior lumber. Confirm a reading under 15% with a moisture meter before priming; painting over damp wood is asking for blisters.
- Fill and caulk after the first primer coat, not before, so filler bonds to sealed wood and doesn’t sink or crack.
A quick power wash before painting handles heavier exterior grime that a hand wipe won’t touch.
Pro Tip: Run your hand over sanded wood in raking light before priming. If you can feel or see fuzz, hit it again with 220 grit; primer will telegraph every bit of roughness straight through to the topcoat.
How do you apply primer for the smoothest result?
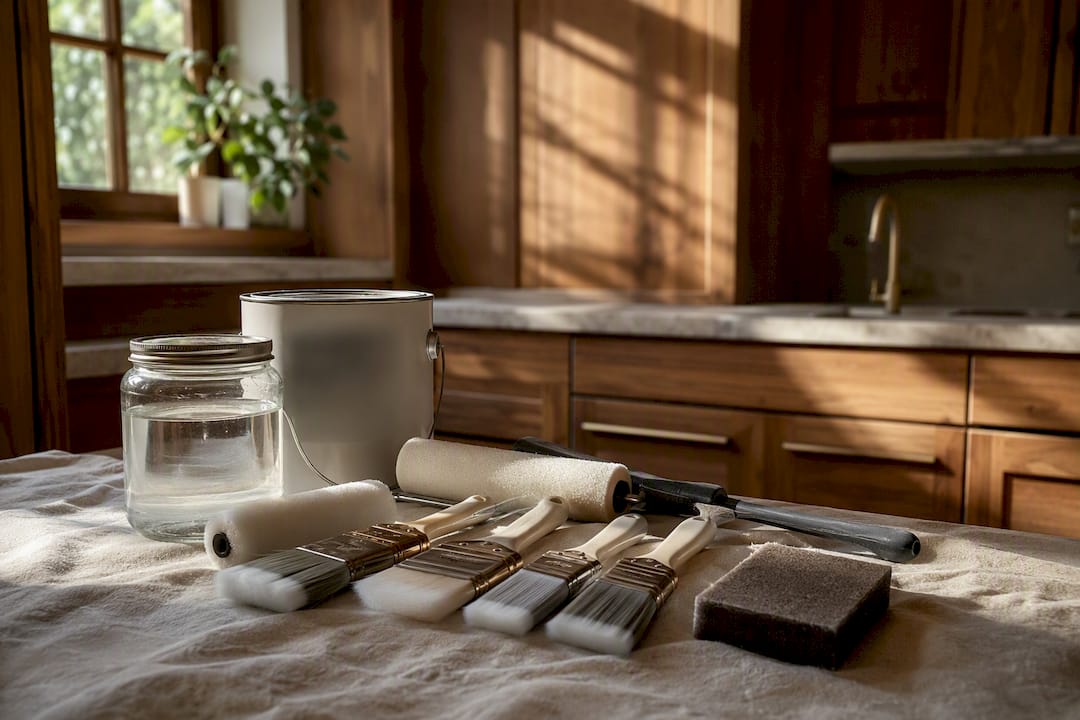
Tool choice matters more than most DIYers assume. Use a synthetic brush for waterborne primers and natural bristle for oil-based formulas; foam rollers give the cleanest finish on flat panels and doors, while an airless sprayer with a fine tip speeds up large exterior runs.
Technique comes down to thin, even coats worked with the grain, not against it. Cut in the edges first, then roll the field and back-brush while it’s still wet to level out roller texture. Heavy, gloppy coats dry slower and raise the wood grain more aggressively than two thin passes ever will.
For coverage, plan on roughly 300 to 400 square feet per gallon on smooth wood; bare, porous wood soaks up more, so budget for a second coat on anything unusually thirsty. Recoat windows vary by chemistry: shellac is ready in about 45 minutes, waterborne needs 1 to 3 hours, and oil-based primer often wants a full overnight cure. Always check the can, since brands vary.
- Sand primer lightly with 220 grit before the topcoat to knock down any raised grain or nibs
- Use a gray-tinted primer when jumping from a dark existing color to a light new one, cutting your topcoat count
- Never skip the intermediate sanding step on trim or doors where a smooth finish actually shows
Choosing the right trim paint after priming makes a bigger visual difference than most people expect, especially on doors and casings under direct light.
Why did my primed wood still bleed, peel, or bubble?
Most primer failures trace back to one of a handful of causes, and each has a fairly direct fix.
- Knot or tannin bleed showing through the topcoat: the knot wasn’t sealed first. Spot-shellac it now and let it dry before touching up.
- Peeling or poor adhesion: usually contamination (grease, wax, or old failed paint) under the primer. Scrape back to sound material and re-prime with the correct chemistry for that substrate.
- Raised grain or rough nibs: heavy first coats or skipped sanding. Sand with 220 grit between coats going forward.
- Bubbling or cracking: often temperature swings, high humidity during application, or primer applied too thick. Sand out the affected area and recoat under better conditions; see this guide on fixing paint bubbling for the full repair process.
If bleed or adhesion problems keep recurring after two honest attempts, that’s usually a sign the substrate needs professional-grade sealing rather than another DIY pass.
What Sigma Painting has learned from priming hundreds of surfaces
On interior trim, Sigma Painting still spot-shellacs every knot before rolling on a full waterborne primer coat. It’s an extra 20 minutes per door that saves a callback six months later when tannins would otherwise ghost through. On exterior siding and cedar trim, an oil-based stain-blocking primer stays the default, since cedar’s natural tannins are simply too aggressive for standard latex to hold back long term.
Two habits worth stealing: back-prime every board before it goes up, sealing faces you’ll never see again once installed, and reach for gray-tinted primer whenever a room is jumping from a dark wall to something pale. It cuts a topcoat, sometimes two.
— Enrico
When it’s time to call a pro instead of DIY-ing it
Priming a single door or a small trim run is a manageable weekend project. A whole exterior with old cedar siding, recurring tannin bleed, or lumber you’re not fully sure has dried out is a different animal, and getting the chemistry wrong there means repainting the entire job within a year.

Sigma Painting handles exactly this kind of prep-heavy work across the Greater Toronto Area, matching primer chemistry to the actual wood species and exposure instead of grabbing whatever’s on the shelf. For homeowners with knotty pine trim, cedar siding, or new construction lumber that needs back-priming before installation, that means fewer callbacks and a finish that holds. If your project is interior trim or cabinetry, start with Sigma Painting’s interior painting services; for siding, decks, or anything exposed to weather, the exterior painting page covers what’s involved. Either way, get an instant quote and find out what proper prep and priming would actually cost for your space.
Sources
- How To Paint Bare Wood - This Old House
- Zinsser Exterior Wood Primer technical data (Rust-Oleum)
- How to paint bare exterior wood — CompositePaint
- Paint Primer for Wood: Complete Guide
- How to paint bare interior wood — CompositePaint


