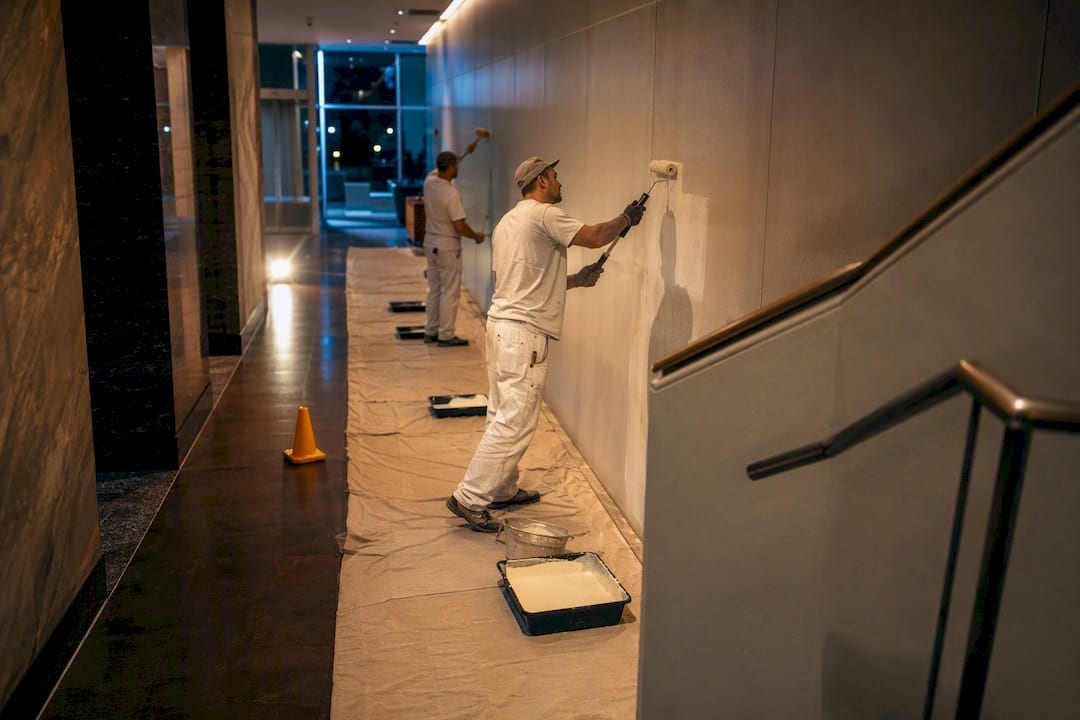
Yes, you can paint over oil-based paint — but only when the existing finish is fully cured and you close the chemistry gap between oil and water. Skip that step and your new coat will peel within months, sometimes within weeks.
The two things to do right now: grab a cotton ball soaked in denatured alcohol and rub a hidden spot for 30 seconds. Color on the cotton means latex; a clean cotton ball means oil. Then check the age of your home before you pick up any sandpaper.
The core rule: A bonding primer is non-negotiable when switching from oil to any water-based topcoat. Without it, adhesion fails — not immediately, but reliably.
Three quick outcomes to keep in mind:
- Water-based topcoat over oil: Requires a bonding primer or thorough scuff-sanding (180–220 grit) plus a bonding primer.
- Oil over oil: Generally simpler when the existing film is sound and fully cured.
- Pre-1978 home: Stop. Test for lead before sanding anything.
Table of Contents
- How can you tell if the existing paint is oil-based?
- Should you sand, or can a bonding primer do the job alone?
- Step-by-step prep and painting checklist
- Which primer works best for your situation?
- Waterborne enamel vs. traditional oil: which topcoat should you choose?
- What went wrong? Diagnosing and fixing common failures
- Lead paint risk: when DIY sanding becomes a hazardous job
- How long does this project take, and what does it cost?
- Key Takeaways
- The real reason DIY oil-paint jobs fail
- Prefer to skip the prep work? Sigma Painting can handle it
- Useful sources and product pages
How can you tell if the existing paint is oil-based?
The denatured alcohol test is the fastest method. Soak a cotton ball in denatured alcohol (or 91% isopropyl as a backup), press it firmly to a hidden patch, and rub for about 30 seconds. Color transfers to the cotton? Latex. Cotton stays clean? Oil.
Visual clues also help. Trim, doors, and cabinetry in homes built before 1990 were almost always finished with oil-based enamel. The surface often has a hard, slightly yellowed sheen that latex doesn’t replicate. If the paint has a faint amber cast or feels unusually hard under your fingernail, oil is a safe assumption.
Surface inspection checklist before you proceed:
- Look for peeling in sheets or at edges — this signals adhesion failure, not just age.
- Check for bubbling or blistering, which usually means moisture is trapped beneath the film.
- Run a strip of painter’s tape firmly over the surface, then pull it fast. If paint lifts with the tape, the existing film is not sound enough to paint over without stripping or professional repair.
- Note any chalking or powdering, common on exterior surfaces, which also requires removal before repainting.
Safety flag for pre-1978 homes: Lead paint was standard before it was banned for residential use in the U.S. in 1978. Sanding or scraping a lead-painted surface without containment creates hazardous dust. If your home predates 1978, get a lead test kit from a hardware store before doing anything abrasive. More on this in the safety section below.
Statistic: The EPA estimates that approximately 87% of homes built before 1940 contain lead paint, and roughly 69% of homes built between 1940 and 1959 do as well.
Should you sand, or can a bonding primer do the job alone?
The honest answer: it depends on the surface condition and sheen level, and getting this wrong is the most expensive mistake in the whole job.
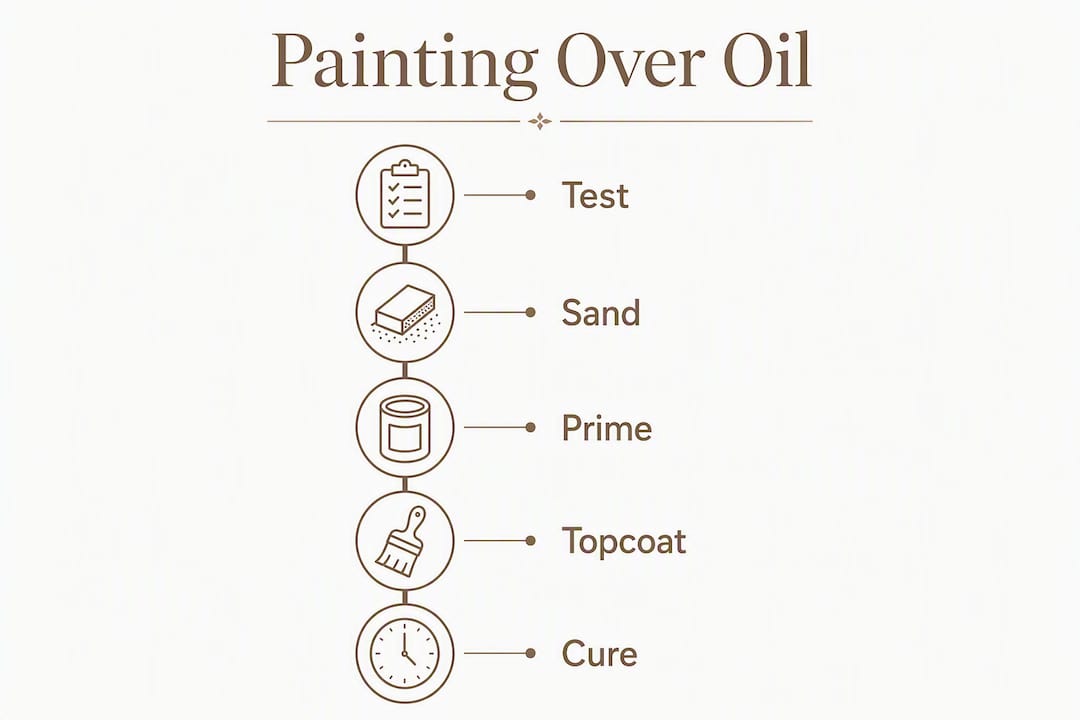
Scuff-sanding creates mechanical adhesion by giving the new coat something to grip. A bonding primer works chemically, penetrating the slick oil film and creating a bridge for the topcoat. Both work. The question is which one the surface actually needs.
When a bonding primer alone is acceptable:
- The existing paint is fully cured, sound, and low-to-medium gloss.
- You’re painting flat or low-profile surfaces (walls, flat cabinet faces).
- The surface has already been cleaned thoroughly and shows no delamination.
When scuff-sanding is required:
- High-gloss oil enamel on trim or doors — the sheen is too slick for primer to grip reliably without mechanical help.
- Any area where tape-pull testing lifted paint.
- Spot repairs where filler or caulk was applied (always sand these flush).
- Multiple old paint layers that are starting to crack or craze.
Light scuff-sanding with 180–220 grit is the industry standard for deglossing oil-finished trim and doors. Drop to 120 grit only for repairs or when cutting back cracked edges. Going coarser than that on finished trim leaves scratches that show through the topcoat.
For ornate moulding and detailed profiles where a sanding block won’t reach, a liquid deglosser applied exactly per label instructions can match the effect of 220-grit sanding. The recoat window matters here — apply primer within the time the label specifies, or the chemical effect wears off.
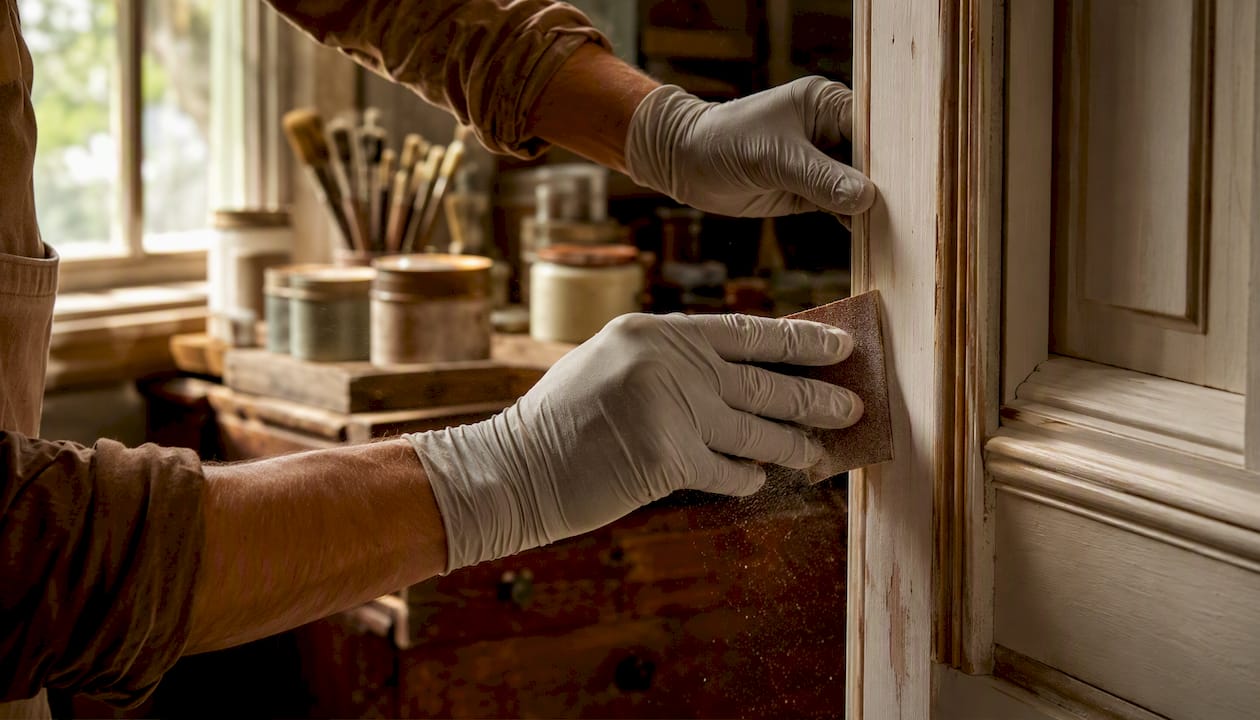
Pro Tip: On shaped moulding, apply liquid deglosser with a natural-bristle brush, let it sit the full recommended time, then wipe with a clean cloth. Don’t rinse. Prime immediately within the window.
Step-by-step prep and painting checklist
Follow this sequence. Skipping steps or reordering them is where most DIY jobs go wrong.
- Test paint chemistry using the denatured alcohol cotton-ball method on a hidden spot.
- Test for lead if the home was built before 1978. Stop and follow safety protocols if positive.
- Clean the surface with TSP (trisodium phosphate) mixed at 1/4 cup per gallon of warm water. Wear gloves and eye protection; ventilate the room. Rinse thoroughly and let dry completely.
- Remove loose paint by scraping or sanding back to a sound edge. Feather the edges so repairs blend.
- Scuff-sand with 180–220 grit on flat areas; use liquid deglosser on profiles.
- Fill and caulk gaps, nail holes, and cracks. Let filler cure per label.
- Vacuum and tack-cloth every surface. Dust kills adhesion.
- Apply bonding primer to the entire run (or shellac primer over stains). One coat is usually enough; two for severe staining.
- Apply two thin topcoats, allowing full recoat time between them.
Timing reference
| Stage | Typical window |
|---|---|
| TSP clean and dry | 2–4 hours before priming |
| Bonding primer dry to recoat | 1–2 hours (check label) |
| First topcoat dry to recoat | 2–4 hours (water-based enamel) |
| Full cure before hardware reinstall | 7 days |
| Safe for light cleaning | 30 days |
Oil-based paint feels dry long before it is chemically cured. If the finish still feels soft or can be damaged by scrubbing, it hasn’t finished curing. Painting over an uncured oil film is one of the most reliable ways to guarantee adhesion failure.
Pro Tip: After priming and topcoating a small test patch, wait the full dry time, then run a fingernail across it and pull a strip of tape off fast. No lifting, no scratching through? Your primer-and-topcoat system is working. Do this before painting the whole room.
Which primer works best for your situation?
Primer selection is where most homeowners either nail the job or doom it. The three categories each solve a different problem.
| Primer type | Best for | Recoat window | Water-based topcoat compatible? |
|---|---|---|---|
| Shellac (Zinsser BIN) | Knots, tannin bleed, smoke stains, severe water stains | 30 min | Yes, after shellac dries |
| Bonding primer (e.g., KILZ Adhesion, BEHR Multi-Surface Stain-Blocking) | Adhesion over slick oil enamel, chemistry transition | 1–2 hours | Yes — this is its purpose |
| Oil-based primer | Oil-over-oil systems, exterior bare wood | 8–24 hours | Check label; some allow it |
Shellac primers like Zinsser BIN are the right call for stubborn stains and tannins; bonding primers are the right call for adhesion on slick oil films. Using shellac where you need adhesion, or a bonding primer where you need stain-blocking, gets you halfway there at best.
A few practical notes on product selection:
- Read the label for the phrase “bonds to oil-based paint” or “oil-to-latex transition.” If it’s not there, the product isn’t designed for this job.
- KILZ Adhesion and BEHR Multi-Surface Stain-Blocking Primer & Sealer are both widely available at U.S. hardware stores and rated for oil-to-water transitions.
- One coat of bonding primer is usually enough on a clean, scuffed surface. Two coats are worth it over extreme stains or if the first coat shows any bleed-through.
- For knot-bleed or smoke ghosts, shellac primer is the only reliable lock-down — follow it with a bonding primer if you’re converting to a waterborne topcoat.
Waterborne enamel vs. traditional oil: which topcoat should you choose?
The industry has largely moved to waterborne enamels for trim and cabinets, and for good reason. Modern waterborne urethane-enriched enamels now match traditional oil finishes in hardness and durability while yellowing far less over time and off-gassing faster after application.
Where waterborne enamel wins:
- Interior trim, doors, and cabinets where yellowing is visible and unwanted.
- Any space where you need the room back quickly — waterborne enamels recoat in 2–4 hours versus 8–24 for oil.
- Luxury interiors where a bright white or light color must stay true over years.
Where staying with oil makes sense:
- You’re repainting over multiple existing oil layers on exterior surfaces with heavy weather exposure.
- The existing system is sound and you’re doing a straight refresh with no chemistry change.
- The surface is a high-traffic exterior door where maximum film hardness is the priority.
For sheen on trim and doors, semi-gloss is the standard choice for durability and washability. For cabinets, semi-gloss or satin both work well; satin hides surface imperfections better on older cabinet faces. Check the partner guidance on interior door color choices if you’re also reconsidering the color.
Pro Tip: For luxury interiors, choose a high-performance waterborne enamel with urethane or alkyd modification. Benjamin Moore Advance and Sherwin-Williams Emerald Urethane Trim Enamel are two widely cited examples. They level like oil but clean up with water.
What went wrong? Diagnosing and fixing common failures
Peeling in sheets
This is adhesion failure, almost always from skipping primer or painting over an uncured oil film. If tape-pull testing lifts layers, the existing film isn’t sound. Strip back to a stable substrate, scuff or use a bonding primer, and recoat. There’s no shortcut here.
Yellowing or ambering
Oil topcoats and older linseed-based finishes yellow as they age and oxidize. If the yellowing is coming through a new coat, you likely didn’t use a stain-blocking primer before applying the waterborne topcoat. Spot-prime with Zinsser BIN, let it dry, then recoat with a waterborne enamel.
Bubbles or blisters
Trapped moisture is the usual cause. Check the substrate for dampness before repainting — this is common on exterior trim and bathroom woodwork. Remove and repair the blistered area, let the substrate dry fully, then prime and recoat.
When to call a pro: If peeling covers more than a few square feet, if multiple layers are failing simultaneously, or if you find soft or punky wood beneath the paint, a professional assessment will save you from repainting the same surface twice.
Lead paint risk: when DIY sanding becomes a hazardous job
Homes built before 1978 may contain lead-based paint. Sanding, scraping, or power-stripping those surfaces without containment creates lead dust that is dangerous, particularly for children and pregnant women.
EPA guidance: The EPA’s Renovation, Repair and Painting (RRP) Rule requires that contractors working on pre-1978 homes be certified and follow specific lead-safe work practices. Homeowners doing their own work are exempt from RRP certification but are still responsible for following safe practices.
Safety checklist for pre-1978 surfaces:
- Buy a lead test kit (3M LeadCheck or similar) from a hardware store and test before sanding.
- If positive, limit yourself to hand-sanding with containment — no power sanders, no heat guns.
- Use a HEPA vacuum to clean up dust; standard shop vacuums spread lead particles.
- Wear an N100 respirator (not a dust mask) and disposable coveralls.
- Seal off the work area with plastic sheeting; keep children and pregnant adults out.
- For large areas, multiple failing layers, or any project involving significant paint removal, hire an EPA/RRP-certified contractor.
The cost of proper lead-safe containment and cleanup on a large project often makes professional abatement the more economical choice when you factor in the time, equipment, and disposal requirements.
How long does this project take, and what does it cost?
Realistic timelines
A single interior door, both sides, runs roughly 3–5 hours of active work spread across two days: cleaning and sanding on day one, primer and first topcoat, then a second topcoat the following morning. A full trim run in one room adds another half-day of prep and two coats.
Total cure time before reinstalling hardware or cleaning the surface varies by product, often requiring days to weeks for full hardening.
Cost ranges
DIY materials only:
- TSP cleaner, sandpaper, primer, and two quarts of trim enamel for a standard room: roughly $80–$150.
- Add a lead test kit if needed: $10–$30.
- Lead-safe containment supplies (plastic sheeting, HEPA vacuum rental, respirator): $50–$100 additional.
Professional rates:
Labor and materials for a professional to repaint interior trim and doors in a standard room typically runs $300–$700 depending on condition, prep required, and number of layers. Cabinet repainting is priced separately and varies significantly by door count and finish type.
Hidden cost warning: Multiple failing paint layers, lead remediation, or soft/damaged substrate can double or triple the original estimate. A contractor walkthrough before committing to a price is worth the time.
Humidity above 70% and temperatures below 50°F both slow recoat windows and cure times. Plan the job for moderate conditions, and don’t rush the cure.
Key Takeaways
Painting over oil-based paint succeeds when you test the surface first, close the chemistry gap with a bonding primer, and give every coat its full cure time before moving on.
| Point | Details |
|---|---|
| Test before you touch anything | The denatured alcohol cotton-ball test tells you oil vs. latex in 30 seconds. |
| Bonding primer is the critical step | Switching to water-based topcoats over oil requires a bonding primer; skipping it causes peeling. |
| Sand with 180–220 grit | This grit range removes gloss and creates mechanical adhesion without leaving visible scratches. |
| Pre-1978 homes need a lead test | Sanding lead paint without containment creates hazardous dust; test first, contain always. |
| Sigma Painting handles complex jobs | For lead risk, failing substrates, or cabinet refinishing in the GTA, Sigma Painting provides professional diagnosis and guaranteed adhesion. |
The real reason DIY oil-paint jobs fail
Most homeowners who struggle with repainting over oil aren’t making dramatic mistakes. They’re skipping the diagnosis. They assume the existing paint is latex because it looks fine, skip the alcohol test, apply a standard primer, and end up with peeling trim six months later.
The chemistry gap between oil and water is real and unforgiving. Oil cures by oxidation, leaving a surface that water-based products can’t grip without help. That’s not a flaw in the materials — it’s just physics. The fix is straightforward: test, clean, degloss, prime correctly. But the sequence matters, and so does patience. Cure time is where most people cut corners. A surface that feels dry after an hour may still be chemically active underneath, and painting over it traps that process.
The other thing worth saying plainly: lead paint changes the risk profile of this job entirely. A homeowner sanding trim in a 1965 house without a test kit isn’t just risking a bad paint job. The EPA’s RRP framework exists for a reason, and the containment requirements are not bureaucratic overreach. For large projects in older homes, the math on hiring a certified contractor often works out in your favor once you price the equipment and disposal properly.
Prefer to skip the prep work? Sigma Painting can handle it

Repainting oil-finished trim, doors, and cabinets is one of the most prep-intensive jobs in residential painting. The diagnosis, lead testing, scuff-sanding, primer selection, and cure-time management add up fast, and one skipped step means redoing the whole surface.
Sigma Painting’s interior painting service covers the full process: surface testing, lead-aware containment where needed, bonding primer application, and premium waterborne enamel topcoats that hold their color and sheen for years. For oil-finished cabinetry, the cabinet painting and refinishing service includes spray-applied finishes that a brush and roller simply can’t match. Every job includes a complimentary color consultation and transparent pricing before work begins. Use the instant quote calculator to get a ballpark estimate for your project in the GTA.
Useful sources and product pages
- BEHR PRO: Tips on Painting Over Oil-Based Paint — manufacturer guidance on bonding primers, cure times, and grit recommendations.
- Bob Vila: Painting Over Oil-Based Paint — practical primer selection guide covering shellac vs. bonding primer use cases.
- The Spruce: Can You Use Latex Paint Over Oil-Based Paint? — clear breakdown of oil-over-oil vs. latex-over-oil scenarios.
- The Home Depot: How to Paint a Room — TSP mixing ratios and surface prep basics.
- EPA: Renovation, Repair and Painting Program — official U.S. guidance on lead-safe work practices and RRP certification requirements.
- Sigma Painting: Interior Painting Services — professional oil-to-water transition repainting in the GTA.
- Sigma Painting: Cabinet Painting & Refinishing — spray-applied cabinet refinishing for oil-finished cabinetry.