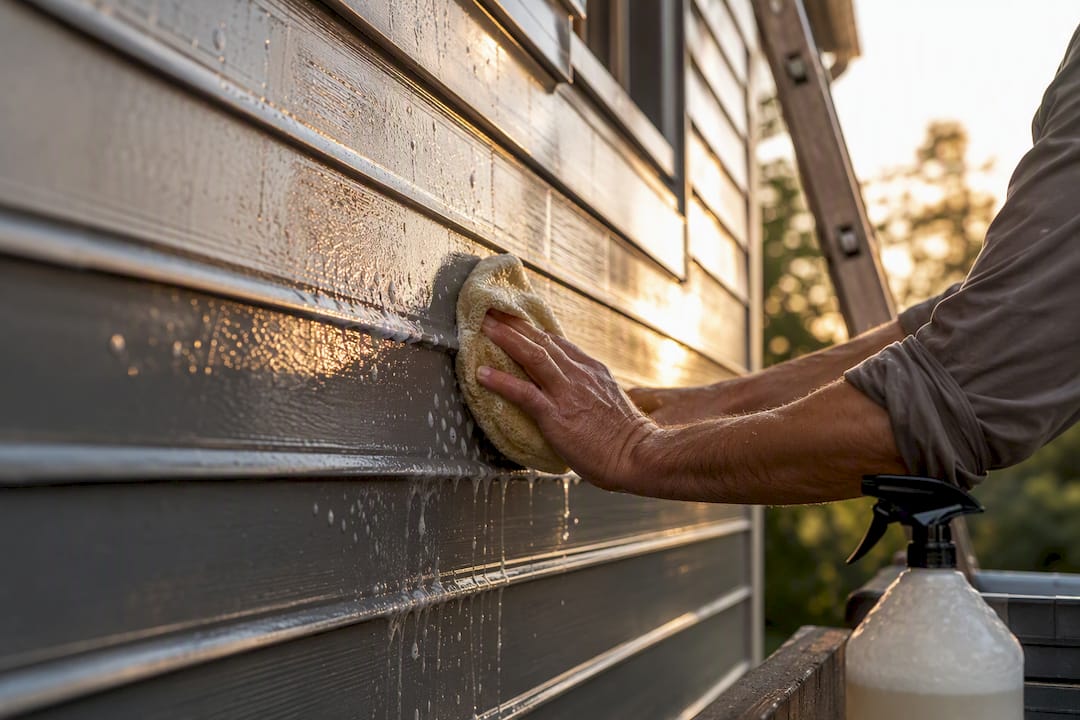
Yes, you can paint aluminum siding, and for most homes with sound panels, it beats the cost of replacement by a wide margin. The whole job hinges on one test: run a clean, dark cloth firmly across the siding. If it comes away chalky white, that oxidation has to go before paint touches the wall. Skip this step and even premium paint will peel within a year or two.
- The gate: wipe-test result determines your primer and prep plan.
- The payoff: a properly prepped and coated repaint lasts roughly 10 to 15 years, less on siding that bakes in direct afternoon sun.
- The exception: corroded-through metal, warped panels, or structural rot mean replacement, not paint.
Key Takeaways
A durable aluminum siding repaint depends on passing the wipe-test, using acrylic materials throughout, and matching application method to project scale.
| Point | Details |
|---|---|
| Run the wipe-test first | A chalky residue on the cloth means more cleaning or a bonding primer before painting. |
| Expect 10 to 15 years | Correct prep and 100% acrylic latex topcoat typically deliver a decade or more of service. |
| Match method to scope | Spray and back-roll suits full exteriors; brush and roll works fine for smaller jobs or trim. |
| Watch color on sun-facing walls | Dark, low-LRV colors on south or west exposures raise warping risk over time. |
| Hire Sigma Painting for full scope work | Sigma Painting offers GTA homeowners transparent pricing, premium acrylic materials, and free color consultations for exterior repaints. |
Table of Contents
- How to Decide: Paint Aluminum Siding or Replace It?
- Prepping Aluminum Siding: Wipe-Test, Cleaning, and Repairs
- Choosing the Right Paint and Primer for Aluminum
- Spraying vs. Rolling: Which Application Method Works Best?
- Why Does Paint Peel on Aluminum Siding?
- When to Call a Professional Painter
- What Most Guides Get Wrong About Painting Aluminum Siding
- Get a Professional Repaint Estimate From Sigma Painting
- Sources
How to Decide: Paint Aluminum Siding or Replace It?
Run through this before you buy a single can of paint:
- Check for structural damage. Corrosion that’s eaten through the metal, panels pulling loose from the frame, or dents wide enough to have cracked the coating mean paint won’t fix the underlying problem.
- Separate cosmetic issues from real damage. Fading, chalking, small dings, and a dull factory finish are cosmetic. These respond well to a proper repaint.
- Weigh the numbers. Repainting a typical home runs a fraction of full siding replacement, and a correctly done job holds up for over a decade before it needs attention again.
If your siding is straight, solid, and just tired-looking, repainting is almost always the smarter move. If you’re on the fence, it helps to review the signs it’s time to repaint your exterior before committing either way.
- Cosmetic fading or chalking → repaint
- Structural corrosion or loose panels → replace
- Unsure → get a professional inspection first
Prepping Aluminum Siding: Wipe-Test, Cleaning, and Repairs
Preparation is where repaint jobs succeed or fail, and it’s not close. Most peeling failures trace back to one mistake: painting directly over chalky residue that was never fully removed. The wipe-test is the deciding factor here, and it’s worth repeating after every cleaning pass, not just once at the start.
Start with a scrub using TSP or a phosphate-free TSP substitute, working section by section with a stiff brush. Rinse thoroughly and check for mildew spots, which need a diluted bleach or dedicated mildewcide treatment before you move on. A low-pressure rinse finishes the job, but pressure-washing aluminum demands restraint. Too much PSI can force water behind the laps or dimple soft panels, so keep the nozzle angle shallow and the pressure modest. Sigma Painting’s guide on power washing before painting covers safe technique in more detail if you’re renting equipment for the first time.
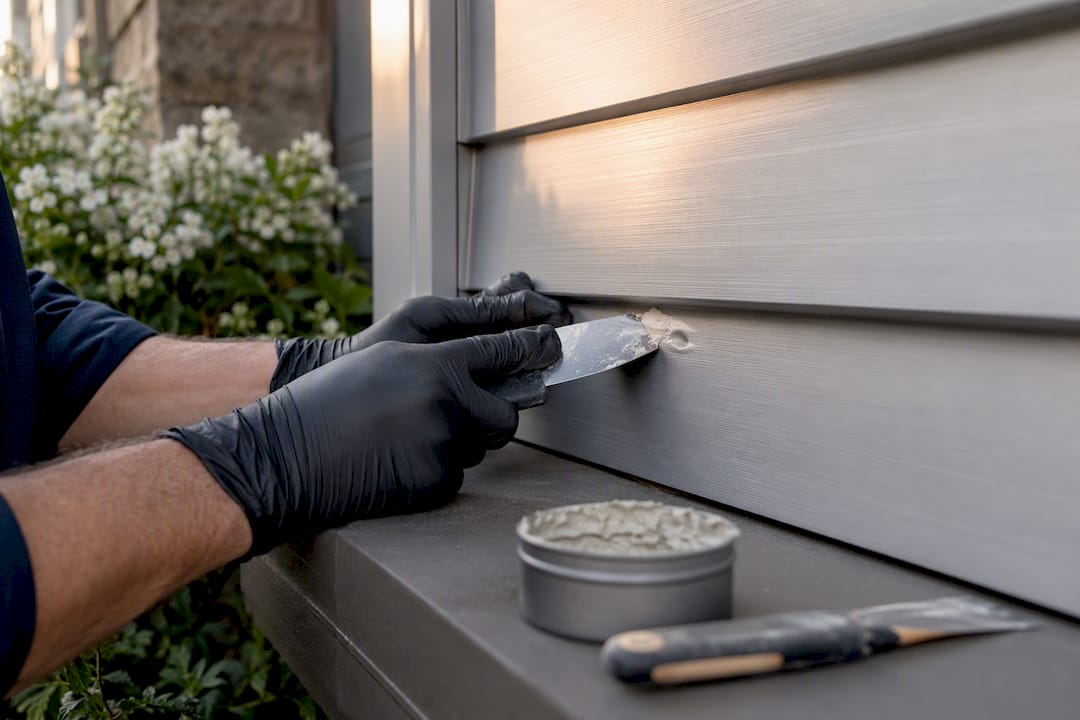
Once the surface is clean, address repairs. Small dents can be filled with an exterior-grade filler rated for metal. Holes and gaps at trim need caulking with a paintable, flexible sealant. Loose or badly bowed panels are a job for a professional, since re-securing aluminum without denting it further takes practice.
Before any sanding or scraping, homes built before 1978 need a lead check. Dry-sanding old paint releases lead dust, which is a serious health hazard, so skip abrasive prep entirely if there’s any chance of lead paint and bring in a certified abatement contractor. Auben Realty’s overview of lead paint disclosure requirements is a useful primer on why this isn’t optional.
Pro Tip: Do the wipe-test on three or four different spots around the house, not just one. Sun-facing walls chalk faster than shaded ones, so your prep effort often isn’t uniform from wall to wall.
Choosing the Right Paint and Primer for Aluminum
Skip anything but 100% acrylic exterior latex for the topcoat. Acrylic binders flex with aluminum as it expands and contracts through temperature swings, while stiffer formulas crack over time. A satin or low-sheen finish hides minor surface imperfections better than gloss and still cleans easily.
Primer needs depend on what the wipe-test told you. Bare metal, heavily chalked surfaces, or spot repairs need a bonding primer or a direct-to-metal acrylic primer first. If the existing factory finish is intact and the surface cleaned up well, many painters skip priming altogether and go straight to topcoat, which saves both time and material cost.
One material to avoid entirely: oil-based primers on oxidized aluminum. The alkaline aluminum oxide on the surface reacts with oil binders in a process called saponification, which breaks the primer down from underneath before it ever gets a chance to cure properly. Stick with waterborne acrylic products instead.
- Topcoat: 100% acrylic exterior latex, satin or low-sheen
- Primer: acrylic bonding or DTM primer, only where bare metal or heavy chalk is present
- Applicators: airless sprayer with a back-roll kit for full exteriors, foam rollers and angled sash brushes for trim and cut-in work
- Extras: TSP substitute, caulk, exterior filler, drop cloths, respirator if sanding
Sigma Painting’s breakdown of the best exterior paint options walks through compatible product categories in more depth if you want to compare brands before shopping.
Spraying vs. Rolling: Which Application Method Works Best?
The sequence matters more than the tool. Work one wall section at a time: mask windows and trim, prime only where needed, apply the first coat, work it in immediately, let it cure per the label, then apply the second coat.
- Mask all trim, windows, and fixtures before opening a single can.
- Prime bare or heavily chalked spots and let them dry fully.
- Apply the first full coat, spraying or rolling depending on your method.
- Back-roll immediately behind the sprayer, or work the roller into laps and seams if brushing.
- Respect the recoat window listed on the product label before applying coat two.
- Apply the second coat with the same technique for even coverage.
Professional crews favor spray-and-back-roll because it’s fast and produces a smooth, factory-like finish. It does demand careful masking and usually two people working together, one spraying and one immediately back-rolling to push paint into the surface before it starts to tack up. That back-rolling step isn’t optional. Skip it, and the coating sits on top rather than bonding into the texture, which shortens its life considerably.
Rolling and brushing is the realistic DIY route for a single-story home or a small addition. Use foam or short-nap rollers on the flat panels and an angled sash brush for the overlaps and edges, where a roller tends to skip.
Weather sets the ceiling on quality no matter which method you choose. Avoid painting in direct, blazing sun since it causes the surface to flash-dry before the coating levels out properly. Sigma Painting’s guide to exterior painting temperature lays out the humidity and temperature windows that actually matter for curing.
Pro Tip: Plan for a full week on a medium-sized house once you count drying time between coats, not just the hours you spend with a brush or sprayer in hand.
Why Does Paint Peel on Aluminum Siding?
Peeling almost always traces back to one cause: paint applied over chalk that was never fully removed. The coating bonds to loose oxide particles instead of the metal itself, and it lets go within months.
If you’re already seeing peeling, strip the failed area back to sound substrate, wash it, prime with a bonding primer, and recoat just that section. Widespread peeling across multiple walls usually signals a prep issue serious enough to bring in a professional rather than patch repeatedly. For a deeper look at why adhesion fails on aluminum surfaces specifically, this technical breakdown is worth a read.
Once the repaint is done, an annual gentle wash and prompt touch-ups on dings keep small problems from spreading. South and west-facing walls take the most sun exposure and may need attention a few years before shaded elevations do.
- Wash siding once a year with mild soap and a soft brush
- Touch up dings and scratches as soon as you notice them
- Watch south and west walls for early wear
- Choose mid-to-light colors on sun-heavy walls; dark, low-LRV paint absorbs more heat and can warp thin aluminum panels over time
When to Call a Professional Painter
Some jobs cross the line from DIY-friendly into pro territory fast. Lead-paint testing and remediation, structural panel repairs, full-house spray application, and any project where you want a workmanship guarantee behind it all point toward hiring out.
Sigma Painting handles luxury residential and commercial exterior work across the Greater Toronto Area, using premium acrylic coatings and transparent, itemized pricing so there are no surprises mid-project. Every estimate includes a complimentary color consultation, which matters more on aluminum than most homeowners expect given how sun exposure affects finish longevity.
Before requesting a quote, have your square footage, current siding condition, and any known trouble spots (chalking, dents, past patch jobs) ready. That lets a contractor scope the job accurately on the first visit rather than the third.
- Lead testing or abatement needed
- Structural panel repair or replacement required
- Full exterior spray job across multiple stories
- You want warranty-backed work and a firm timeline
| Point | Details |
|---|---|
| Wipe-test decides everything | Chalk residue on a cloth means more cleaning or a bonding primer before paint goes on. |
| Repaint lifespan | A correctly prepped and coated job typically lasts 10 to 15 years. |
| Acrylic only | Use 100% acrylic exterior latex topcoat; skip oil-based primers on oxidized metal. |
| Sigma Painting | Offers full-scope exterior repaints across the GTA with transparent pricing and free color consultations. |
What Most Guides Get Wrong About Painting Aluminum Siding
Most guidance on this topic buries the one thing that actually determines success under a pile of paint-brand recommendations and sheen comparisons. Sheen matters. Brand matters less than people think. What matters most is whether every trace of chalk is gone before the first coat goes on, and that’s a five-minute test most homeowners skip because it feels too simple to be the deciding factor.
The other place conventional advice falls short is color guidance. Plenty of articles treat color as a purely aesthetic choice and leave thermal behavior out entirely. On thin aluminum panels, a dark accent wall facing west isn’t just a style risk. It’s a warping risk, and it’s one homeowners rarely connect to their color swatch until the siding starts to ripple.
If you take one thing from this: don’t let a $40 can of primer decide whether your $3,000 repaint lasts three years or thirteen. Do the wipe-test, repeat it after cleaning, and if the cloth still comes back dirty, prime before you touch the topcoat. Everything else is secondary to that decision.
— Enrico
Get a Professional Repaint Estimate From Sigma Painting
Sigma Painting is the practical alternative to a full siding replacement for GTA homeowners whose aluminum is sound but tired looking. Where a DIY repaint risks a missed prep step turning into peeling paint within a year, Sigma Painting’s crews handle the wipe-test, dechalking, and primer decisions as standard practice, backed by premium acrylic coatings and pricing that’s laid out in writing before work begins.

That matters most on the details easy to get wrong from a ladder: lead-safe prep on older homes, correct back-rolling behind a sprayer, and color choices that account for how much sun a wall actually takes. Every estimate includes a complimentary color consultation, so you’re not guessing which sheen or shade will hold up on your specific exposure.
If your siding checked out structurally sound but you’d rather not spend a weekend testing primers, request a quote through Sigma Painting’s exterior painting services page and get a firm estimate based on your home’s actual condition.
Sources
- Can You Paint Aluminum Siding? Step-by-Step Guide, Costs & Tips — Knutson Partners Construction
- How to Paint Aluminum Siding - The Spruce
- How to Paint Aluminum Siding (Chalking, Prep, and When to Just Replace) — PaintPricing