

The sweet spot for exterior painting temperature sits at moderate temperatures suitable for the paint type. Cold-weather acrylic formulations allow application at lower temperatures, but these are specialty products, not a substitute for standard paint. Get outside that window and you’re not just risking a subpar finish — you’re likely repainting within a season.
Ranges for painting temperature vary by paint type, with standard paints requiring moderate temperatures and specialized cold-weather formulas suitable for cooler conditions. Surface temperature should be within the recommended range and above the dew point. Overnight temperatures should remain consistently moderate after application.
One thing most homeowners miss: air temperature is only half the equation. The temperature of the surface you’re actually painting matters more.
Table of Contents
- How temperature, humidity, and surface conditions affect exterior paint
- Professional tips for painting in variable temperature conditions
- The science behind how temperature affects paint chemistry
- Key Takeaways
How temperature, humidity, and surface conditions affect exterior paint
Paint doesn’t just dry — it goes through a chemical process called coalescence, where the binder particles in the paint fuse together to form a continuous film. Temperature governs how well that process works, and humidity either helps or sabotages it.
Surface temperature vs. air temperature
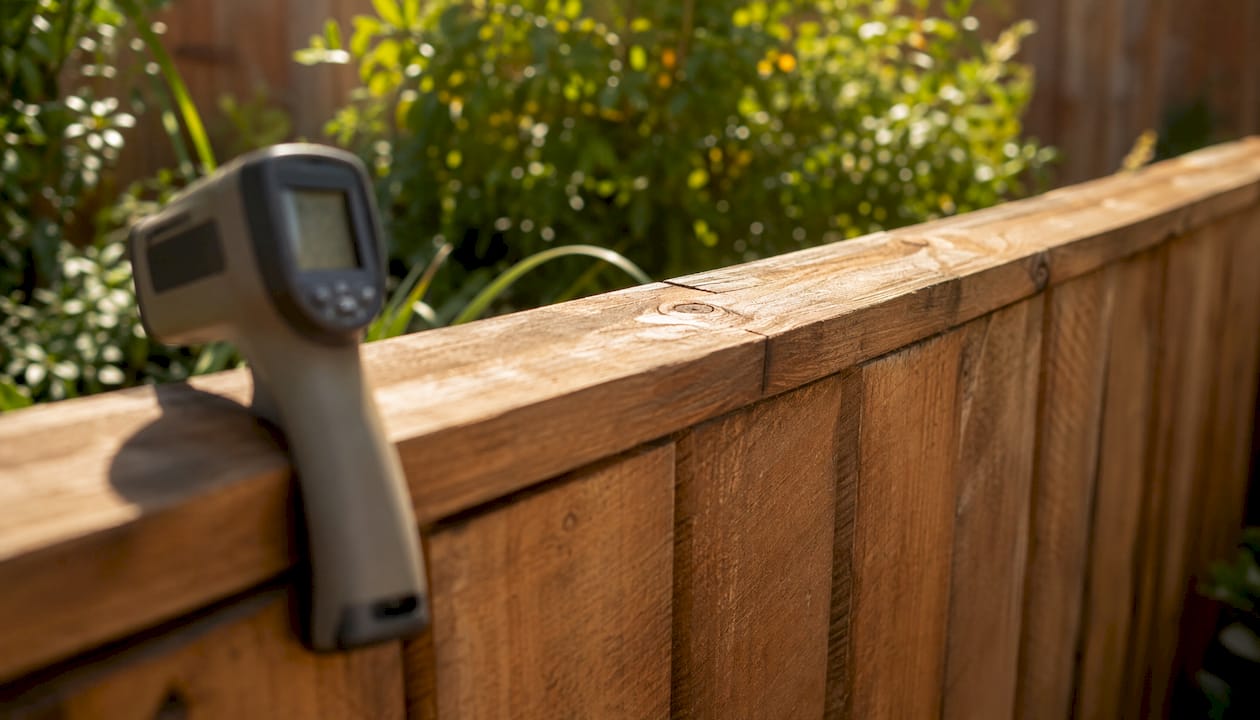
A wall that’s been sitting in direct afternoon sun can run 20°F to 40°F hotter than the surrounding air. Dark-colored siding can hit 140°F on a sunny day even when the thermometer reads a comfortable 75°F. Paint applied to a surface that hot skins over almost instantly, trapping wet paint underneath and setting up blistering and adhesion failure. An infrared thermometer — available at most hardware stores for under $20 — gives you an instant surface reading and removes the guesswork entirely.
Humidity’s role in drying and adhesion
High humidity above 70–85% slows moisture release from the paint film, causing runs, sags, and surfactant leaching — those brownish or whitish streaks that appear as water-soluble paint components migrate to the surface. Very low humidity (below 20–25%) causes the opposite problem: paint dries too fast in hot conditions, creating the same lap marks and adhesion failures you’d see in extreme heat. The target range for exterior painting weather is 40%–70% relative humidity. A basic handheld hygrometer or a weather app with dew point data gets you there.
Dew point and moisture on fresh paint
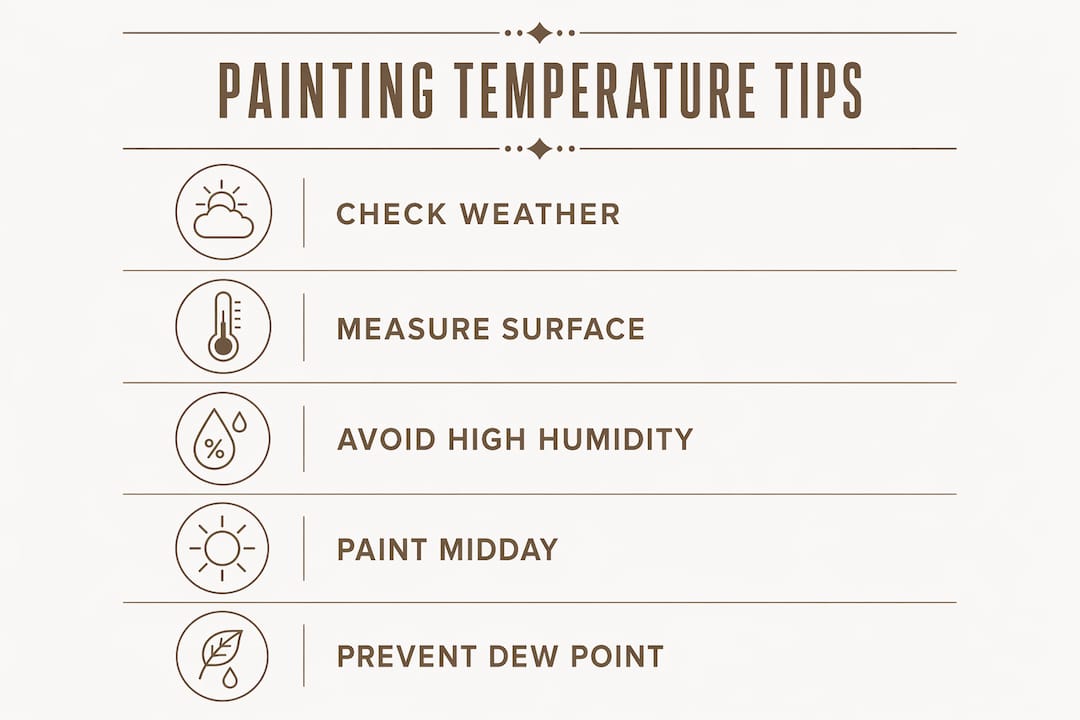
Paint films must stay at least 5°F above the dew point during the curing phase. When surface temperature drops to the dew point, moisture condenses on the film — essentially painting over invisible condensation. The result is peeling, adhesion failure, and in some cases mildew growth that shows up weeks later.
Pro Tip: Before you open a can, check three numbers: air temperature, surface temperature (with an infrared thermometer), and dew point. All three need to be in range simultaneously. If any one of them is off, wait.
Key environmental factors to monitor:
- Air temperature (50°F–90°F for standard latex; 40°F–90°F for oil-based)
- Surface temperature (same range, measured directly)
- Relative humidity (40%–70%)
- Dew point (surface must be at least 5°F above it)
- Wind speed (below 8–10 mph to avoid uneven drying and debris in wet paint)
- Overnight forecast (above 40°F for at least 24 hours post-application)
Professional tips for painting in variable temperature conditions
Temperature rarely holds steady across a full painting day, and that variability is where most exterior paint failures originate. The application window matters, but the 24–48 hours after you put the brush down matter just as much.
Timing your application window
Paint during the warmest, most stable part of the day — typically late morning through mid-afternoon. Avoid painting in direct sunlight on hot days, since the surface heats well beyond air temperature. Avoid early morning when dew is still burning off surfaces. If rain is expected within four to eight hours, postpone. Even at ideal temperatures, moisture on a fresh coat causes blistering and reduces durability.
Managing “yo-yo” temperature swings
Fluctuating temperatures between warm days and cold nights interrupt the coalescence process. The paint stops fusing during the cold drop, and if humidity rises overnight, moisture enters the uncured film. Surface staining and adhesion loss follow. Before scheduling a project, check the forecast for at least three consecutive days of stable conditions, not just the day of application.
Painting in borderline cold conditions
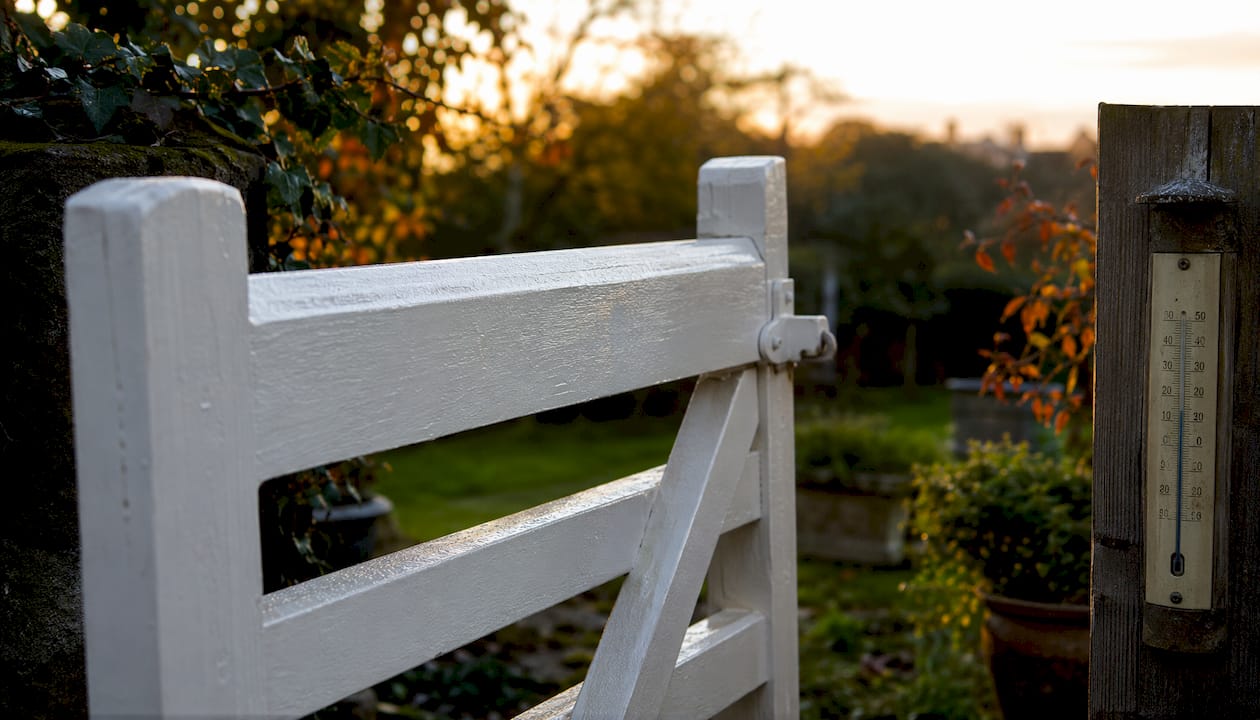
Professional painters generally avoid painting below moderate temperatures, but cold-weather rated coatings enable painting at lower but still suitable temperatures when conditions allow. If you’re working near that lower limit, keep paint cans stored indoors until you’re ready to use them — cold paint thickens, flows poorly, and leaves brush marks that won’t level out. Apply thin, even coats and plan for at least 24 hours between coats rather than the standard recoat window.
Pro Tip: The informal painter’s test still holds: if the weather is uncomfortable for you — too cold for a light jacket or too hot to stand in direct sun — the paint is experiencing the same adverse conditions. Use your own comfort as a quick sanity check before pulling out the ladder.
Common pitfalls and professional recommendations:
- Don’t skip the surface temperature check. Air temp can be perfect while a sun-baked wall is 30°F hotter.
- Watch the overnight low, not just the daytime high. A warm afternoon followed by a near-freezing night ruins a fresh coat.
- Avoid painting over dew or frost. Even a surface that looks dry can carry invisible moisture after a cold night.
- Don’t rush recoating in cold weather. Slow curing means the first coat needs more time before it can accept a second.
- Check the paint label’s minimum temperature before choosing a product — not all “exterior” paints handle cold equally.
- For exterior painting projects in climates with wide seasonal swings, spring and fall typically offer the most reliable conditions.
The science behind how temperature affects paint chemistry
Understanding what’s actually happening inside the paint film explains why the temperature rules aren’t arbitrary.
Minimum film-formation temperature (MFFT)
Every latex and acrylic paint has a minimum film-formation temperature — the lowest temperature at which the polymer particles in the binder can fuse into a continuous, flexible film. Standard latex paints carry an MFFT around 50°F; cold-formulated acrylics drop that threshold to 35°F through the use of coalescing agents that keep the binder particles mobile at lower temperatures. Apply paint below its MFFT and the particles never fully fuse. The film looks dry but remains brittle, chalky, and prone to flaking within the first season.
What happens above 90°F
Above 90°F, solvents and water evaporate almost instantly from the surface layer while the paint beneath is still wet. That creates internal stress in the film: the top skins over, trapping moisture below, and you get blistering, bubbles, and roller marks that never level out. Lap marks become visible where one section dried before the next pass connected with it. Surface temperature is the real culprit here — a wall in direct sun can reach these failure conditions even when the air temperature reads a comfortable 80°F.
Drying vs. curing: a critical distinction
Paint that feels dry to the touch after a few hours has only completed the first phase. Full curing takes 24–48 hours of stable conditions, and sometimes up to a week for thicker coats or darker colors with high colorant loads. Temperature drops during that curing window — not just during application — cause adhesion loss. This is why overnight lows matter as much as daytime highs when you’re planning a project. If you’re evaluating signs that your exterior needs repainting, premature peeling or flaking is often traceable to a paint job done outside the proper temperature window.
Key technical points:
- MFFT for standard latex is ~50°F; cold-weather formulas lower it to 35°F
- Below MFFT, polymer particles fail to fuse, producing a weak, brittle film
- Above 90°F, rapid solvent evaporation causes blistering and prevents proper leveling
- Dew point proximity during curing leads to surfactant leaching, mildew, and coating failure
- The curing window (24–48 hours post-application) is as temperature-sensitive as the application itself
- Oil-based paints handle cold better than latex but still require surfaces above 40°F for proper film formation
Key Takeaways
The ideal exterior painting temperature range is 50°F–90°F for standard latex, with surface temperature, humidity, and overnight lows equally critical to a durable finish.
| Point | Details |
|---|---|
| Optimal temperature range | 50°F–90°F for standard latex paints; cold-weather latex or acrylic formulas allow application down to 35°F; oil-based paints can be applied from 40°F to 90°F. |
| Surface beats air temperature | A sun-exposed wall can run 20°F–40°F hotter than the air; always measure the surface directly. |
| Dew point rule | Surface temperature must stay at least 5°F above the dew point to prevent adhesion failure. |
| Curing window matters | Paint needs 24–48 hours of stable conditions above 40°F overnight to cure fully after application. |
| Humidity target | Keep relative humidity between 40%–70% for consistent drying and a clean, durable finish. |


