
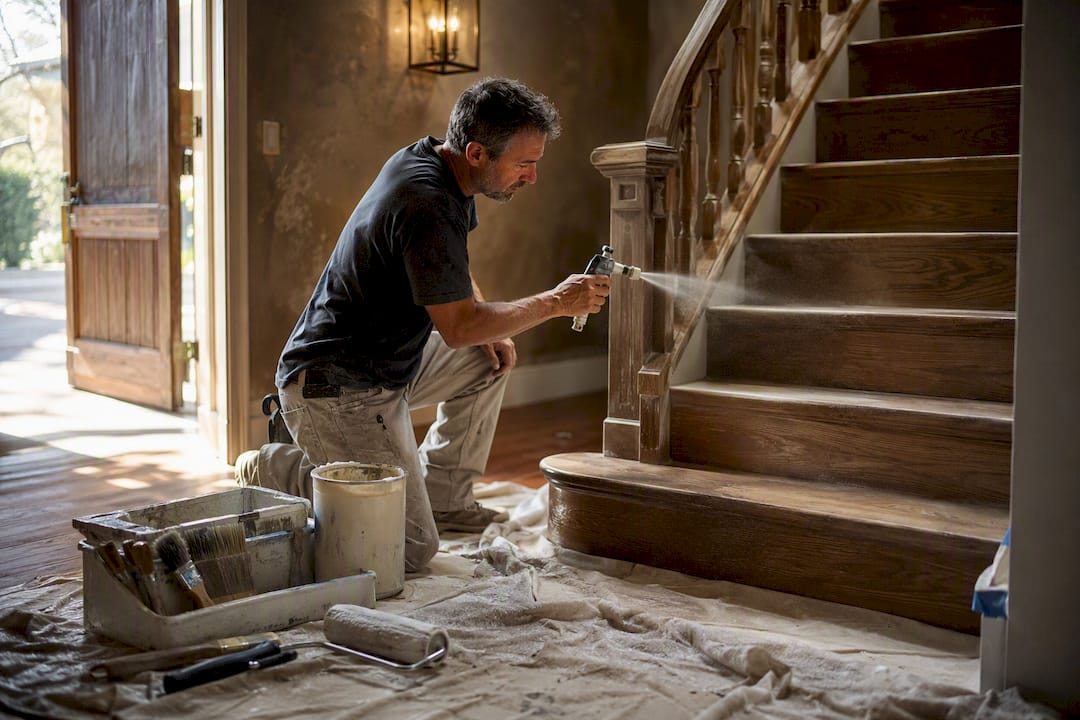
Control dust by combining a water-based floor suppression spray, a short stillness pause, gentle indirect filtration, and surface shielding. That four-part sequence is the workflow Sigma Painting uses on real jobs, from single-room repaints to full commercial units, because it stops the two dust sources that ruin finishes: what’s already settled and what’s still floating. Water-based, silicone-free suppression sprays do the heaviest lifting of any single product in that mix.
TL;DR:
- Using a water-based, silicone-free dust suppression spray is essential, covering about 2,000 square feet per gallon and needing reapplication in high-traffic areas.
- Allow a 5 to 10-minute pause after prep work to let dust settle, reducing the likelihood of airborne grit adhering to wet surfaces.
- Indirect filtration and strategic airflow management are more effective than direct fans or shop vacs, especially when filters are checked regularly and placed away from the work zone.
- Painting on vertical or inclined surfaces minimizes dust landing compared to horizontal surfaces, which act as dust collection points.
- If dust gets embedded in wet paint, it requires full recoats, as nanometric particles can cause long-term damage and cannot be simply sanded away.
Table of Contents
- What Is the Best Dust Control Painting Checklist Before You Start?
- Which Products Actually Reduce Dust During Painting?
- How Do You Time Painting to Avoid Airborne Dust?
- How Can Airflow and Filtration Cut Background Dust?
- Does Surface Orientation Really Affect Dust Landing on Wet Paint?
- What Should You Do if Dust Gets Stuck in Wet Paint?
- Sigma Painting’s Tested Workflow and Real-Job Examples
- When Does Dust Control Justify Hiring a Professional?
- Get a Dust-Controlled Finish Without the Guesswork
- Sources
What Is the Best Dust Control Painting Checklist Before You Start?
Before a brush touches the wall, run through a short sequence. Most rework from dust nibs traces back to skipping one of these four steps, not to a bad batch of paint.
- Clear the space. Remove loose debris, sawdust, and drop cloth clutter that can kick particles into the air every time someone walks past.
- Front load the messy prep. Sanding, cutting trim, and sweeping should happen well before the paint comes out, never in the same window as coating.
- Pause 5 to 10 minutes after prep. Heavier dust needs time to fall out of the air; painting into a still-settling room is one of the most common causes of surface grit, according to research on studio airflow.
- Dress for the job. Low-lint natural fibers shed less than fleece or wool, and a cap keeps hair out of wet film. Cover open toolboxes and material stacks nearby.
- Do a final pass right before rolling. Tack cloth for solvent-based finishes, a barely damp microfiber wipe for water-based ones. Match the method to the coating so you don’t leave residue behind.
Get this sequence right and most of your dust problem is solved before the first coat goes on. For a broader room-by-room breakdown, Sigma Painting’s painting preparation checklist covers the full prep sequence in more detail.
Which Products Actually Reduce Dust During Painting?
Not every dust product does the same job, and mixing them up wastes money or introduces new contamination. Here’s how the main categories break down.
- Dust suppression sprays. Water-based, silicone-free formulas hold dust to the floor without soaking it, and a single gallon typically covers about 2,000 square feet. Shops that spray daily reapply after roughly every second vehicle or as needed in high-traffic use cases to keep coverage effective [3M Dust Control Spray specifications]
- Tack cloths. Best for solvent-based finishes right before the final coat. They pull fine grit off a surface but can leave a faint tacky residue that interferes with some water-based topcoats, so a damp microfiber cloth is usually the safer call there.
- Temporary films and shields. Painter’s plastic or purpose-made shielding protects high-gloss trim, cabinet doors, and anything drying near foot traffic. Cheap insurance for the surfaces that show every flaw.
- Static-control wipes. Useful on cabinet doors and small components where you need to knock down charge before priming, not just remove visible dust.
Silicone content is the detail most DIYers overlook, and it’s worth flagging here since it comes up in the trim finish discussion too: any silicone-based product near a paint job risks fisheyeing and adhesion failure, sometimes on a coat applied weeks later. Read labels before you buy.
Pro Tip: Skip anything marketed as an “all-purpose” spray without checking the label for silicone. If it’s not explicitly listed silicone-free, assume it isn’t.
How Do You Time Painting to Avoid Airborne Dust?
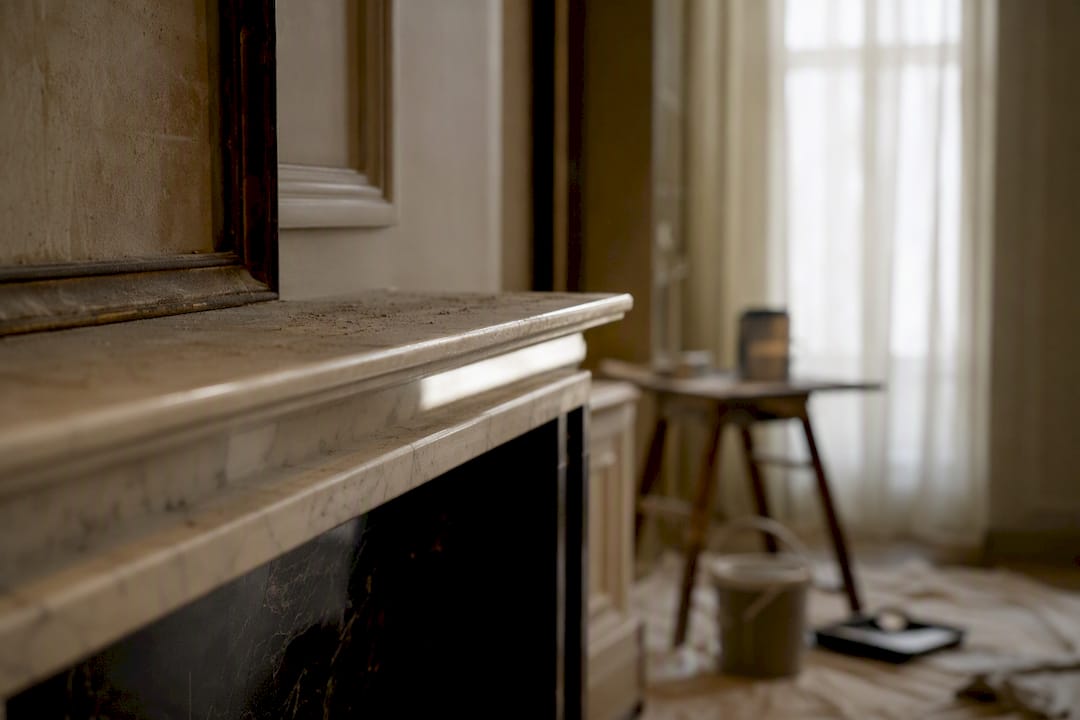
Treat your work area like a small, closed weather system. Every door crack, HVAC vent, and space heater creates a tiny wind tunnel, and that moving air is what carries settled dust back up onto a wet surface just when you can least afford it.
The sequence that works:
- Finish all cutting, sanding, and sweeping first.
- Pause 5 to 10 minutes and let the room go still. This single step does more to cut visible nibs than almost any product you can buy.
- Do your final tack or damp wipe.
- Start painting immediately, before dust has a chance to resettle from footsteps or door traffic.
Lighting and heater placement matter more than people expect. A space heater blasting straight across a wall creates a rising plume of warm air that lifts fine particles right into your work zone. Position heaters low and off to the side, and point work lights so they don’t force air movement across the surface.
Two habits quietly undo all of this: running a shop vac mid-session (it recharges the air with fine particulate even with a good filter) and moving fast through a room right after prep. Slow down, and let the air catch up.
How Can Airflow and Filtration Cut Background Dust?
A box fan aimed at your project feels productive, but it’s usually the worst move you can make. Direct airflow across a wet or about-to-be-painted surface just relocates dust instead of removing it. Indirect filtration, air pulled through a filter placed away from the work, brings down the background particulate count without creating a gust that deposits grit exactly where you don’t want it.
- Check HVAC and standalone filters monthly during active projects, more often in a shop that sees daily traffic.
- Place purifiers or filtered air returns off to the side of the work zone, never blowing across it directly, a placement strategy supported by practitioner testing on studio airflow patterns.
- Test for drafts with a lit candle or incense stick near doors and window frames; seal gaps with painter’s tape or a foam draft strip.
- A portable HEPA purifier earns its cost on any interior job over a few days, especially in older homes with forced-air heating that stirs up dust every time the furnace kicks on.
Does Surface Orientation Really Affect Dust Landing on Wet Paint?
Orientation matters more than most people assume. A horizontal surface, like a tabletop or a laid-flat cabinet door, is a landing strip for every particle in the room. Vertical or slightly inclined surfaces let gravity work against dust instead of for it, since particles have to actually strike the surface rather than simply settle onto it.
- Prop cabinet doors and small panels at a slight angle rather than laying them flat to dry.
- Use inexpensive cardboard or plastic shields around anything you have to step away from mid-coat.
- Move partially cured panels by the edges, never the face, and carry them flat to avoid airborne contact with clothing or hair.
Pro Tip: For small parts like hardware or trim pieces, a shoebox lid propped on two blocks makes a surprisingly effective micro-shield while the piece dries.
What Should You Do if Dust Gets Stuck in Wet Paint?
- For a few visible nibs, wait until fully cured, then knock them down with fine wet or dry sandpaper (1500 grit or higher) and recoat that section.
- Widespread grit across a large area usually means a full recoat is cheaper than trying to salvage the surface piece by piece.
- Prevention beats correction because embedded dust doesn’t stay on the surface. Peer-reviewed research on polymer coatings found that nanometric particles can become physically embedded in acrylic paint layers, often permanently altering appearance and accelerating long-term degradation.
- Keep the room covered and undisturbed while the finish cures, not only while it’s wet.
Sigma Painting’s Tested Workflow and Real-Job Examples
The prep, suppress, pause, paint, cover sequence isn’t theory. It’s the order Sigma Painting’s crews follow on every job, whether that’s a single trim run or a full unit turnover.
- Interior trim job: floors treated with a water-based suppression spray, a full stillness pause before the final coat, and factory-smooth results with minimal touch-ups.
- Commercial office repaint: off-hours scheduling reduced foot traffic dust, and shielded HVAC returns kept recirculated air from carrying grit across freshly coated walls.
Water-based, silicone-free suppression sprays deliver roughly 2,000 square feet of coverage per gallon, which is enough to treat most residential floor zones with a single application per job.
When Does Dust Control Justify Hiring a Professional?
Small trim pieces and single rooms are fair DIY territory if you can control timing. Whole-unit repaints, high-gloss finishes, or any job on a tight deadline usually justify a crew that has already solved the airflow and scheduling problems for you.
— Enrico
Get a Dust-Controlled Finish Without the Guesswork
Sigma Painting builds this exact suppression, stillness, and shielding sequence into every job in the Greater Toronto Area, so you get a factory-smooth result without renting equipment or losing a weekend to trial and error.

Whether it’s a single room or a full commercial unit, the crew handles floor treatment, timing, and cleanup as standard practice, not an upsell. Interior work benefits most from this level of control, and Sigma Painting’s interior painting services apply the same workflow described above on every project, backed by premium materials and a complimentary color consultation. Property managers and commercial clients dealing with recurring turnovers can see the same process scaled through commercial painting services built for tighter timelines and less tenant disruption. For a regional comparison of professional scope, La Rocks Renovations offers a look at similar service standards in the Durham Region. Ready to see it in action on your own space? Request a quote and get a project timeline built around dust-controlled prep from day one.
Sources
- 3M™ Dust Control Spray, 06837, 1 gallon, 4 per case | 3M United States
- The Impact of Particulate Matters and Nanoparticles on Thermoplastic Polymer Coatings and Paint Layers
- The Physics of Dust in the Studio - Smartermarx Magazine


