
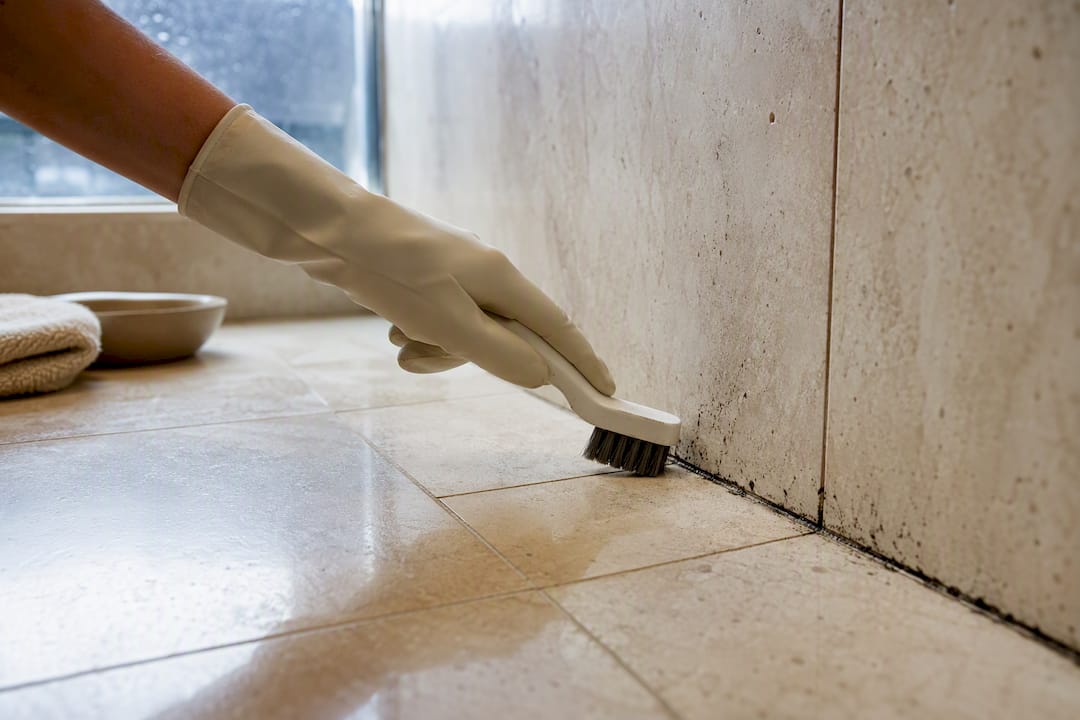
Mildew-resistant paint protects the surface it’s applied to, but it won’t fix a bathroom that’s already growing mold. If you’re dealing with active or past mold growth, kill it first with a mold-killing primer; if the walls are clean and the room just needs better odds going forward, a mildew-resistant satin or semi-gloss topcoat paired with real ventilation will do the job. Skip the prep or the fan, and no paint on the shelf will save you.
TL;DR:
- Mold must be fully removed and the affected drywall replaced if it penetrates the substrate or keeps recurring after cleaning.
- Mildew-resistant paint works best on well-ventilated surfaces with no active mold growth, not over existing stains or moisture problems.
- Select satin or semi-gloss finishes with mold- and mildew-proof features, and apply a mold-killing primer if there has been visible mold or staining.
- Proper preparation, including drying surfaces thoroughly and using a bleach solution for cleaning, is critical for long-lasting results.
- Long-term mildew prevention relies on effective ventilation, regular cleaning, and moisture control, not just applying resistant paint.
Table of Contents
- When Do You Need Mildew-Resistant Paint vs. Mold Remediation?
- How Do You Safely Prep and Remove Mildew Before Painting?
- What Should You Look for When Choosing Bathroom Paint and Primer?
- How Do You Apply Mildew-Resistant Paint the Right Way?
- How Do You Keep Mildew From Coming Back After Painting?
- When Does This Job Call for a Professional?
- Ready to Repaint a Bathroom the Right Way?
- Where to Check the Details Yourself
- Sources
When Do You Need Mildew-Resistant Paint vs. Mold Remediation?
Prevention and remediation solve two different problems. Prevention means protecting a clean, cured paint film so spores can’t take hold on it. Remediation means killing or physically removing a colony that’s already established itself in the wall. Mixing these up is the single biggest reason bathroom repaints fail within a year.
A mildew-resistant topcoat alone works fine when the bathroom has decent airflow, no history of visible growth, and you’re simply refreshing tired paint. It’s not enough when you’re staring down any of these signs:
- Visible black, green, or gray spotting on walls or ceiling, especially near the tub or shower
- A persistent musty smell that doesn’t clear after cleaning
- Staining that reappears within weeks of being wiped down
- Peeling or bubbling paint near grout lines or the ceiling above the shower
The most common mistake homeowners make is rolling fresh paint directly over a mildew stain and hoping the “mildew-resistant” label on the can will handle it. It won’t. This Old House is blunt about this: paint alone doesn’t fix chronic moisture problems, and painting over an active colony just traps it under a fresh surface where it keeps feeding. If your exhaust fan barely moves air, or doesn’t exist, that’s the root problem paint can’t touch.
How Do You Safely Prep and Remove Mildew Before Painting?
Confirm what you’re dealing with before you grab a brush. Mildew sits on the surface and often wipes away with a damp cloth; mold digs into the substrate and comes back after cleaning. A quick bleach test settles the question fast: dab a little diluted bleach on the spot, and if it lightens noticeably within two minutes, you’re likely looking at mildew rather than a deeper mold colony.
Here’s a safe, effective prep sequence:
- Ventilate the room and put on gloves and a mask before you start cleaning.
- Mix a mild bleach solution (roughly one part bleach to three parts water) and apply it with a rag rather than a spray bottle. This Old House recommends this method specifically because spraying aerosolizes spores you’d otherwise wipe away.
- Let the surface dry completely before you touch it with primer.
- Check for staining that returns within a day or two. If it does, or if you see soft, crumbling drywall, that’s your sign the growth has gone past the paint and into the substrate.
If drywall has visibly absorbed moisture or growth keeps recurring after cleaning, cut it out and replace it rather than painting over it. A drywall repair guide walks through when patching makes sense and when the whole section needs to come out.
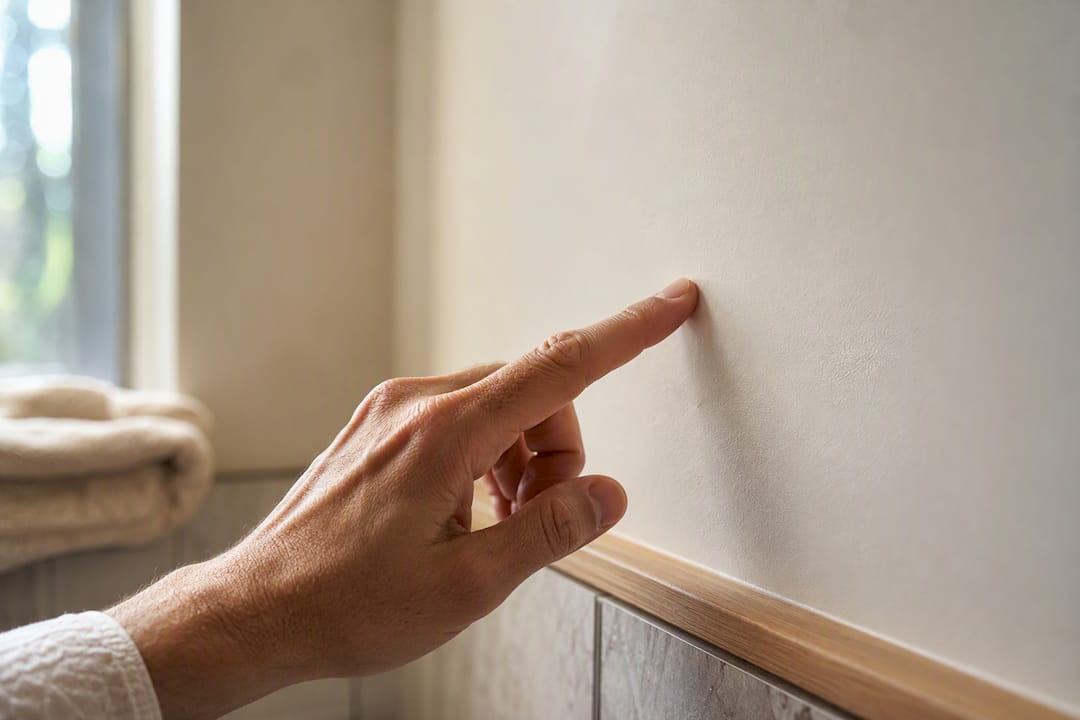
Pro Tip: Press a finger against the wall after it “looks” dry. If it feels cool or slightly damp, give it another few hours. Primer applied to a substrate that isn’t fully dry traps moisture underneath and guarantees an early repeat performance.
What Should You Look for When Choosing Bathroom Paint and Primer?
Sheen matters more than most people assume. Consumer Reports points out that flat and eggshell finishes have a more porous surface that holds onto moisture and mold spores, while satin, semi-gloss, and gloss finishes form a tighter, more water-repellent film that wipes clean. For bathroom walls and ceilings, that makes satin or semi-gloss the default choice, with gloss reserved for trim or areas that get direct water contact.
Read the label past the marketing. A few things actually matter:
- Look for language about a “mold- and mildew-proof cured film,” not just an in-can preservative. Zinsser’s Perma-White technical data sheet specifies that the resistance is built into the dried film itself, which is what protects you long after application, not just while the can is sealed.
- Check the wet-scrub resistance rating if it’s listed. Higher scrub ratings mean the finish holds up under repeated cleaning without turning porous over time.
- If there’s an active mold history or you’re painting over a porous substrate like bare drywall, use an EPA-registered mold-killing primer first. It’s designed to penetrate and kill spores that a topcoat alone can’t reach.
- Note the recoat window on the can or TDS. Perma-White’s data sheet lists specific drying and recoat times, and application outside those windows undercuts the mildew-proof performance you’re paying for.
Benjamin Moore’s higher-sheen lines are a common choice for exactly this reason: better washability and moisture resistance without sacrificing the finish homeowners want on visible walls.
How Do You Apply Mildew-Resistant Paint the Right Way?
You’ll need a few basics before you start: a synthetic roller for smooth walls, an angled brush for cutting in around trim and the tub surround, painter’s tape, and a respirator if you’re using a solvent-based primer or a strong cleaning solution in a small, enclosed bathroom.
- Clean and fully dry the surface, following the prep steps above.
- Repair any cracks or holes, and sand glossy old paint so the new coat has something to grip.
- If there’s a mold history, apply a mold-killing primer and let it dry per the label. Perma-White’s TDS specifies exact dry and recoat times, and rushing this step is one of the most common causes of early failure.
- Apply your mildew-resistant topcoat in two coats, cutting in with the brush first and rolling in overlapping “W” patterns to avoid lap marks.
- Let each coat dry fully before recoating rather than going by touch alone.
Shower-adjacent walls and ceilings deserve extra care with cutting in, since lap marks show up fast under bathroom lighting. It’s common to use a slightly higher sheen on walls that take direct splash versus the ceiling. A ceiling vs. wall paint guide breaks down when that split makes sense.
How Do You Keep Mildew From Coming Back After Painting?
Paint buys you resistance, not immunity. The exhaust fan is doing the real long-term work, and it needs to run during every shower and for another 20 to 30 minutes afterward to actually clear the humidity that feeds mildew. A cheap timer switch solves the problem of people forgetting to turn it off.
This Old House notes that clearing soap scum and grease residue regularly is just as important as ventilation, since that film gives spores something to grip that a clean, high-sheen finish otherwise resists. A quick monthly checklist keeps most bathrooms in good shape:
- Wipe down tile and painted surfaces near the shower weekly with a mild cleaner
- Run the fan during and after every shower
- Check the fan’s actual airflow twice a year; a fan that runs but moves little air isn’t doing its job
- Watch for condensation that lingers on walls or windows long after a shower, which points to a ventilation problem paint can’t solve
If mildew reappears on a wall that’s cold to the touch or constantly damp even with the fan running, that’s a moisture problem, not a paint problem. A paint bubbling guide covers the structural fixes that address that root cause before you repaint again.
When Does This Job Call for a Professional?
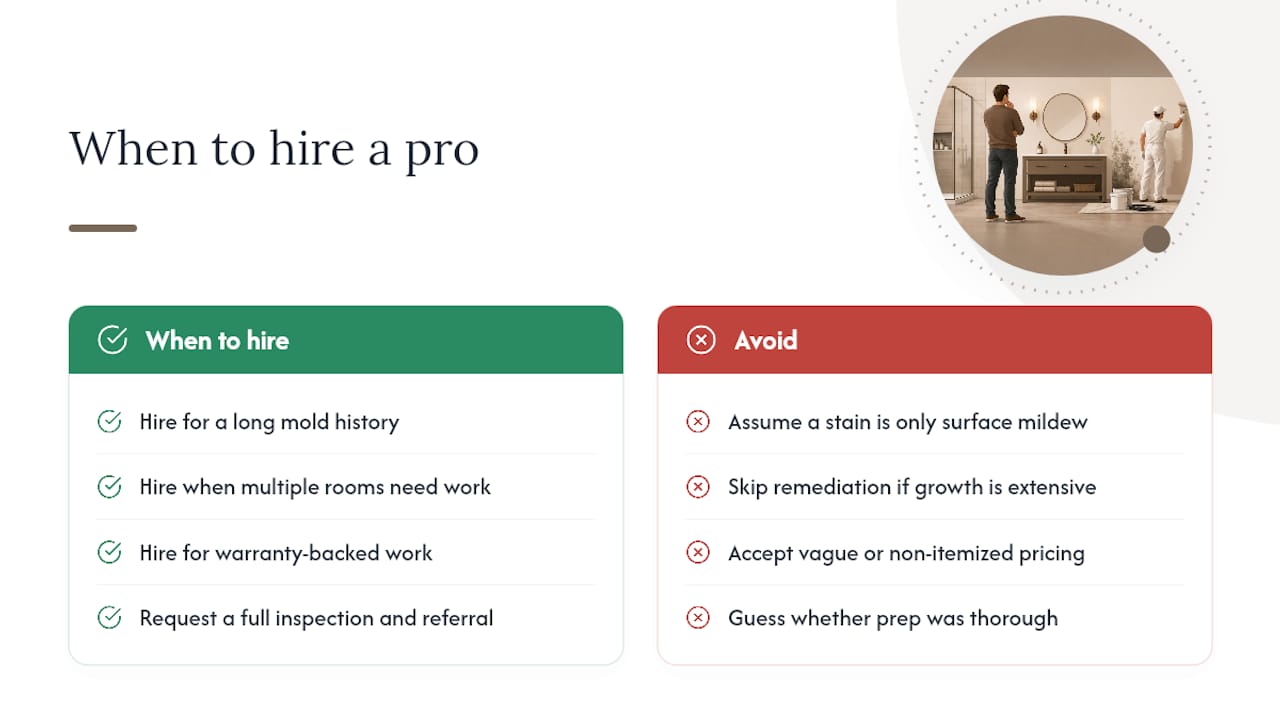
Preparation decides most of the outcome here, more than the paint you buy. A contractor’s real value is in the inspection: knowing whether a stain is surface mildew or a sign of penetration into drywall, referring out to remediation when growth is extensive, and documenting each prep step so the finish actually holds.
Hiring a professional makes the most sense when a bathroom has a long mold history, when multiple rooms need attention at once, or when you want a warranty backing the work instead of guessing whether the prep was thorough enough. A reputable contractor should give you transparent, itemized pricing, walk you through exactly what surface prep was done, use premium materials suited to the room, and leave the space clean when the job’s done.
— Enrico
Ready to Repaint a Bathroom the Right Way?
If you’d rather skip the ladder, the respirator, and the guesswork on drying times, consider hiring a professional painting service. Professional painting services can handle bathroom repaints with full prep, mold-issue coordination when needed, and premium mildew-resistant products applied by experienced painters.

A professional painting project often includes a color consultation and pricing provided upfront to avoid surprise charges after the work begins. Whether it’s one bathroom or a full unit turnover for a property manager, the same prep standards and cleanup apply. Get a quote through Sigma Painting’s interior painting services page and find out what a properly prepped, properly primed bathroom actually costs to do right.
Where to Check the Details Yourself
For finish selection by room, Sorted Home Solutions’ bathroom paint guide breaks down sheen choices in more depth. This Old House covers cleaning and prep steps, Consumer Reports compares finish performance, and the Perma-White technical data sheet lists exact application limits and recoat windows.
Sources
- Should you use mildew-resistant paint in the bathroom? | Consumer Reports
- How To Paint a Mold-Resistant Bathroom | This Old House
- PERMA-WHITE Mold & Mildew-Proof Interior Paint technical data sheet (Zinsser/Rust-Oleum)


