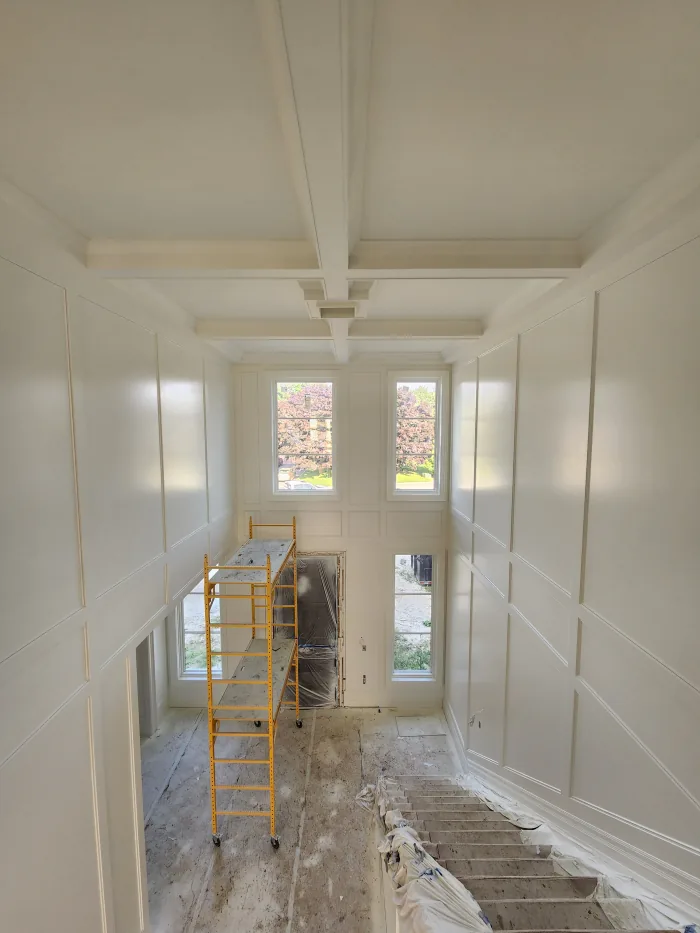
Most uneven-looking paint is cured by diagnosing the visible pattern, spot-priming porous or repaired areas, then applying a full, even second coat with the correct roller nap. If the paint is still wet, wait for it to dry completely first: many patchy or streaky spots even out on their own once the coat cures, and touching wet paint usually makes the problem worse.
TL;DR:
- Spot-prime porous or repaired areas before applying a full second coat to prevent see-through patches caused by absorption differences.
- Use a roller with the appropriate nap for your wall texture and keep it evenly loaded to avoid streaks and lap marks.
- Wait for full drying and curing of the paint before re-evaluating, as many uneven spots on wet paint resolve on their own once cured.
- Address sheen variation by leveling the surface with primer and maintaining consistent rolling techniques to achieve an even finish.
- For widespread or persistent issues, consulting a professional ensures proper surface preparation and durable results.
Table of Contents
- How unevenness shows up: the visual patterns you’ll see
- Causes matched to fixes: a practical troubleshooting map
- Step-by-step repair workflow from inspection to final coat
- Prevention checklist: roller nap, loading, and workflow habits
- Drying, curing, and ventilation before you judge the finish
- When a DIY fix is enough and when to call a pro
- Where to check the technical details
- Sources
- FAQ
How unevenness shows up: the visual patterns you’ll see
Uneven paint rarely looks the same twice, and the pattern you see points directly at the cause. Patchy or see-through spots usually mean the old color or bare drywall is bleeding through a coat that went on too thin. Roller marks and lap lines show up as faint ridges or streaks where one pass overlapped a partly dried one instead of blending into it. Flashing, sometimes called uneven sheen, appears as dull or shiny patches where the paint film built up unevenly over a wall of mixed porosity. Picture framing, also called hatbanding, is the rectangle or band you notice around the edges of a wall where a brush cut in differently than the roller filled the middle.
- Patchy or see-through areas often sit right over patched drywall or a previous dark color.
- Roller lines tend to run parallel and are easier to spot in raking light.
- Flashing looks worse from an angle, when light hits the sheen differently across the wall.
- Picture framing concentrates near corners, trim, and ceiling lines where a brush did the cutting in.
Checking the wall both while the paint is still wet and again once it has dried fully tells you a lot: a lot of “unevenness” visible on a wet coat disappears on its own, while true flashing or lap marks tend to stay put after curing.
Causes matched to fixes: a practical troubleshooting map
Once you know which pattern you’re looking at, the fix becomes obvious. The mismatch between cause and repair is usually why homeowners repaint a wall twice and still see the same problem.
- Porous or unprimed repairs: spot-prime patched drywall or, for heavily porous walls, prime the full panel before the topcoat goes on. Sealing porous surfaces before painting is the standard fix for flashing caused by absorption differences.
- Wrong roller nap or an underloaded roller: match the nap to the wall texture and reload the roller before it runs dry, since a starved roller lays down a thin, streaky film.
- Lapping or a failed wet edge: work in smaller sections and roll wet paint into the still-wet edge of the last section rather than cutting in the entire room first and rolling later.
- Dark or saturated old colors: switch to a gray or tinted primer and plan for an extra coat, since white primer alone rarely blocks a strong color in one pass.
- Sheen variation from mixed porosity: level the surface with primer first, then control film build with consistent rolling so the topcoat sits the same depth everywhere.
Pro Tip: Before repainting a whole wall, test your fix on a one-foot-square patch and let it dry fully. It tells you in minutes whether you diagnosed the problem correctly.
Step-by-step repair workflow from inspection to final coat
Fixing uneven paint goes wrong most often when someone skips ahead to recoating before the surface or the previous coat is actually ready.
- Inspect the wall in daylight and again under a lamp to confirm which pattern you’re dealing with: patchy, lap marks, flashing, or picture framing.
- Stop painting immediately if you spot unevenness mid-project rather than adding more coats over an unresolved problem.
- Wait the full recommended dry time before touching or judging the surface; premature fixes often add new texture instead of removing the old problem.
- Prepare the surface: scrape any loose paint, sand feathered edges smooth, wipe away dust, and spot-prime repaired or porous patches.
- Choose the correct roller nap for the texture and keep the roller loaded evenly rather than dry-rolling the last few feet of a pass.
- Apply a uniform topcoat, often a full second coat over the whole wall rather than just the trouble spots, then check the result again after full cure.
Skipping the prep step is the most common reason a second coat looks just as patchy as the first: paint laid over unsealed drywall or a dusty patch behaves the same way twice.
Prevention checklist: roller nap, loading, and workflow habits
The right tools prevent most of these problems before they start. Roller nap should match the wall texture: a 1/4 to 3/8 inch nap for smooth drywall, 1/2 inch for lightly textured surfaces, and 3/4 inch for heavier texture or masonry, since matching nap to surface is what gets enough paint into the surface to hide it evenly rather than leaving thin spots.
- Load the roller fully by rolling it through the tray in an “N” or “W” pattern, then cross-rolling in vertical strokes to distribute the paint evenly before it dries.
- Use gray or tinted primer for dramatic color changes, since it cuts the number of topcoats needed to fully block the old color.
- Stir paint thoroughly before and during use, since pigment and binder can separate in the can and cause color drift across a wall.
- Work in 2 to 3 foot sections and keep rolling into the wet edge rather than letting sections dry before the next one starts.
A first coat commonly soaks in unevenly simply because porous drywall drinks paint faster than painted or primed sections, which is why manufacturers build a second coat into their coverage expectations rather than treating it as a fix for a mistake.
Drying, curing, and ventilation before you judge the finish
Touch-dry, recoat-ready, and fully cured are three different points in the same process, and confusing them causes most “why is my second coat still uneven” complaints. A wall can feel dry to the touch within hours, but full curing can take several weeks depending on the paint formula, humidity, and how well the room is ventilated.
- Keep the room ventilated during and after painting; Canadian guidance on indoor ventilation recommends extended airflow to manage VOC exposure and support even drying.
- Wear a respirator when sanding or spraying, and follow the safety data sheet for any primer or paint you use.
- Avoid judging the finish too early, since sheen and color can shift noticeably as paint finishes curing over the following weeks.
When a DIY fix is enough and when to call a pro
Small, localized problems, a patchy patch here, a lap mark there, are usually well within reach for a careful DIYer who preps properly and matches the nap to the wall. Widespread flashing, adhesion failure, or unevenness across an entire room’s worth of walls is where a professional earns their fee: full surface prep, consistent film build from wall to wall, and a workmanship warranty on the result. Before hiring anyone, ask for a test patch, confirm exactly what prep is included, and check whether the work carries a warranty.
— Enrico
Where to check the technical details
For roller nap and flashing specifics, see Sherwin-Williams’ technical guidance. For adhesion and repair prep, Valspar’s troubleshooting guide is a solid reference. Always follow the product label and safety data sheet for the specific paint or primer you’re using.

If your walls need more than a spot fix, a full assessment beats another round of guessing. Sigma Painting handles interior painting projects across the Greater Toronto Area with full surface prep, premium materials, and a written workmanship warranty, so the flashing or lap marks that keep coming back get solved once rather than patched again next year. You can browse the full range of services or get a quick estimate through the instant quote calculator before deciding whether to tackle the wall yourself.
Sources
- Paint flashing — Sherwin-Williams
- Health Canada / Canadian Conservation Institute guidance on paints and pollutants
- Why paint looks patchy or uneven (and how to fix it) — Beginner’s Guide To Painting
- Common painting problems and solutions — Valspar
FAQ
What paint covers uneven walls?
No paint fully hides uneven walls on its own; the surface needs to be leveled with primer first so porosity is consistent before any topcoat goes on. A higher-hiding, premium paint reduces the number of coats needed, but it doesn’t replace spot-priming repaired or porous areas.
How do I fix an uneven paint application?
Identify the pattern first: patchy areas usually need spot-priming and a second coat, while lap marks and flashing need a corrected roller technique and consistent film thickness. Sand any rough spots, clean off dust, prime bare or repaired patches, and recoat with a roller nap that matches your wall’s texture.
Will a second coat fix uneven paint?
A second coat fixes most patchiness caused by an absorbent first coat, since first coats commonly soak in unevenly before the surface is sealed. It won’t fix flashing or lap marks caused by technique or porosity differences unless you also spot-prime and correct the roller nap or wet-edge timing.
Can I paint over uneven paint?
Yes, once the existing coat has fully dried, but painting over unevenness without fixing its cause usually reproduces the same pattern. Sand any rough or flaking areas, prime porous or repaired spots, and use a consistent application technique before applying the new coat.