
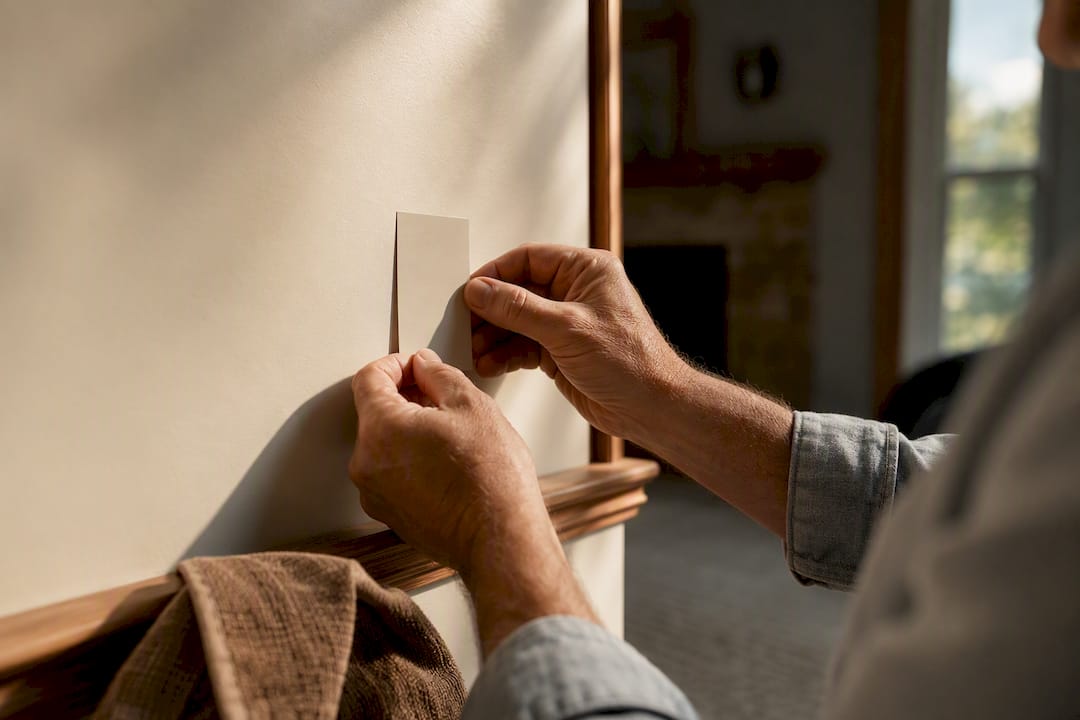
The most reliable way to match existing paint is to cut a physical chip and have it read on a spectrophotometer at a paint store, not to trust a phone photo. That scan gives you an exact formula, but sheen matters just as much as color, and you should still test the result on a sample board before painting the whole wall. Apps and handheld scanners are great for narrowing choices, but they’re a starting point, never the final word.
TL;DR:
- Using a physical chip and a spectrophotometer scan at a paint store provides the most accurate match, especially for visible or valuable features.
- Handheld color scanners improve repeat touch-up accuracy and should be used on clean, flat, and unblemished surfaces for consistent results.
- Photo matching apps are useful for creating a shortlist but often produce unreliable results under mixed lighting conditions and should not be solely relied upon for final choices.
- Testing paint match accuracy with a large swatch and checking ΔE values helps determine whether the match is visually indistinguishable in different lighting.
- Professional matching is recommended for large, high-stakes projects like cabinets or wood stains where sheen and undertones significantly impact the final appearance.
Table of Contents
- What’s the best way to match existing paint on walls?
- How do you cut a paint sample for a store scan?
- Do handheld paint scanners actually work?
- Can you match paint from a photo?
- How do you test if a paint color actually matches?
- Why is matching wood stain harder than matching paint?
- Touch-up or full repaint: how do you decide?
- How do you store matched paint for future touch-ups?
- When is DIY paint matching enough, and when do you call a professional?
- How Sigma Painting handles paint matching and touch-ups
- Sources
What’s the best way to match existing paint on walls?
Not every job needs the same approach. A small touch-up behind a door calls for something faster than a full accent wall that’s faded for a decade.
- Physical chip + paint store scan: the gold standard for accuracy. Best for anything visible or valuable, like a feature wall or trim you can’t risk getting wrong.
- Handheld color scanner: good for repeat touch-ups across a large property, like a rental portfolio, where you want a saved digital formula.
- Phone app or photo matcher: fast and free, ideal for building a shortlist before you commit to buying sample pots.
- Visual chip-by-eye at home: fine for rough estimates, risky for anything under bright daylight.
- Hiring a professional: worth it for wood stain, cabinet finishes, or any job where a mismatch would be expensive to fix.
Wood stain is its own animal and gets its own section below, because color shifts once a topcoat goes on.
How do you cut a paint sample for a store scan?
Cutting a chip sounds intimidating, but it’s a five-minute job if you pick the right spot.
- Choose a hidden spot. Behind a light switch plate, inside a closet, or along the bottom of a baseboard works well because it’s rarely seen.
- Cut at least a quarter-size piece. Paint counters need enough surface area for their spectrophotometer to read an accurate formula, and a sliver the size of a fingernail often isn’t enough.
- Include all paint layers, not just the top coat, since some scanners read through a paint cross-section for a more precise result.
- Patch the spot with a dab of spackle or filler once you’re done, then touch it up later with your new match.
At the counter, staff scan the chip, note the sheen, and either pull a stock formula or mix a custom batch. Expect the scan itself to be free or low-cost, with a sample pot costing a modest amount depending on the brand and size. Ask two questions before you leave: will they tint to match your existing sheen, and will they save the formula in their system for next time?
Pro Tip: Ask the store to write the formula code on your receipt or paint can lid. If you lose it, re-scanning from scratch means starting over.
Do handheld paint scanners actually work?
Handheld scanners can work well, and the reason comes down to light. A phone camera reads whatever light happens to be in the room, but a dedicated scanner like Sherwin-Williams’ ColorSnap Match Pro uses its own controlled light source, which strips out the guesswork caused by lamps, cloud cover, or yellowed bulbs.
These devices typically cost a moderate amount if purchased outright, though some paint retailers loan them out or offer in-store scanning as a free service instead. Most pair with a companion app over Bluetooth so you can save readings and pull them up again months later.
A few habits make the readings more trustworthy:
- Wipe the wall clean of dust and grease before scanning; grime skews the reading.
- Scan a flat, unblemished section of the surface, avoiding texture, nail holes, or seams.
- Take three or four readings in different spots and compare them.
- Note the sheen at the same time, since the device reads color but not always finish.
Can you match paint from a photo?
Photos and apps are useful for building a shortlist, not for landing on a final decision. The trick is controlling the variables that throw color off.
- Shoot in natural daylight, ideally near a north-facing window, since direct sun and warm bulbs both distort the true color.
- Place a neutral white reference chip in the frame; it gives the app something to correct white balance against.
- Use a photo-matching tool like FindPaintColor or a similar hex-extraction app to pull a numeric value, then cross-reference that against a few brands.
- Order two or three sample pots of your top candidates instead of betting on one.
Some apps claim 90%-plus precision under ideal lighting, but “ideal lighting” is the catch. The moment your walls sit under mixed daylight and LED bulbs, screen-to-paint translation gets shaky fast. When a shortlist stops narrowing or two candidates look identical on-screen, stop scrolling and go sample it in person.
How do you test if a paint color actually matches?
This is where most DIY matches fall apart, and it’s also the easiest step to rush. Paint a swatch on a primed sample board, at least a 2x2 foot section, or a few smaller 4x4 inch chips if you’re comparing several candidates side by side.
Understanding ΔE: Color scientists measure the gap between two colors using ΔE, or Delta E, a single number representing color distance in Lab space. A ΔE of 2 or under is usually invisible to the eye on a wall. Between 2 and 5, the difference is small but can show up under bright light, so test it side by side. Above 5, most people notice the mismatch immediately.
- Let the swatch cure for a full 24 to 48 hours; wet paint reads differently than dry.
- View it at different times of day and from different angles, since lighting shifts perceived color more than most people expect.
- Check sheen under a raking light, since a flat-versus-eggshell mismatch is often more obvious than a slight color shift.
- For small touch-ups, dilute water-based paint by 5 to 10% and feather the edges with a brush or light roller to blend the transition.
Why is matching wood stain harder than matching paint?
Wood stain matching is trickier because the wood itself is a variable. Species, grain pattern, and the topcoat all shift the final color, and stain often changes noticeably between wet application and dry, cured finish.
- A simple chip comparison rarely works on wood, since raw stain looks nothing like stain under polyurethane.
- Professional stain matching or a ready-to-match kit accounts for the topcoat’s amber tint and sheen.
- Build a test board the same way pros do: apply a base coat, let it dry fully, then layer toners or glazes until the tone blends with the original.
If the stairs or cabinets in question matter to you visually, this is one case where guessing costs more than testing.
Touch-up or full repaint: how do you decide?
Sometimes the smartest move isn’t a better match. It’s skipping the touch-up altogether.
- Repaint the whole wall if the existing paint has visibly faded, collected years of grime, or already has multiple failed touch-up spots layered on top of each other.
- Repaint corner-to-corner on large, high-visibility areas, since even a near-perfect ΔE can catch light differently in a patch versus a full coat.
- Stick with a touch-up for small, low-traffic areas like a closet interior or a baseboard nick.
- Factor in cost: a gallon of paint and an afternoon usually beats hiring someone twice, once for a bad patch and once to fix it.
How do you store matched paint for future touch-ups?
Getting the match right once is only half the win. Storing it properly means you don’t have to repeat the whole process next year.
Seal the can tightly, and if you only used a small amount, transfer the remainder into a smaller, fully-filled container like a mason jar or a paint pouch. Extra air in a half-empty gallon speeds up skinning and separation. Store it somewhere with stable temperature, away from freezing garages or hot attics, since both extremes break down the resin and binders over time.
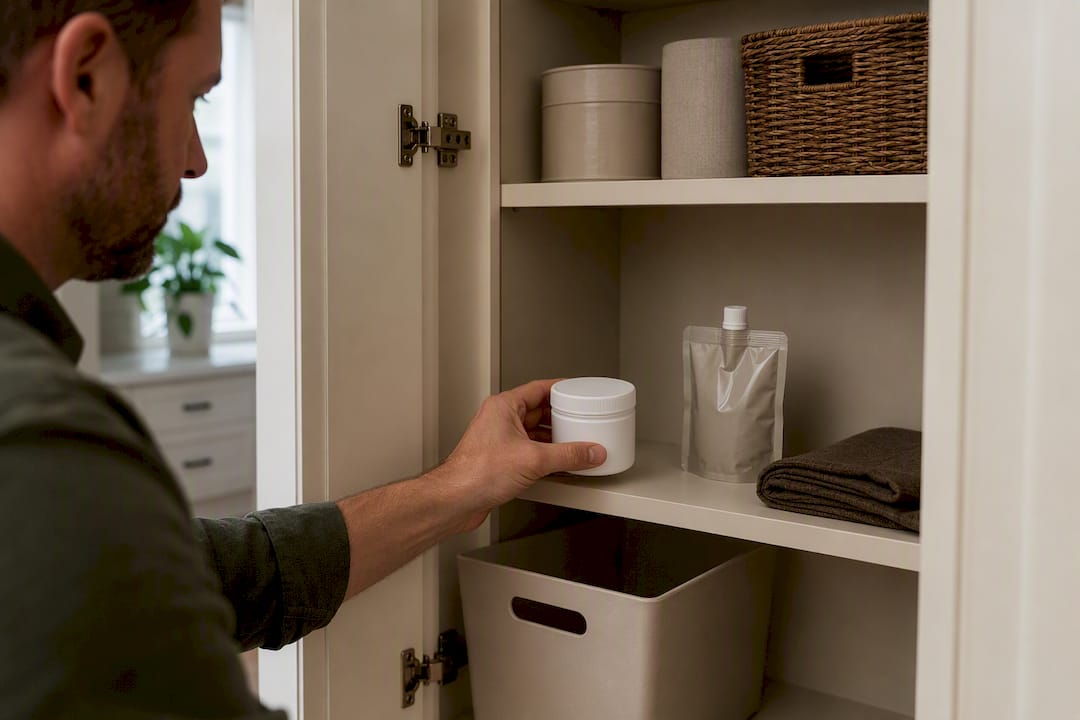
Label the container with the formula code, sheen, brand, room, and the date it was mixed. Six months from now, you won’t remember whether that closet was “eggshell” or “satin,” and the paint counter will need that formula code to remix an exact batch if you run out. A strip of masking tape with a marker works fine, but a printed label lasts longer if the can sits in storage for years.
Give the can a hard shake or a stir before every future use, since even sealed paint separates slightly over time. If a lid has been off before, check for a skin on top and remove it fully. A small skin fragment mixed back in will show up as a fleck once it’s rolled onto a matched wall, undoing all the careful work that went into getting the color right in the first place.
When is DIY paint matching enough, and when do you call a professional?
DIY chip-and-scan matching works well for small, low-stakes touch-ups: a scuffed baseboard, a nail hole, a closet wall nobody scrutinizes. Where it gets risky is anything visible at scale, anything with a warranty attached, or finishes like cabinets and wood stain where sheen and undertone shift the whole result.
Professionals bring controlled scanning equipment, the ability to tweak a formula on-site rather than guess again next week, and enough sheen and surface-prep experience to catch problems before they show up on the wall. Sigma Painting handles interior repaints, cabinet refinishing, and stair staining across the GTA, which covers most of the situations where a mismatch would actually cost you something.
— Enrico
How Sigma Painting handles paint matching and touch-ups
Professional painting services are the direct alternative to trial-and-error DIY matching for anyone who wants a guaranteed result on the first try. Instead of cutting your own chip and hoping the counter formula holds up under your lighting, our team handles the scanning, sheen verification, and sample testing as part of the job, so you get one visit instead of three trips back to the paint store.

Our services cover interior touch-ups and full repaints, custom color consultations, cabinet repainting, and stair and deck stain matching for homes and properties across the GTA. A typical consultation often starts with an on-site assessment of the existing finish, sheen, and lighting conditions, followed by a written quote before any work begins. If your project involves matching an existing sheen on doors or trim, our team also accounts for how gloss level affects the final look, not just the color itself.
If you’re staring at a faded wall or a cabinet finish that’s tricky to reproduce, book an assessment with Sigma Painting and skip the guesswork entirely.
Sources
- How to match paint colors — Sherwin‑Williams (industrial article)
- Composite Paint color-matcher tool explanation
- How is color measured: calculating Delta E — Alpolic Americas


