
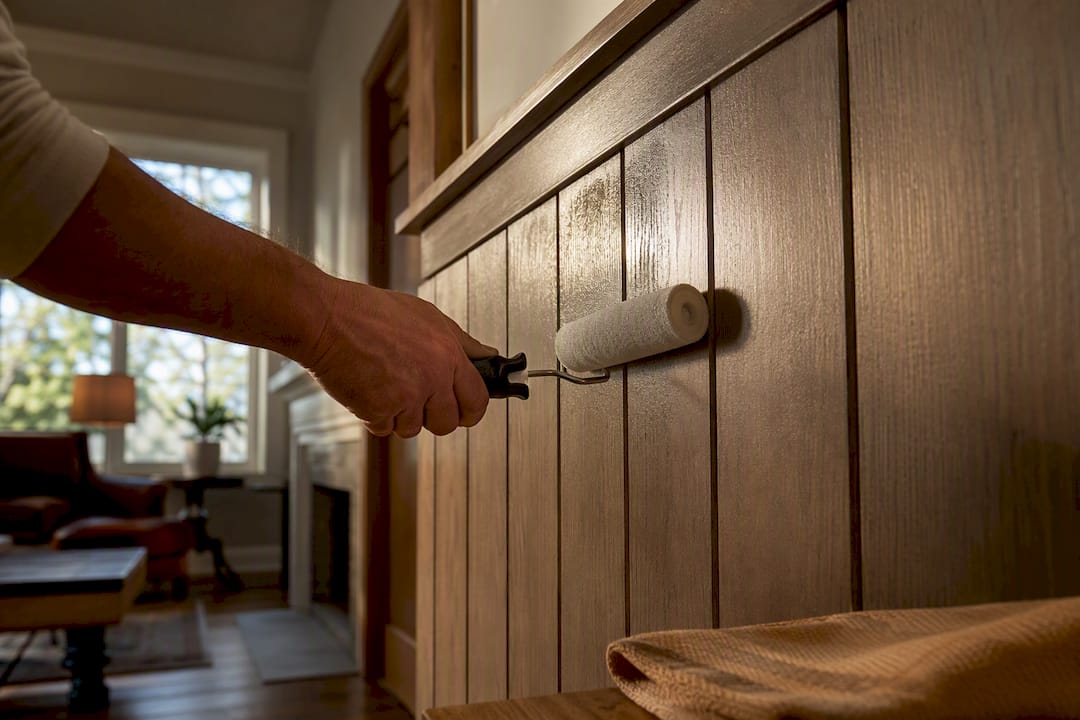
Wood paneling finishing comes down to five steps done in the right order: clean and repair the surface, decide whether to fill the grooves, scuff-sand to kill the mill glaze, prime with a tannin-blocking or bonding primer, then topcoat with eggshell or satin paint (or a penetrating oil for natural wood). Skip the primer step and dark streaks bleed through within weeks. This problem is common on jobs where a homeowner tried paint alone first.
TL;DR:
- Using the correct primer is critical; oil-based for knotty woods, shellac for stains, and bonding primer for glossy surfaces to prevent bleed-through.
- Fully drying and thoroughly cleaning the panels before sanding and priming are essential to ensure the finish lasts between five to ten years.
- Filling grooves with joint compound creates a smooth wall but adds time, while leaving them intact offers a faster finish that highlights natural wood texture.
- Sanding to 180-220 grit after applying primer breaks the mill glaze and ensures better paint adhesion, especially on factory-milled surfaces.
- Eggshell and satin sheens work best for paneling; semi-gloss highlights surface imperfections and is generally avoided unless grooves are filled and sanded flat.
Table of Contents
- What You Need Before You Start Finishing Wood Paneling
- How Do You Clean and Prep Paneling Before Finishing?
- Should You Fill the Grooves or Keep Them?
- Sanding and Priming: Getting the Surface Ready
- Which Paint Sheen and Finish Work Best on Paneling?
- How Do You Finish the Top Edge of Wood Paneling?
- Wood Paneling Care Tips to Keep the Finish Looking New
- Sigma Painting’s Quick Prep Checklist and When to Call a Pro
- What’s the Best Way to Stain Wood Paneling Instead of Painting It?
- What Homeowners Get Wrong About Finishing Paneling
- Want the Finish Done Right the First Time?
- Sources
What You Need Before You Start Finishing Wood Paneling
Buying the wrong primer is the single most common reason a paneling project fails halfway through. Get the supply list right first and the rest of the job moves fast.
Tools and protective gear:
- Random orbital sander (5 inch, with 150, 180, and 220 grit discs)
- Angled sash brush (2.5 inch) for grooves and corners
- Foam roller (4 inch mini for grooves, 9 inch for flats)
- Tack cloth and a shop vacuum with a brush attachment
- Respirator rated for organic vapors, plus safety glasses
- Canvas drop cloths (plastic sheeting slides and tears too easily)
Primer, by problem:
| Panel condition | Primer type | Why |
|---|---|---|
| Knotty pine, cedar, older paneling | Oil-based primer | Blocks tannin bleed-through |
| Smoke damage, water stains, odor | Shellac-based primer | Fastest, hardest stain block available |
| Glossy factory veneer | Waterborne bonding primer | Grips slick factory finishes without sanding through |
Topcoats split into two camps: acrylic paint for a painted look, or penetrating oil and waterborne polyurethane if you’re keeping the wood exposed. Oil-based products and shellac primer both carry strong fumes, so plan for cross-ventilation (a box fan in one window pulling air out, a cracked window elsewhere pulling air in) for the full drying window, not just while you’re actively brushing.
How Do You Clean and Prep Paneling Before Finishing?
Surface prep decides whether your finish lasts five years or five months. Skipping it is the number one reason paint peels off paneling within a season.
- Dust and vacuum first. Grooves trap years of debris that will scratch your cleaning cloth and grind into the wood if you skip this.
- Wash with a mild solution. A few drops of dish soap in lukewarm water handles most grime; for grease near kitchens or fireplaces, a pH-balanced wood cleaner works better than harsher degreasers. Test any cleaner in a hidden corner first, and stay away from hot water, which raises the wood grain and leaves a rough texture.
- Inspect while it’s wet. Loose panels, soft or delaminating veneer, and dark rot stains show up more clearly on damp wood. Flag anything spongy to the touch.
- Let it dry fully. Twenty four hours minimum in normal humidity before you sand or prime. Trapped moisture under a fresh coat is what causes bubbling weeks later.
Panels with rot, active mold, or veneer lifting at the seams need repair or replacement before finishing goes anywhere near them. Painting over a wet or damaged panel just hides the problem for a month.
Pro Tip: Keep the room between 68 and 72°F with humidity around 45 to 55% while you work. Outside that range, both drying time and adhesion suffer, and thin coats can cure unevenly.
Should You Fill the Grooves or Keep Them?
This is the fork in the road that determines your entire timeline. Filling grooves gets you a smooth, drywall-like wall. Leaving them gets you a faster job that still shows the panel lines once painted.
Filling is the better choice if you want the room to look like it was never paneled. Keeping the grooves is the better choice if you’re short on time, working with real wood grain you want to show through paint texture, or finishing a large area where full flattening isn’t practical.
To fill grooves for a smooth wall:
- Apply joint compound or lightweight spackling into each groove with a flexible putty knife
- Let it dry completely (usually 24 hours, longer in humid rooms)
- Sand flush with 150 grit, then 220 grit for a final smooth pass
- Fill grooves with joint compound in thin passes rather than one thick fill. Thick fills shrink and crack as they cure.
If a full fill feels like too much, a flexible acrylic caulk run along just the seams, followed by light feathering with a putty knife, gets you 80% of the smoothed look in a fraction of the time.
Sanding and Priming: Getting the Surface Ready
Factory-milled paneling comes with a hardened surface layer called mill glaze, created by the heat and pressure of the milling process. It seals the wood’s pores, and paint or stain applied over it soaks in unevenly, leaving blotchy patches. Sanding to 180–220 grit breaks through that glaze and gives primer something to actually grip.
- Standard solid wood panels: sand with 150 grit first, then 220 grit to smooth
- Thin veneer panels: light scuff-sanding only, by hand if possible, since aggressive sanding can cut through the face veneer and expose the substrate underneath
- Freshly filled grooves: re-sand after the compound cures, then re-prime that specific area before priming the whole wall
Prep work, done right, accounts for roughly 60 to 70% of a finishing job’s success, according to industry estimates from finishing professionals. Most of that time goes to sanding and cleaning, not the actual painting.
Apply primer with an angled brush into the grooves first, then follow immediately with a foam roller on the flat sections while the brushed primer is still wet. This avoids visible lap marks where brush and roller overlap. Give it the full cure time on the can (usually 24 hours for oil and shellac primers) before sanding lightly and moving to your topcoat. Our priming guide for bare wood covers common adhesion mistakes in more detail.
Which Paint Sheen and Finish Work Best on Paneling?
Eggshell and satin are the two sheens that consistently work on paneling; for more on choosing paint sheen, see What is the Best Sheen for Interior Doors? Semi-gloss and gloss reflect light unevenly across grooves and any leftover surface texture, which makes every imperfection more visible rather than hiding it.
- Eggshell: Best for living rooms and bedrooms where light hits the wall at an angle throughout the day
- Satin: Slightly more washable, a better fit for hallways, mudrooms, or family rooms with more traffic
- Semi-gloss: Generally avoided on paneling unless the grooves are fully filled and sanded flat
If you’re keeping the wood natural instead of painting it, the choice shifts to penetrating oil versus film-forming polyurethane. Oils soak into the grain and preserve the texture and variation between individual boards, which matters a lot on reclaimed or weathered wood. Polyurethane builds a harder, more durable surface film but tends to flatten out the character between boards, making mismatched planks look more uniform. For reclaimed wood specifically, a lighter penetrating finish is usually the smarter call since heavy film finishes strip away patina you can’t easily get back.
Application order that avoids streaks:
- Cut in the grooves and corners with a brush before touching the roller to anything
- Roll the flat panel faces immediately after, working in one direction with light, even pressure
- Apply two thin coats rather than one heavy one; thick coats sag and show roller marks once dry
- Sand lightly with 220 grit between coats to knock down raised grain and dust nibs
- For rooms with a lot of square footage, renting a fine-finish sprayer cuts labor time significantly and gives a smoother result than rolling alone, provided you mask thoroughly first
Pro Tip: Denib between coats with a fine sanding sponge, then wipe with a tack cloth. That thirty-second step is what separates a finish that looks brushed by hand from one that looks factory-sprayed.
How Do You Finish the Top Edge of Wood Paneling?
The seam where paneling meets the ceiling is where DIY jobs usually fall apart visually, mostly because the original cut line was never perfectly straight to begin with.
- Cap molding covers uneven top cuts cleanly and gives you a crisp shadow line at the ceiling
- Chair rail works if the paneling stops partway up the wall rather than running full height
- Narrow reveal trim suits a more modern look where you want a thin, deliberate gap instead of a molded edge
Before installing any trim, seal exposed end grain with primer or a dedicated edge sealer. Raw end grain soaks up humidity faster than the face of the board, which causes swelling and cracked paint right at the seam. Caulk any gap between trim and paneling before you paint, and leave a hairline gap rather than jamming trim in tight. Wood expands and contracts with the seasons, and trim installed with zero movement allowance tends to crack along that joint within a year or two.
Wood Paneling Care Tips to Keep the Finish Looking New
Most maintenance mistakes come from using the wrong cleaner, not from letting too much time pass between cleanings.
- Wipe with a diluted mild soap solution in lukewarm water, never hot
- Test any new cleaning product in an inconspicuous spot before using it on the full wall
- Dry the surface completely after cleaning; standing moisture is what eventually causes finish failure at seams
- Spot-treat greasy fingerprints or kitchen residue right away rather than letting them set
- If a section is worn through to bare wood, patch and blend it locally instead of stripping and recoating the entire wall
- Keep indoor humidity in the 45 to 55% range where practical; big swings cause boards to expand and contract, which stresses the paint film at every seam
A wall that gets this kind of light, regular attention rarely needs a full repaint for years. One that gets ignored until it looks bad usually needs more prep work the second time around than it did the first.
Sigma Painting’s Quick Prep Checklist and When to Call a Pro
A tight version of everything above, for reference while you’re working:
- Clean and let dry 24 hours
- Inspect for damage, repair or replace as needed
- Decide: fill grooves or keep them
- Sand to 180 to 220 grit, vacuum, tack cloth
- Prime with the correct type for your wood, let cure fully
- Topcoat in two thin coats, sanding lightly between them
Some jobs are worth handing off. Thin veneer paneling that can delaminate under aggressive sanding, heavy tannin or smoke bleed that keeps showing through multiple primer coats, large rooms where spray equipment makes more sense than rolling, and detailed trim or scribing work around irregular walls are all situations where an experienced painter saves you from a costly redo.
What’s the Best Way to Stain Wood Paneling Instead of Painting It?
Staining suits paneling with decent wood grain worth showing off, and it skips the priming and filling steps that painting demands. The method changes depending on what you’re starting with.
For solid wood paneling in good shape, a penetrating oil stain applied with a rag or brush, wiped back after 5 to 10 minutes of soak time, brings out grain variation without building a thick surface film. Gel stains work better on vertical panel surfaces since they cling instead of running, which matters more on a wall than it does on a horizontal tabletop.
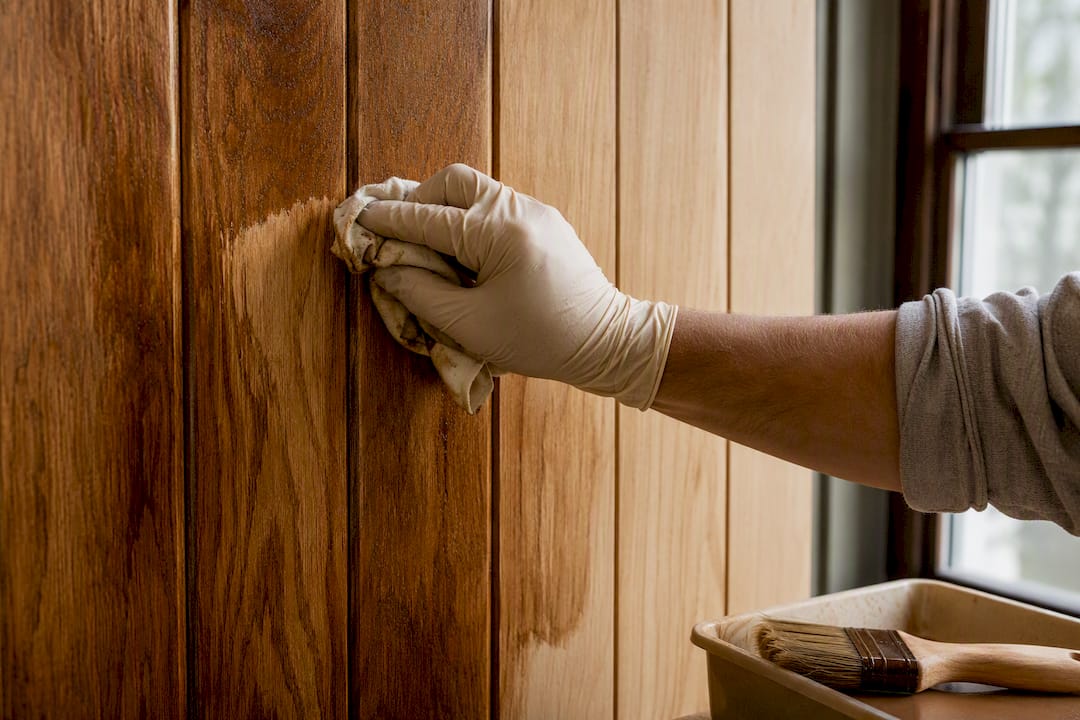
If you’re refinishing paneling that already has an old finish, you need to strip or heavily sand it first. Stain will not penetrate through existing polyurethane or varnish; it just sits on top and wipes off uneven. Test any stain on a scrap piece or hidden section first, since paneling species and even individual boards absorb color at different rates.
Once the stain has dried fully (check the can, but 24 hours is typical), a topcoat protects it: satin polyurethane for durability, or a penetrating oil finish if you want to preserve a more matte, natural look. Reclaimed or already-weathered wood generally does better with the lighter oil route, since a heavy poly film can flatten out the character that made the reclaimed look appealing in the first place.
What Homeowners Get Wrong About Finishing Paneling
The advice most people find online treats priming as an afterthought, something you do quickly before the “real” work of painting begins. That’s backwards. The primer decision, oil for tannins, shellac for stains and smoke, bonding primer for slick veneer, is what actually determines whether the finish holds up. Get that choice wrong and no amount of careful brushwork saves you from bleed-through six months later.
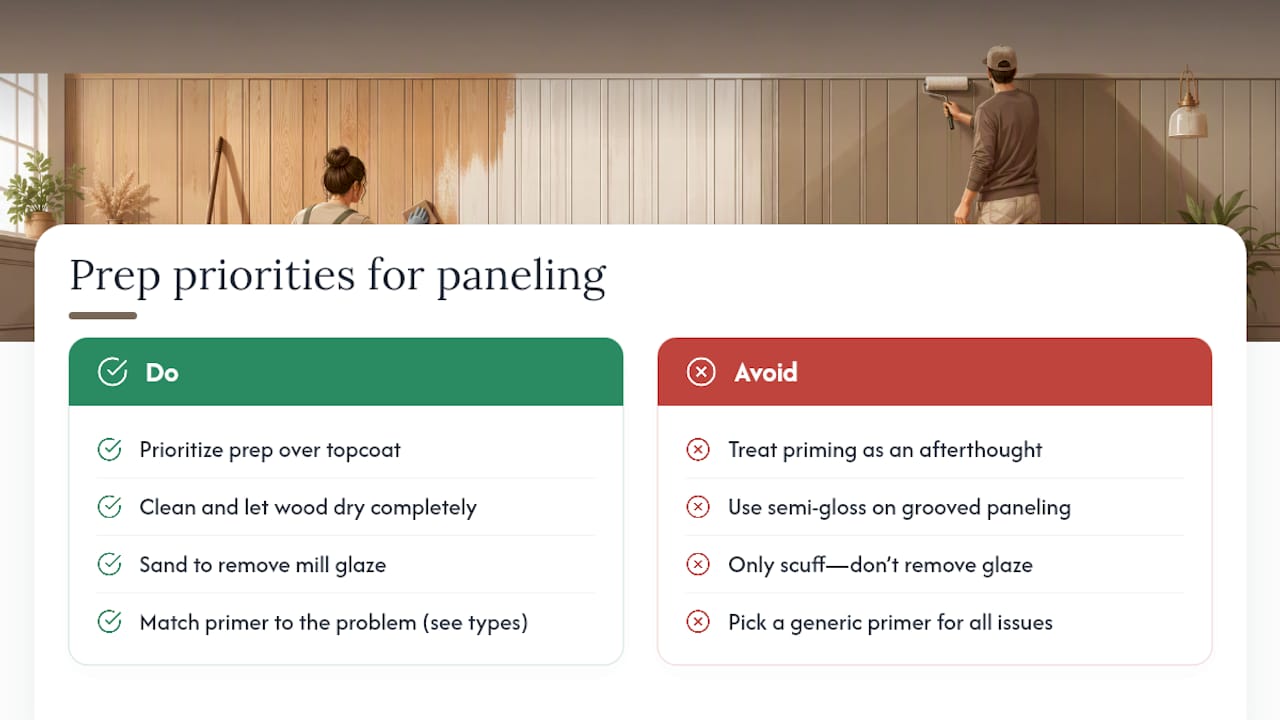
The other place conventional advice falls short is sheen. Plenty of guides suggest semi-gloss for a “clean, modern” look, without mentioning that grooved paneling under semi-gloss shows every roller mark and surface imperfection under normal room lighting. Eggshell and satin exist for a reason on this particular surface.
If you take one thing from this article, prioritize the prep sequence over the paint itself: clean thoroughly, let it dry completely, sand to actually remove the mill glaze rather than just scuffing the surface, and match your primer to the specific problem your wood presents. The topcoat is the easy part. Everything before it is where the job either succeeds or quietly starts to fail.
— Enrico
Want the Finish Done Right the First Time?
Filling grooves, matching primers to tannin and smoke issues, and keeping a spray finish streak-free takes real time that most homeowners don’t have to spare on a weekend. Professional painters handle exactly this kind of job, including veneer-safe sanding techniques, spray application for larger rooms, and cabinet-grade finishes when paneling extends into kitchens or built-ins.

At the estimate stage, expect a walkthrough of your specific paneling, guidance on whether the grooves should be filled or preserved, and a fixed price before any work starts. Projects typically include full prep, masking, and cleanup to minimize inconvenience.
If your paneling needs a full room refresh, our interior painting services cover the complete process from prep through final coat. For paneling that extends into cabinetry or built-in shelving, our cabinet painting and refinishing work uses the same veneer-safe techniques covered above, applied by people who do this every week. Request a quote and we’ll tell you straight whether your project is a weekend DIY job or one worth handing off.
Sources
- How to Paint Wood Panelling Like a Pro | Benjamin Moore
- How to Paint Wood Paneling | Family Handyman
- Veneer finishing and production manual | FWPA


