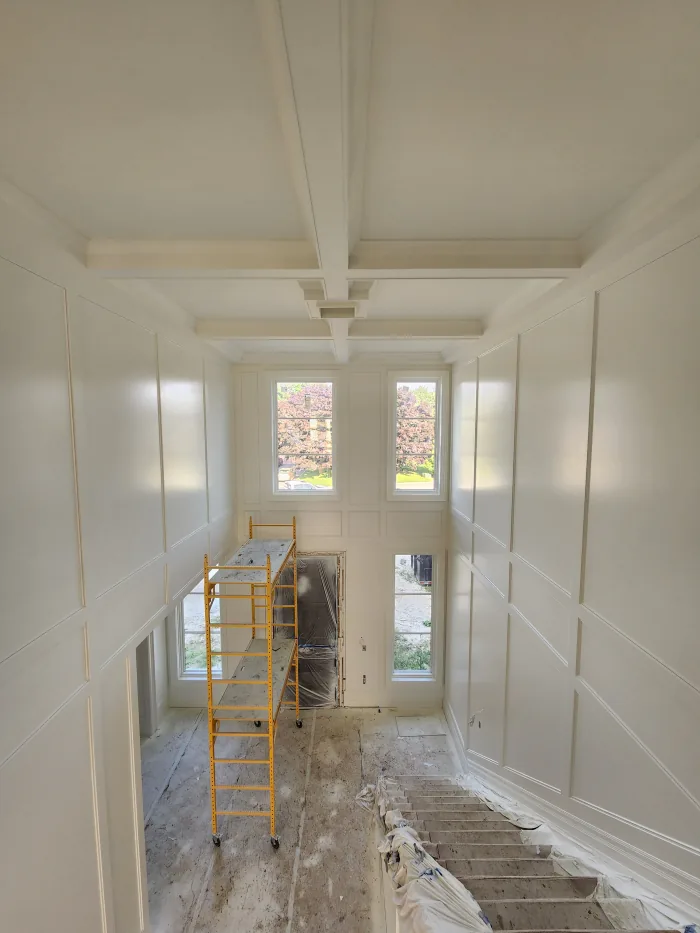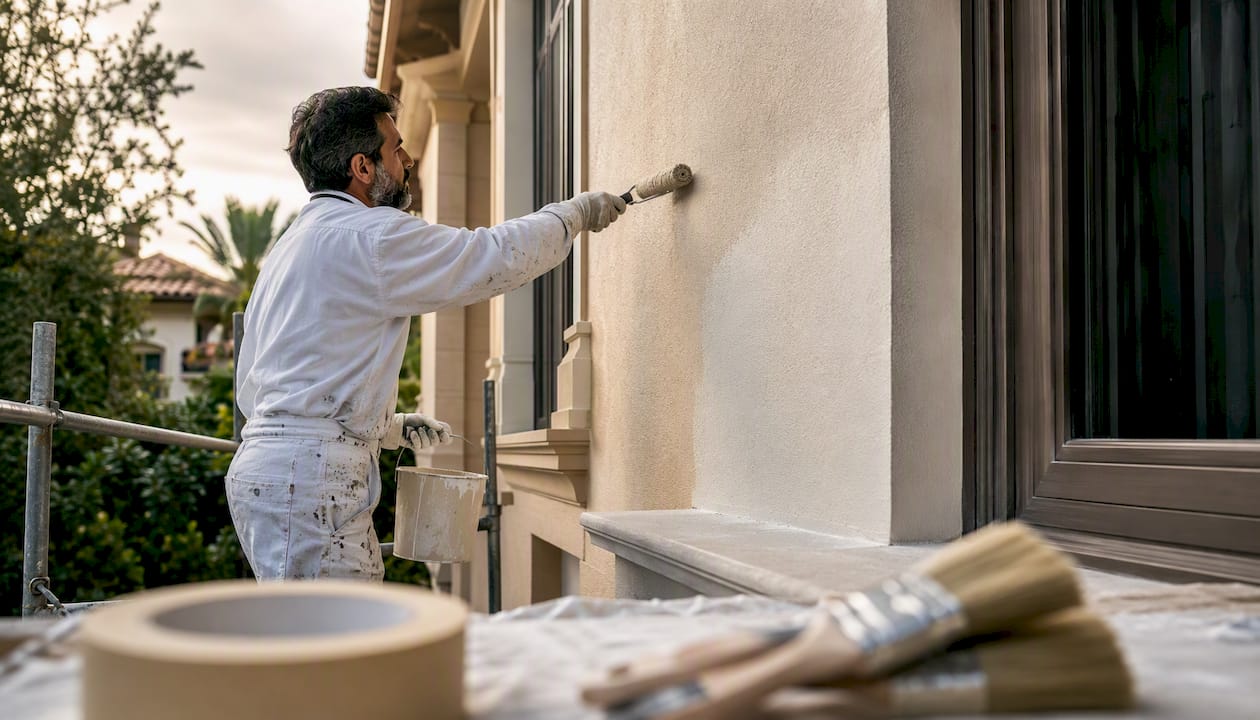
Weather will delay your exterior painting project unless four measurable conditions are met: air and surface temperature, relative humidity, dew-point margin, and an appropriate rain window before and after application. A field audit across 47 homes found that every single paint failure traced back to one of those four variables. Get all four right, and your job runs on schedule. Miss even one, and you’re looking at adhesion failures, washout, or a full recoat.
Before any exterior coat goes on, verify these four conditions:
- Air and surface temperature: Both must be within the product’s rated range, typically 10°C–32°C (50°F–90°F) for most latex/acrylic paints.
- Relative humidity (RH): Target moderate relative humidity levels. Above high humidity thresholds, drying slows sharply and defects become likely.
- Dew-point margin: Surface temperature must sit at least 5°F (≈3°C) above the dew point and be rising, not falling.
- Rain window: No rain for a sufficient period before application, and adequate dry time after the final coat.
The label minimum for rain resistance on many latex products is 2–4 hours. Treat that as a floor for ideal conditions only. In Canadian spring or fall weather, a full 24-hour dry day is the safer planning target.
Key Takeaways
Weather delays exterior painting when any one of four variables falls outside spec: temperature, humidity, dew-point margin, or the rain window before and after application.
| Point | Details |
|---|---|
| Four variables control every job | Check air/surface temperature, RH, dew-point margin (5°F/3°C minimum), and the rain window before scheduling. |
| Label minima are a floor, not a plan | Manufacturer rain-safe times of 2–4 hours apply only under ideal conditions; plan for 24 hours in cool or humid weather. |
| Drying and curing are different | Latex/acrylic is touch-dry in 1–2 hours but fully cures in 30 days; a dry-feeling coat is still vulnerable to rain. |
| Build 48–72 hours into every schedule | Require a 48-hour dry window after the final coat; extend to 72 hours in cooler or humid GTA conditions. |
| Sigma Painting | Provides written weather clauses, daily dew-point checks, and no-cost reschedules for GTA exterior projects. |
Table of Contents
- 1. Weather factors that actually cause painting delays
- 2. Drying vs. curing: how long before paint is safe from rain
- 3. Temperature, humidity, and the dew-point rule for Canadian projects
- 4. What a professional painter will do when weather isn’t cooperating
- 5. How homeowners and property managers can reduce weather-related delays
- 6. Timeline examples and typical delay lengths for GTA exterior jobs
- 7. Signs weather damaged the paint and how to handle repairs
- 8. Choosing paint and primers for variable Canadian weather
- 9. Sigma Painting’s perspective on weather and GTA exterior jobs
- Sigma Painting’s exterior service is built around the GTA’s weather reality
- Sources
1. Weather factors that actually cause painting delays
Rain, temperature swings, humidity, dew, wind, direct sun, and freeze-thaw cycles each attack a fresh coat differently. Understanding the mechanism helps you recognize when a delay is genuinely necessary versus when a contractor is being overly cautious.
Rain and surface moisture prevent adhesion at the most basic level. Water sitting on a substrate blocks the paint from bonding, and rain hitting a wet film causes washout or surfactant leaching, which shows up as streaky, soapy residue once it dries. Even a surface that looks dry after overnight rain can hold enough moisture in wood grain or masonry pores to cause failure.
Temperature controls how paint coalesces. Below about 10°C (50°F), latex and acrylic particles don’t fuse properly, leaving a brittle, chalky film. Above 32°C (90°F), the film skins too fast, trapping solvents and causing blistering. Manufacturers recommend avoiding painting below roughly 50°F or above 90°F for most products, and the product Technical Data Sheet (TDS) lists the exact range for each formula.
Humidity is the factor most homeowners underestimate. Research confirms that humidity often has a larger effect than temperature on water-based paint drying: high RH limits evaporation, dramatically lengthening open time and slowing cure.
Dew point is the invisible one. A surface can feel dry and still be below the dew point, meaning condensation is forming on it even without visible moisture. The professional rule: surface temperature must be at least 5°F above the dew point and rising before any coat goes on.
Wind sounds harmless but causes two problems. Light wind (under about 25 km/h) actually helps drying. Strong or gusty wind drives dust and debris into wet paint, causes uneven drying, and can push a coat dry before it has properly bonded on porous substrates.
Direct sun and heat on dark surfaces in summer can push surface temperatures well above air temperature. A south-facing wall painted black or navy in July afternoon sun may hit 50°C+ at the surface even when the air is 28°C, causing flash-drying and lap marks.
Freeze-thaw cycles are a particular concern in the GTA and across Ontario. A coat applied in October that looks fine at 3 PM can be compromised by a 2°C overnight low. Some modern acrylics advertise low-temp application down to the mid-30s°F, but cure times lengthen substantially and the overnight low must stay in-spec for the full 36-hour cure window to get a reliable finish.
Canada-specific notes: Coastal British Columbia brings persistent fog and high RH that can push conditions outside spec even on sunny days. Inland prairie regions swing from hot afternoons to cold nights within hours. The GTA sits in a middle zone: spring showers arrive fast, summer afternoon thunderstorms are common, and fall dew forms early. Scheduling around these patterns is a skill, not just a weather check.
2. Drying vs. curing: how long before paint is safe from rain
These two terms are not interchangeable, and confusing them is one of the most common sources of weather-related paint damage.
Drying means the surface film has formed. The paint feels solid to the touch. Curing means the full chemical crosslinking has completed and the film has reached its rated hardness and water resistance. A coat that is dry to the touch can still be damaged by rain, because curing continues for days or weeks after application.
Typical exterior latex/acrylic dries to the touch in 1–2 hours and allows recoat in 4–6 hours, but full cure takes days to weeks. Oil-based systems are slower: recoat typically requires 24 hours, and full cure can stretch across several weeks. Here’s a quick planning reference:
| Stage | Latex/Acrylic | Oil-Based |
|---|---|---|
| Touch dry | 1–2 hours | 6–8 hours |
| Recoat window | 4–6 hours | 24 hours |
| Rain-safe (label min.) | 2–4 hours | 24+ hours |
| Safe planning window | 24 hours | 48+ hours |
| Full cure | 30 days | Weeks |
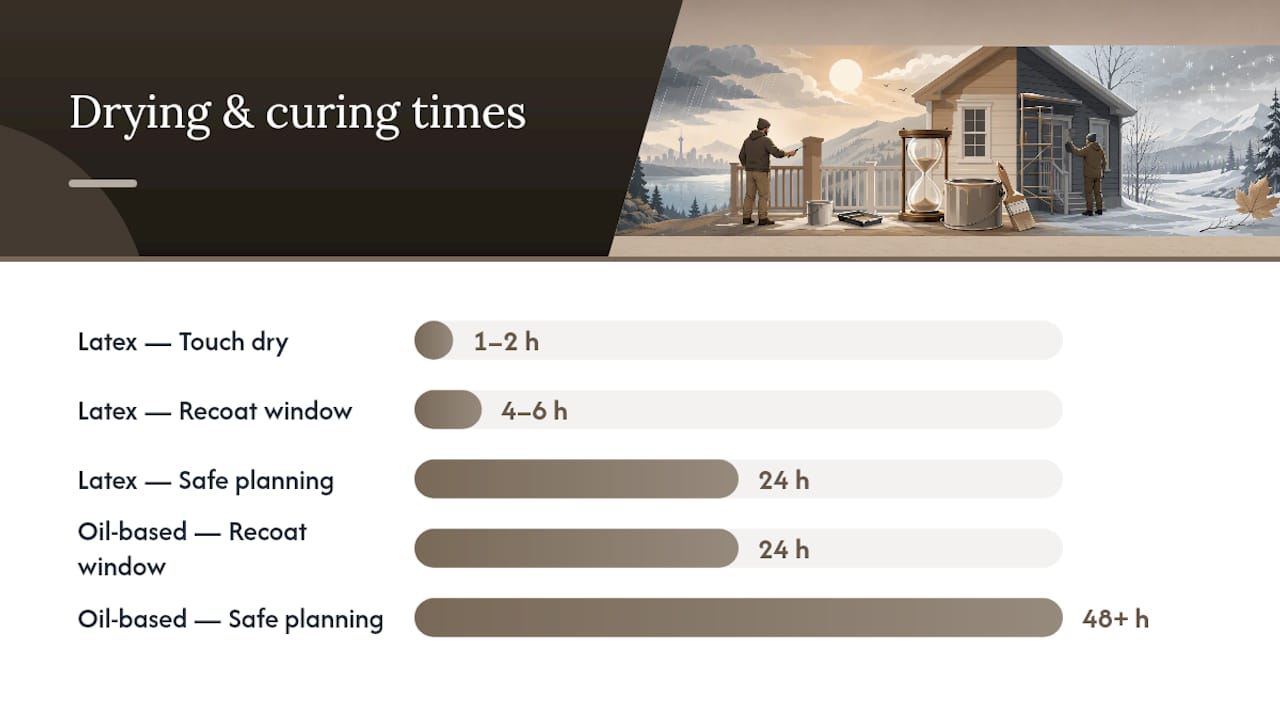
Manufacturer label minima of 2–4 hours are an ideal-condition floor. In cool or humid weather, a full dry day of roughly 24 hours is the safer planning window to avoid rain damage. Always pull the product TDS and treat the label minimum as the absolute floor, not the schedule target.
Pro Tip: If you’re unsure whether a coat is rain-safe, press your thumbnail lightly into an inconspicuous spot. If it leaves a mark, the film is still soft and vulnerable. Don’t rely on touch-dry feel alone.
3. Temperature, humidity, and the dew-point rule for Canadian projects
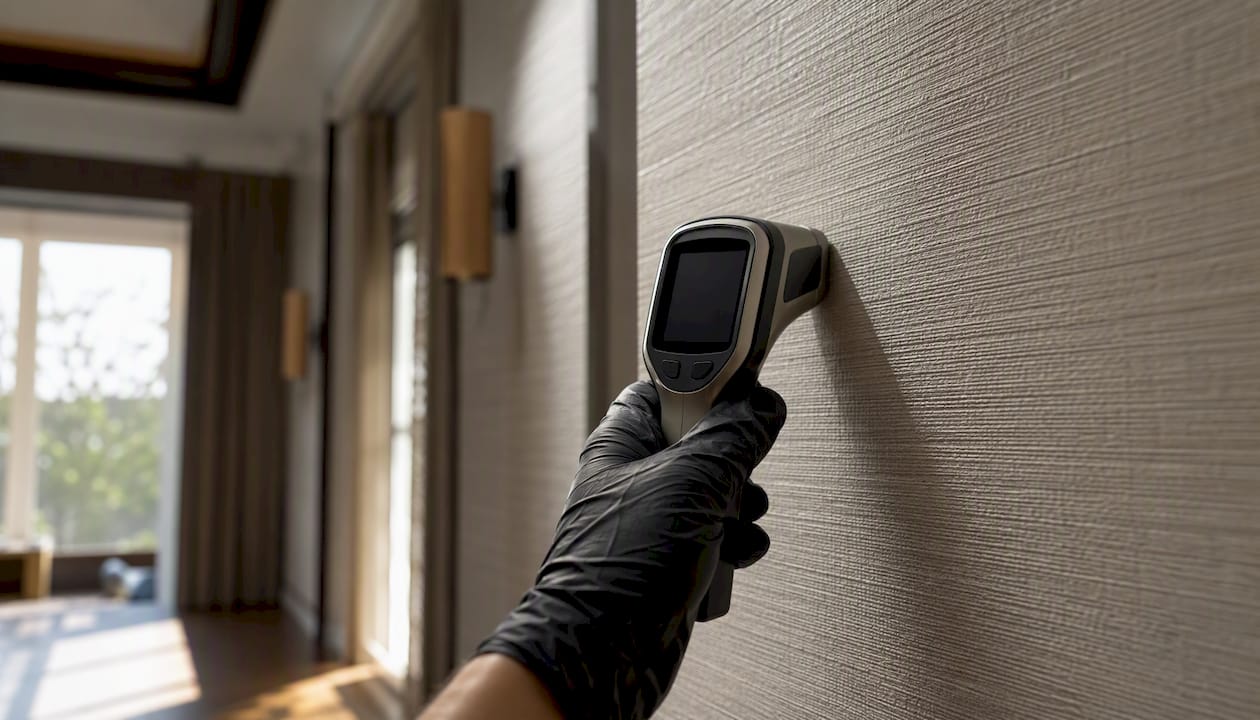
Temperature thresholds in practice: A 10°C air temperature sounds manageable in April, but a north-facing wall in shade can sit at 5°C or below. Conversely, a south-facing brick wall in July can hit 45°C surface temperature while the air reads 27°C. Both extremes cause failure. The professional rule is to apply paint only when the substrate temperature is at least 5°F above the dew point and rising, and to measure surface temperature with an infrared (IR) thermometer, not by feel. For more detail on exterior painting temperature ranges specific to the GTA, Sigma Painting’s guide covers the local nuances.
That morning window is often outside spec. Painting after 10 AM and stopping by 4 PM, before evening dew begins to form, is a practical scheduling rule for much of May and September.
Measuring dew point: You don’t need to calculate it manually. A sling psychrometer (wet-bulb/dry-bulb thermometer) gives you both RH and dew point directly. An IR thermometer gives you surface temperature. Together, they cost under $100 and give you far better go/no-go data than checking the weather app.
Pro Tip: Check surface temperature and dew point at the start of the day, again at midday, and once more in the late afternoon. Conditions shift fast in Ontario, especially in spring and fall. A surface that was 8°C above the dew point at 9 AM can drop to within 2°C by 5 PM as the temperature falls and dew point rises.
4. What a professional painter will do when weather isn’t cooperating
A good contractor doesn’t just stop and go home. They follow a decision sequence that keeps the project moving while protecting the work already done.
- Measure before touching a brush. Surface temp, air temp, RH, and dew-point margin get checked at the start of every day. If any variable is out of spec, no coating goes on until it comes back into range or the forecast confirms it will.
- Shift to sheltered prep tasks. Field crews move to sanding, caulking, masking, and priming in protected areas when a rain window arrives. A rain day doesn’t have to be a lost day if prep work remains.
- Protect wet film. If rain arrives unexpectedly during application, crews cover fresh coats with plastic sheeting or tarps. Scaffolding and lifts get secured. The goal is to protect what’s already on the wall, not to race to finish.
- Call the client. A professional contractor communicates the delay the same day, documents the weather condition that caused it, and proposes a revised schedule in writing.
- Reschedule with a confirmed window. Rather than resuming at the first break in clouds, experienced crews wait for a confirmed 48–72-hour dry window before applying the next coat.
Contract language to request: Ask for a written weather clause that defines acceptable conditions, a no-cost reschedule provision when weather falls outside those conditions, and a documented daily weather log. If weather-related rework is needed because the contractor painted outside spec, that cost should sit with the contractor. If the homeowner pushed for application against the contractor’s recommendation, that changes the equation. Get the decision in writing either way.
Pro Tip: Ask your contractor how they track the forecast. Experienced crews use hourly radar and NOAA-style hourly forecasts for go/no-go decisions, not just the daily high. A contractor who checks the weather app once in the morning and calls it good is working with incomplete data. For guidance on choosing a painting contractor with proper weather protocols, Sigma Painting’s homeowner checklist covers the right questions to ask.
5. How homeowners and property managers can reduce weather-related delays
Most weather delays are predictable. A few pre-project steps and the right contract language cut the risk significantly.
Site prep checklist before the crew arrives:
- Turn off all sprinkler systems at least 48 hours before the start date.
- Clear drainage paths around the foundation so standing water doesn’t pool against the siding.
- Move vehicles, patio furniture, and planters away from the work area.
- Trim back shrubs and trees that hold moisture against the wall.
- Confirm the surface is clean and dry. Pressure washing should happen at least 48–72 hours before painting, not the day before.
Scheduling tips:
- Build a 48–72-hour dry window into the project plan before the first coat and after the final coat. In cooler or humid conditions, extend that to 72 hours.
- Avoid scheduling dark colors on south- or west-facing walls for mid-July through August afternoon application. Surface temps on those elevations can push well past the product’s upper limit.
- Plan coat applications for the morning, giving the film maximum drying time before evening dew.
- Check the exterior painting cost implications of delays before signing a contract. Rescheduling and rework add up.
Forecast tools worth using: Environment and Climate Change Canada’s hourly forecast at weather.gc.ca gives localized hourly data. The Weather Network’s radar tool shows incoming cells in real time. Pull both the morning of any scheduled coat day.
Contract items to request:
- A written weather clause defining the acceptable temperature, RH, and rain-window conditions for your project.
- A no-cost reschedule provision when weather falls outside those defined conditions.
- Documented daily weather checks by the crew, kept on file.
6. Timeline examples and typical delay lengths for GTA exterior jobs
A single rain event typically pushes an exterior painting schedule back 1–3 days. A cold snap in early May or late September can hold a project for a week or more. A full seasonal hold, common when a job starts in October and temperatures drop below spec, can push completion to the following spring.
Example 1: Single-wall day job, GTA, late May
- Day 1: Prep and prime (8 AM–12 PM). Afternoon thunderstorm arrives at 2 PM. Primer is 4 hours old and rain-safe by label minimum, but the crew covers the wall and calls the client.
- Day 2: Rain clears by 10 AM. Surface dries by noon. Crew returns at 1 PM, checks surface temp and dew point, applies coat 1.
- Day 3: Coat 2 applied in the morning. Total delay from the rain event: one day.
Example 2: Full-house repaint, GTA, September
- Week 1: Prep, prime, and coat 1 on three elevations. A two-day rain system arrives mid-week, pushing coat 2 back.
- Week 2: Coat 2 applied on two elevations. Overnight lows drop to 8°C, which is within spec but marginal. Crew monitors surface temp before each morning start.
- Week 3: Final elevation completed. Total delay from weather: 3–4 days added to a planned 8-day job.
Example 3: Multi-elevation commercial property, GTA, October
- Week 1: Prep complete. Temperatures drop to 6°C overnight by day 4. Latex application pauses. Crew shifts to interior prep work on the property.
- Weeks 2–3: Temperatures recover to 12°C daytime but overnight lows remain at 4–5°C. The contractor and property manager agree to hold the final two coats until the following spring. Partial seasonal hold: 5+ months.
GTA scheduling heuristic: The reliable exterior painting window in the GTA runs roughly from mid-May through mid-October, with the most dependable conditions in June and early September. Spring jobs should be scheduled with buffer for April and May showers; fall jobs need a hard cutoff date in the contract tied to overnight low temperature thresholds.
7. Signs weather damaged the paint and how to handle repairs
The most common weather-origin defects are surfactant leaching, washout, blistering, poor adhesion, and early chalking. Catching them early determines whether the fix is a simple touch-up or a full strip-and-recoat.
Symptom checklist:
- Surfactant leaching: Streaky, glossy, or soapy-looking residue on the surface, often appearing after the first rain following application. Usually cosmetic on the first occurrence. Wash with clean water and allow to dry. If it recurs after a second rain, the film may need to be recoated.
- Washout: Paint visibly thinned, streaked, or missing in patches after rain hit a wet coat. This is structural, not cosmetic. Strip the affected area, allow full drying, and recoat.
- Blistering: Bubbles under the film, caused by moisture trapped beneath or by flash-drying in heat. Small blisters that pop and leave craters need scraping, sanding, and spot-priming before recoat. Widespread blistering usually means the substrate wasn’t dry enough and the full section needs stripping.
- Poor adhesion: Paint peeling or flaking within weeks of application. Often caused by painting below the dew-point margin or on a surface that was too cold. Scrape, sand, prime, and recoat. If the substrate itself is damaged, address that first.
- Early chalking: A powdery surface appearing within the first season. Usually a sign the film cured too fast in heat or too slowly in cold, leaving a weak surface layer.
Who pays for weather-related rework? If the contractor applied paint outside the written weather spec, the rework cost sits with them. If the homeowner or property manager pushed for application against the contractor’s documented recommendation, the liability shifts. A written daily weather log and a signed weather clause in the contract make this conversation straightforward instead of adversarial.
8. Choosing paint and primers for variable Canadian weather
Choose a paint system rated for your expected temperature and humidity window, and confirm every spec against the product TDS before purchase. The label on the can is a summary. The TDS is the contract.
Buying checklist for Canadian exterior conditions:
- Temperature range: Confirm the product’s minimum application temperature. Most standard latex/acrylic products require 10°C (50°F) minimum. Some extended-season formulas are rated to 2°C (35°F), but those require strict cure-window monitoring.
- Recoat and rain-safe times: Check both. A product with a 2-hour rain-safe claim is only that fast under ideal conditions (20°C, 50% RH). In a 12°C, 70% RH GTA morning, add several hours.
- UV and adhesion properties: For south- and west-facing elevations in the GTA, UV resistance matters. Look for products with stated UV stabilizers and high-build formulas that hold up to thermal cycling.
- Primer compatibility: The primer and topcoat must be from a compatible system. Mixing brands without checking compatibility is a common source of adhesion failure that gets blamed on weather.
- Damp-substrate primers: For masonry, concrete, or wood that tends to hold moisture, a damp-surface primer extends the application window and reduces the risk of adhesion failure after rain.
Brand context: Benjamin Moore and Dulux both publish detailed TDS documents for their exterior lines, including temperature ranges, recoat windows, and humidity limits. Those documents are the authoritative reference for any product you’re using. Never rely on a contractor’s verbal summary of the specs. Pull the TDS yourself from the manufacturer’s website and compare it against your project’s forecast window before scheduling.
9. Sigma Painting’s perspective on weather and GTA exterior jobs
Weather management in the GTA isn’t a footnote to an exterior painting job. It’s a core part of the work. Every Sigma Painting exterior project starts with a weather review tied to the product TDS, not just a glance at the daily high. Surface temperature and dew-point checks happen at the start of each day, and crews are trained to shift to prep tasks rather than push a coat when conditions are marginal.
When a weather delay happens, clients hear about it the same day, with a documented reason and a revised schedule. Sigma Painting’s contracts include written weather clauses and no-cost reschedule provisions when conditions fall outside the agreed spec. The goal is a finish that lasts, not a finish that was rushed to meet a date.
Sigma Painting’s exterior service is built around the GTA’s weather reality
Weather-ready exterior painting in the GTA means more than watching the forecast. It means written protocols, daily measurements, and a crew that knows when to stop. Sigma Painting’s exterior painting service covers the full process: surface prep, priming, application, and a documented weather log for every project day.

Every contract includes a weather clause and no-cost reschedule provisions when conditions fall outside spec on Sigma Painting’s watch. Premium materials from proven manufacturers, combined with a crew that checks surface temperature and dew point before every coat, means the finish holds through Ontario winters and summer heat alike. For exterior painting contractor practices that reflect the same discipline, the standards are consistent across professional crews. Ready to get a firm schedule and a written weather plan? Use the instant quote calculator to start your project estimate today.
Sources
Pull these before confirming any exterior painting schedule. The TDS and ASTM-aligned guidance are the final word for any specific product.
- Weather Impact on Paint Timing: Exterior Guide 2026
- How Long Should Paint Dry Before Rain?
- Understanding and controlling acrylic drying time
- How temperature and weather affect exterior painting | Benjamin Moore
- How to Paint a House Exterior | Sherwin-Williams
- How Long Does Exterior Paint Take to Dry? Can Rain Ruin it? | The Painted Hinge
Treat the product TDS as the authoritative reference for any specific paint system. ASTM E337 governs dew-point measurement standards and is the technical basis for the 5°F surface-above-dew-point rule used across the industry.