For most oak projects, the safest bets are medium neutrals like Special Walnut or Dark Walnut, with Jacobean for a darker, modern look. Gray and weathered tones are typically recommended for white oak. Applying a gray stain on red oak without prior testing may result in colors shifting unexpectedly, rather than achieving the soft driftwood look desired.
Before buying a full can of anything, take these steps:
- Identify your species: red oak (pink undertone, open grain) or white oak (neutral, tighter grain).
- Buy 2 to 3 sample cans in your shortlist colors, not just one.
- Test each on an offcut or hidden section of your actual boards, never on a store sample.
- Lean toward a water-based topcoat if you’re going gray or cool toned.
If the project is a full staircase, a hardwood floor, or anything involving mixed lumber batches, get a second opinion before you commit a whole room to one can.
Pro Tip: Label every test board with the stain name, sanding grit, and topcoat used. Six months from now, you won’t remember which sample was which, and the difference between two similar browns is easy to forget once the can is empty.
Key Takeaways
Choosing the right oak stain color depends more on species and topcoat than on the color name printed on the can.
| Point | Details |
|---|---|
| Start with safe neutrals | Special Walnut and Dark Walnut work reliably across most oak species and lighting conditions. |
| Match gray tones to white oak | Classic Gray and Weathered Oak read truest on white oak; test carefully before using on red oak. |
| Use Jacobean to neutralize red oak | Jacobean and Dark Walnut counter red oak’s pink undertone better than lighter or gray stains. |
| Test on real boards | Cut offcuts from your actual wood and label each sample with stain, grit, and topcoat used. |
| Pair topcoat to stain temperature | Water-based topcoats preserve gray and cool tones; oil-based poly adds amber over time. |
Table of Contents
- Oak Stain Color Guide: The Main Families and Named Shades
- Why Red Oak and White Oak Never Match on the Same Can
- How to Test Oak Stain Colors Before You Commit
- Blending and Pairing Stains to Match Your Room
- Sigma Painting’s Take on When to DIY and When to Call a Pro
- The Real Lesson Buried in All These Color Charts
- Sources
Oak Stain Color Guide: The Main Families and Named Shades
Every oak stain color falls into one of five practical families, and knowing which one you’re shopping in saves you from buying three cans before finding the right shade.
Warm and golden tones. Golden Oak and Early American sit at the amber end of the spectrum. They flatter oak’s natural grain but tend to amplify red oak’s pink undertone rather than tone it down, so they work best on white oak or in rooms with warm lighting and traditional furniture.
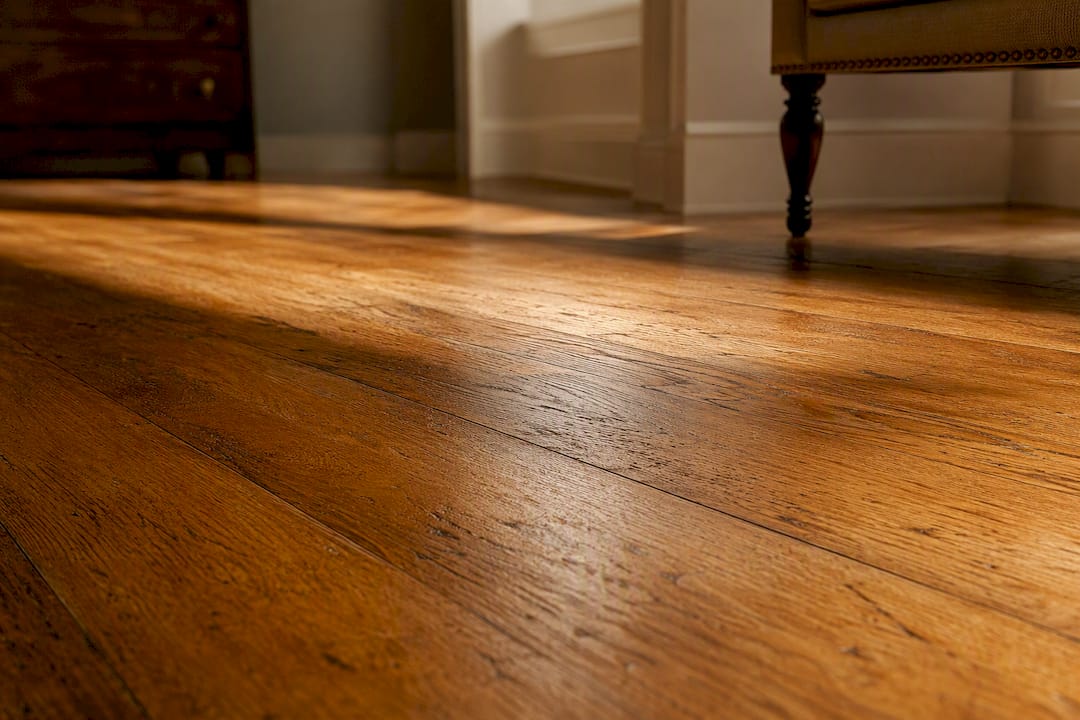
Neutral and medium browns. Special Walnut and Provincial are the workhorses of oak staining. Trade guides consistently list Special Walnut as a widely used oak floor color because it reads as a balanced medium brown on nearly any oak species, which makes it the default recommendation when you’re not sure what else to pick.
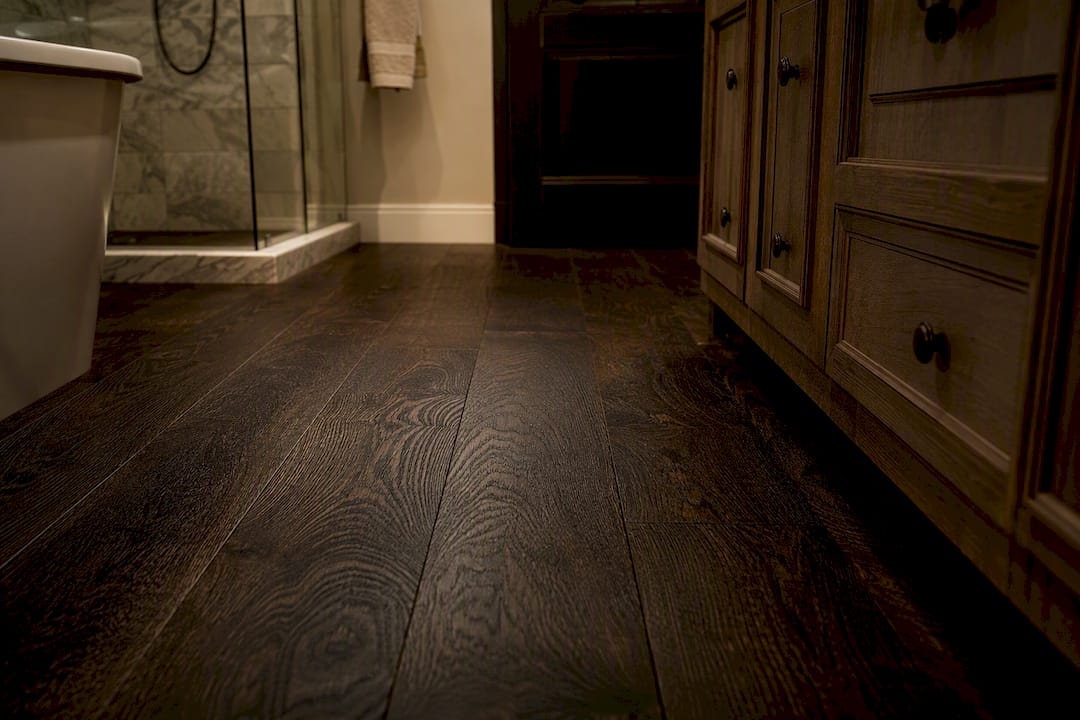
Dark and dramatic finishes. Dark Walnut, Jacobean, and espresso-style stains mute the grain and deliver a moodier, more contemporary look. Jacobean in particular has become a go-to for red oak floors because it neutralizes the wood’s pink cast without going flat black.
Gray and weathered looks. Classic Gray and Weathered Oak deliver the driftwood aesthetic that’s been popular in modern farmhouse and coastal interiors. They read cleanest on white oak; on red oak they can shift toward an unwanted purple or greenish cast.
Whitewash and pickled finishes. These specialty looks strip most color while keeping grain visible, popular in Scandinavian-style interiors. They’re less forgiving of species differences, so they demand a test patch every time.
Here’s a quick way to sort your options by mood:
- Want warmth and tradition: Golden Oak, Early American, Provincial
- Want a safe, versatile medium tone: Special Walnut
- Want drama and depth: Dark Walnut, Jacobean
- Want a cool, modern look: Classic Gray, Weathered Oak (white oak only)
- Want almost no color: Natural, whitewash options
Why Red Oak and White Oak Never Match on the Same Can
The same stain color can look like two entirely different finishes depending on which oak species it lands on, and that’s the single most overlooked detail in oak staining projects.
Red oak carries a pink or salmon undertone baked into the wood itself, plus wide-open pores that soak up stain unevenly. Apply a warm stain and it often reads even warmer, sometimes veering orange. Apply a gray stain and that pink undertone can fight the cool tone, producing a muddy purple or greenish result that looks nothing like the sample chip.
White oak behaves more predictably. Its undertone is closer to neutral, and its tighter grain structure takes stain more evenly, which is why cool and gray tones read truer on white oak than on red oak.
If you’re not sure which species you’re working with, look at the grain pattern up close. Red oak has a more open, straw-like pore structure you can often see with the naked eye. White oak’s grain is tighter and finer, sometimes showing the characteristic ray-fleck figure that gives it a slightly speckled look.
A few quick rules for choosing by species:
- Red oak: favor Dark Walnut or Jacobean to neutralize the pink; avoid gray unless you’ve tested it on your actual boards.
- White oak: gray and weathered tones are safe choices; warm tones like Golden Oak also perform well.
- Unknown species or mixed boards: default to Special Walnut or Natural, which behave consistently across both.
Pro Tip: If your floor or trim mixes red oak and white oak boards, a darker unifying stain like Jacobean hides the species differences far better than a light or gray tone ever will.
How to Test Oak Stain Colors Before You Commit
Here’s the sequence that avoids that regret:
- Sand correctly first. For furniture, work up through 120, then 150, then 180 grit. Stop at 180. Sanding oak finer than that closes the pores and can cause stains to sit unevenly or look blotchy. Floors typically finish at 100 to 120 grit before staining.
- Water-pop the wood if you’re on red oak. Wiping the sanded surface with a damp rag before staining opens the grain and allows deeper penetration, which can pull an orange-leaning finish back toward a settled brown.
- Test on the actual wood, not a store chip. Cut an offcut from your real boards, or test in a closet or under furniture. Label each test panel with the stain name, sanding grit, and topcoat, so you can compare them later under your room’s actual lighting.
- Match your topcoat to your stain. This is where a lot of otherwise good color choices go wrong.
An oil-based polyurethane adds its own amber tint as it cures and continues to yellow slightly over the years. Over a warm stain, that’s barely noticeable. Over Classic Gray or Weathered Oak, it can shift a crisp cool tone toward a muddy beige within a year or two. Water-based topcoats stay clear and preserve gray and cool tones far more faithfully.
For blotch-prone species, gel stains that sit on the surface rather than penetrate the grain can also help, though traditional penetrating stains remain the standard for oak.
Blending and Pairing Stains to Match Your Room
Two stain colors mixed on site can solve problems no single can ever will. A common trade blend is Early American cut with a small amount of Jacobean, which keeps some warmth while pulling the color darker and less orange. Another is Classic Gray blended with a touch of Special Walnut, which softens a stark gray into a warmer driftwood tone that still reads as gray from across the room.
Lighting changes how any of these colors actually look once they’re on your floor or trim.
| Room condition | Effect on stain color | Adjustment to make |
|---|---|---|
| North-facing rooms (cooler light) | Warm stains look muted, grays look truer | Lean into gray or neutral tones |
| South-facing rooms (warmer light) | Warm stains intensify, grays can look flat | Lean into medium browns like Special Walnut |
| Dark furniture and trim | Light stains create high contrast | Consider a darker unifying stain like Jacobean |
| Mixed wood species nearby | Species differences show under light stains | Darker tones hide mismatches better |
When boards or rooms mix species, a darker unifying stain does more visual work than trying to match a lighter shade exactly. And when in doubt, Natural, meaning little to no stain at all, remains a timeless option that never fights your other finishes or goes out of style.
Sigma Painting’s Take on When to DIY and When to Call a Pro
Small furniture pieces and single doors are reasonable DIY territory if you’re patient about testing. Full hardwood floors, staircases, custom color blends, and any job mixing red oak and white oak boards are where professional experience earns its keep, especially since a botched floor means sanding everything back down and starting over.
Sigma Painting’s crews build multiple sample panels before touching a real surface, favor penetrating finishes that keep oak’s natural grain visible rather than film-forming products that flatten it, and default to water-based topcoats whenever a project calls for gray or cool tones. Stained oak will shift slightly over years of sun exposure and foot traffic, so a maintenance recoat every few years keeps color consistent.
For staircases specifically, where wear patterns and multiple wood surfaces meet in one sightline, Sigma Painting’s stair staining service handles the species-matching and topcoat decisions in one process. Every project starts with a complimentary color consultation, which is often where the gray-versus-warm debate gets settled before a drop of stain hits the wood.
The Real Lesson Buried in All These Color Charts
Most articles about oak stain colors treat the topic like a beauty pageant: rank the shades, crown a winner, move on. That framing misses the point. The named color on the can is only half the story. The other half is what your specific boards do to it, and that half never shows up on a paint store chip.
The conventional advice to “pick your favorite from the fan deck” falls apart the moment red oak’s pink undertone meets a gray stain, or the moment an oil-based topcoat quietly ambers a Classic Gray finish over eighteen months. Those aren’t rare edge cases. They’re the two most common ways a stain project disappoints someone after the fact.
If you take one thing from this guide, prioritize testing over picking. Buy the samples, cut the test boards, apply your actual topcoat over your actual stain, and live with it for a few days under your real lighting. The color family matters. The species matters more. And the topcoat decision, which almost nobody thinks about until it’s too late, matters most of all.
— Enrico