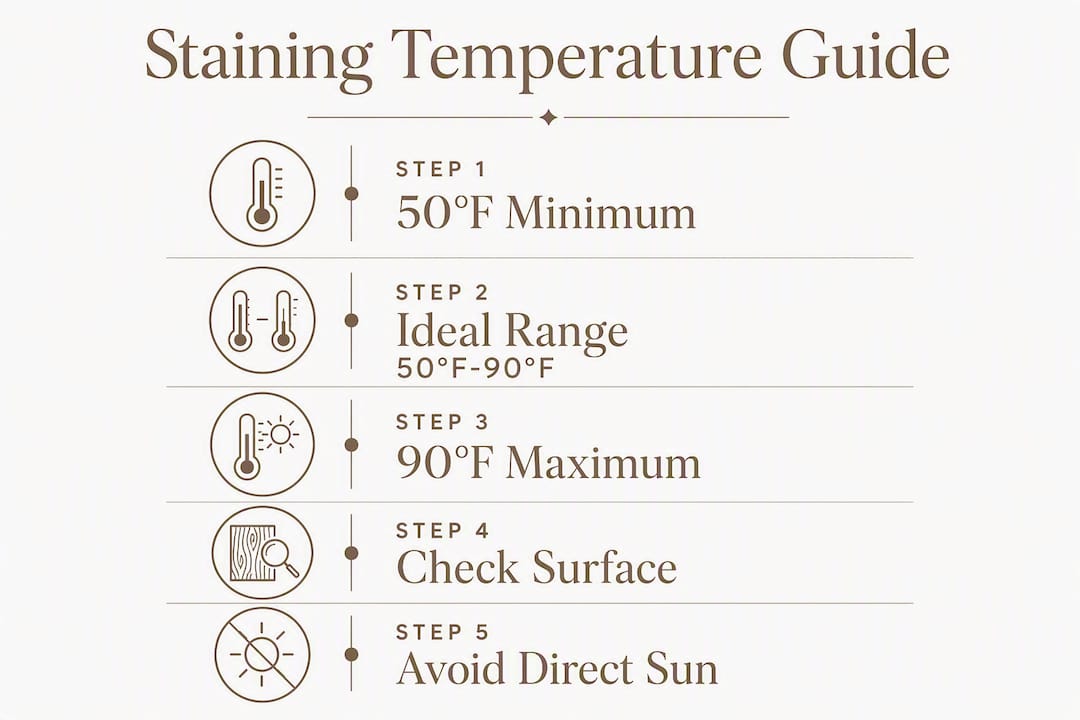
Stain your deck when the wood surface temperature sits between 50°F and 90°F, humidity runs within a typical moderate range, and no rain is forecast for at least the next day or two. That’s the short answer. The longer one: surface temperature matters more than air temperature, and a sunny 72°F afternoon can push your deck boards well past 90°F without you realizing it.
Before you crack open a can, run through these quick checks:
- Do: Measure the wood surface with an infrared thermometer, not just the air around it.
- Do: Apply a small test patch in an inconspicuous spot and watch how the stain absorbs.
- Don’t: Stain in direct sunlight, even when the air temperature feels perfect.
- Don’t: Start if the surface feels damp or if rain is coming within your product’s required window.
Pro Tip: Check the surface temperature in both a shaded section and a sun-exposed section before you start. The difference can easily be 20°F or more on the same deck.
Table of Contents
- 1. Why surface temperature controls your staining results
- 2. What stain manufacturers actually require
- 3. How sunlight, humidity, wind, and rain affect your results
- 4. What counts as too hot or too cold — and the problems each causes
- 5. How to check conditions before you start
- 6. Best seasons and times of day, plus drying and cure timelines
- 7. What to do when conditions are borderline
- 8. Common problems caused by wrong conditions and how to fix them
- Key Takeaways
- The condition you’re most likely to overlook
- Sigma Painting handles the conditions so you don’t have to
- Useful sources
1. Why surface temperature controls your staining results
Air temperature is what your phone’s weather app shows. Surface temperature is what actually determines whether your stain penetrates, cures, and bonds correctly. Those two numbers can be very different.
A deck board sitting in direct afternoon sun on a mild day can reach a surface temperature higher than the air temperature. At that temperature, stain flashes dry before it has time to soak into the wood grain. The result: lap marks, blotchy color, and a finish that starts peeling within a season.
The opposite problem is just as damaging. Below 50°F, the coalescence process that allows stain to form a continuous film slows down or stops. The stain may look fine when wet but crack or peel once temperatures drop further overnight.
Common consequences of getting surface temperature wrong:
- Too hot (above 90°F): Flash drying, uneven penetration, visible lap marks, poor adhesion
- Too cold (below 50°F): Incomplete film formation, cracking, adhesion failure, dull finish
- Damp surface (any temp): Raised grain, milky appearance, stain sitting on top instead of soaking in
Pro Tip: Use an infrared (IR) thermometer to check surface temp in both shaded and sun-exposed boards before you start. They cost under $30 at most hardware stores and take the guesswork out of the decision entirely.
2. What stain manufacturers actually require
Most stain manufacturers recommend applying stain when the surface temperature is within a moderate range suitable for staining. That figure refers to the wood surface, not the air. Cabot advises avoiding direct sunlight during application because sun shortens the stain’s open time and causes uneven penetration, even when air temperature is technically within range.
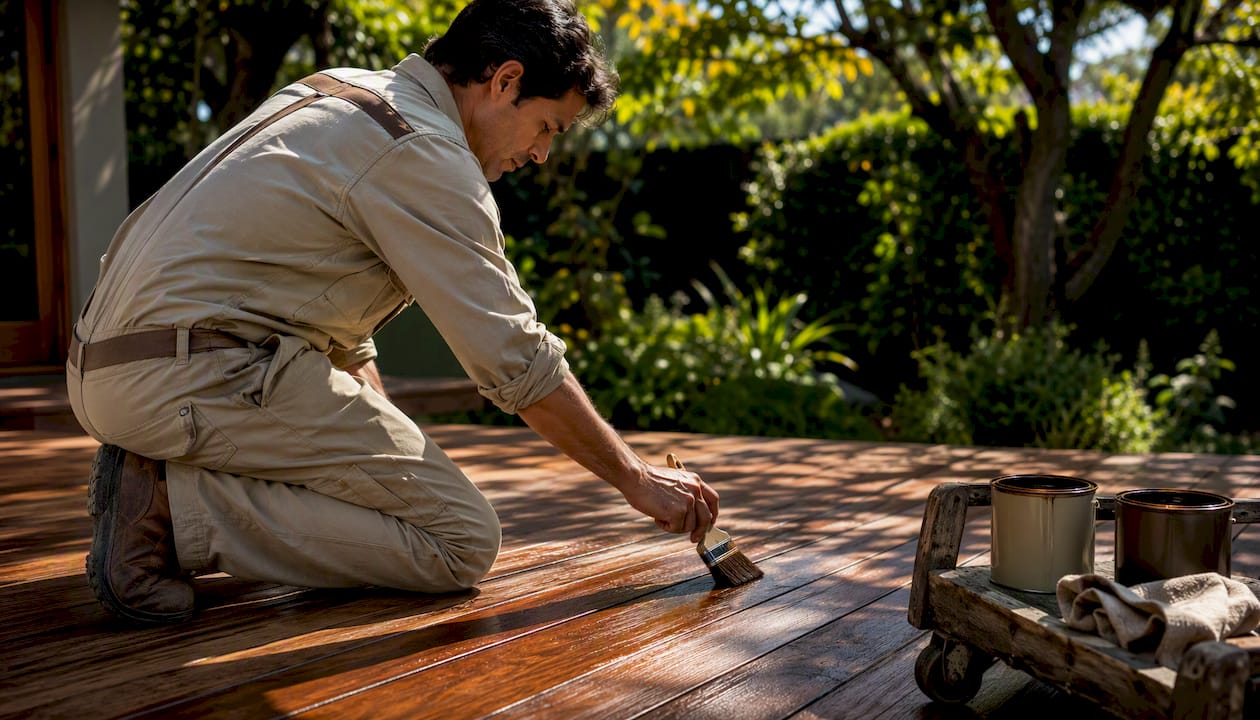
Some professional-grade products push those limits. Some professional-grade stains, such as FLOOD Pro Series solid color, are formulated to work at lower temperatures and have shorter rain windows than typical consumer stains on certain formulations. That’s a meaningful difference from a standard consumer stain that needs 48 hours of rain-free weather. If you’re working a tight weather window, it’s worth checking whether a pro-grade product gives you more flexibility — but always confirm the specific label allows it.
The one-sentence rule: follow your chosen stain’s label instructions over any general guidance, including this article.
3. How sunlight, humidity, wind, and rain affect your results
Temperature is the headline factor, but four other conditions can wreck a staining job even when the thermometer looks fine.
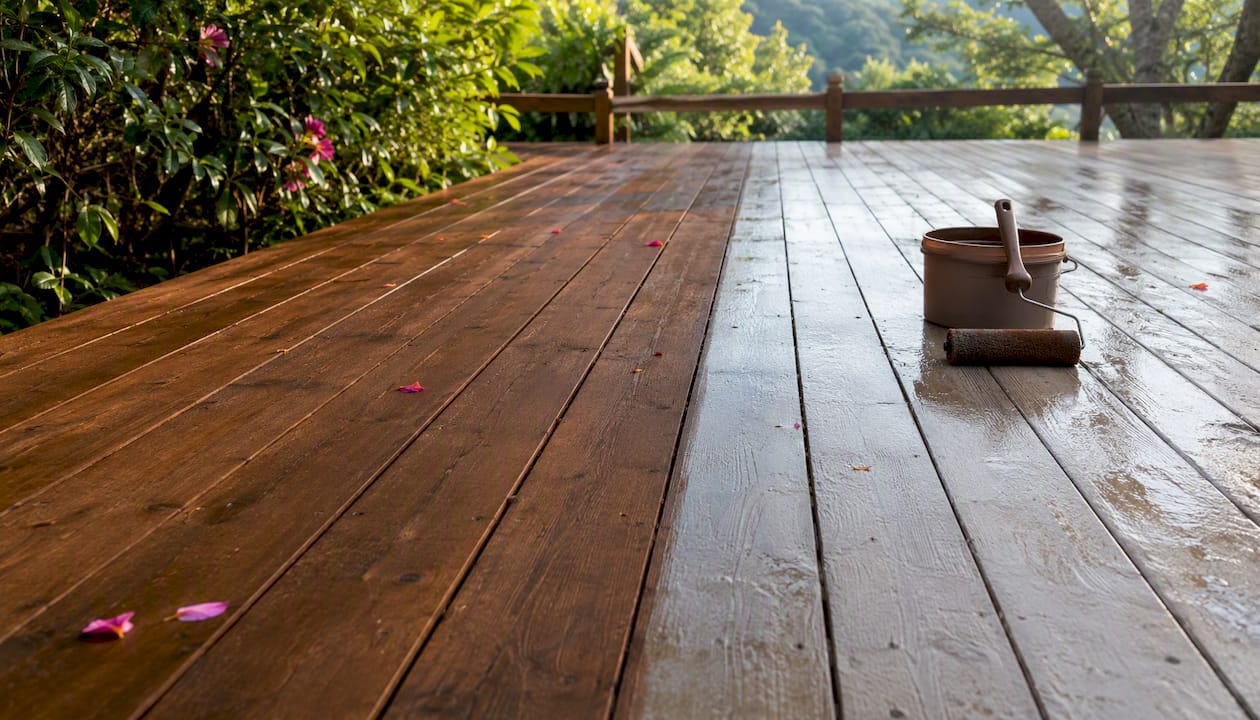
Direct sunlight is the most common trap. Manufacturers and professionals consistently advise against staining in direct sun because it raises surface temperature and shortens the time the stain stays workable. A section that looks fine when you brush it on can show lap marks by the time you circle back.
Humidity works against you at both extremes. Humidity above roughly 70% slows drying significantly and can prevent the stain from curing evenly, raising the risk of mildew. Below about 40%, the stain may dry too fast in open areas. Moderate humidity levels are recommended for best results.
Wind sounds harmless but creates two problems: it deposits dust, leaves, and debris onto wet stain, and it can cause uneven drying across the surface. Calm conditions produce a cleaner, more consistent finish.
Rain is the clearest no-go signal. Most stains require a rain-free window after application, commonly about one to two days depending on product type and coat count., depending on product type and whether you’re applying one or two coats. Two-coat systems generally need the full 48 hours.
Weather conditions checklist — avoid staining when:
- Surface temperature is below 50°F or above 90°F
- Humidity exceeds 70%
- Rain is forecast within your product’s required rain-free window (24–48 hours)
- Overnight temperatures are expected to drop near freezing during the curing window
- Wind is strong enough to blow debris onto the wet surface
- The deck is in direct sun with no shade option available
4. What counts as too hot or too cold — and the problems each causes
Here are the concrete thresholds and what goes wrong when you cross them:
| Surface Temperature | Likely Problem |
|---|---|
| Below 50°F | Slow or incomplete cure, adhesion failure, cracking or peeling later |
| 50°F–90°F | Ideal range for most stains |
| Above 90°F | Flash drying, uneven penetration, lap marks, poor adhesion |
| Near freezing overnight (during cure) | Curing interrupted, film integrity compromised |
Beyond temperature, a few other conditions are automatic no-go situations:
- Wet or damp wood: Stain sits on the surface instead of penetrating, leading to a milky or raised-grain finish.
- Rain within the required window: Washes away uncured stain or causes blotching.
- High humidity levels: Extends drying time and raises mildew risk.
- High winds: Debris sticks to wet stain; uneven drying across boards.
The 50°F floor and 90°F ceiling aren’t arbitrary. They map directly to the chemistry of how stain penetrates and cures. Pushing past either end doesn’t just risk a cosmetic problem — it can mean stripping and starting over.
5. How to check conditions before you start
You don’t need a weather station. Three tools and a five-minute check cover everything.
The toolkit:
- Infrared (IR) thermometer: Measures surface temperature without contact. Point it at boards in both sun and shade before you start.
- Moisture meter: Reads the wood’s moisture content (MC). Many professionals look for MC under 15% before staining exterior decking. A quick finger-rub test (rub the surface briskly; if it feels cool or damp, wait) backs up the meter reading.
- Weather app with dew point: Standard weather apps show dew point. If the dew point is close to the expected overnight low, condensation may form on the wood during curing and compromise the finish.
Pre-staining checklist:
- Measure surface temp in a sunny spot and a shaded spot
- Check wood moisture content with a meter
- Confirm dew point and overnight low temperatures
- Verify a rain-free window matching your product’s requirement
- Allow at least 24 hours after cleaning before staining, and 48–72 hours in shaded or humid areas
Pro Tip: “Follow the shade” is the professional approach. Plan your work order so you’re always staining sections that are currently shaded. Move around the deck as the sun moves, rather than racing ahead into sun-exposed boards.
6. Best seasons and times of day, plus drying and cure timelines
Late spring and early fall are generally the best seasons to stain a deck because they offer stable moderate temperatures and lower humidity than summer. Midsummer heat often pushes surface temperatures past 90°F by mid-morning, and winter is simply off the table for most standard stains.
Within a given day, early morning or late afternoon in shade beats midday by a wide margin. The sun is lower, surface temperatures are cooler, and you have more control over where shade falls.
Typical drying and cure timeline (ranges vary by product — always confirm with your label):
| Stage | Typical Timeframe |
|---|---|
| Touch dry | 1–4 hours |
| Recoat window | 4–8 hours (some products: 24 hours) |
| Walk-on (light foot traffic) | 24–48 hours |
| Full cure | 72 hours to 7 days |
A few scheduling notes worth keeping in mind:
- Shaded areas and high-humidity days extend every stage in that table.
- Curing continues well after the surface feels dry — overnight temperatures during the full cure window matter as much as conditions during application.
- Don’t start a two-coat job late in the afternoon if you can’t guarantee the recoat window before rain or cold arrives.
- For re-staining schedules specific to Ontario’s climate, Sigma Painting’s guide on how often to stain a deck in Ontario covers realistic maintenance timelines.
7. What to do when conditions are borderline
Marginal weather doesn’t always mean stop. It means slow down and test first.
On a hot day (surface approaching 90°F):
- Shift to shaded sections and check surface temp there before starting.
- If the product’s technical data sheet permits it, lightly mist the surface to bring temperature down — but only if the label explicitly allows application to a slightly damp surface.
- Start early morning when surface temps are lowest and work ahead of the sun.
- Stop and wait if surface temperature climbs above 90°F in the section you’re working.
On a cool day (surface near 50°F):
- Wait until midday when the sun has warmed the boards, and recheck surface temperature.
- Consider a professional-grade product rated for lower application temperatures if the window is tight.
- Check the overnight forecast. If temperatures will drop near freezing before the stain cures, postpone regardless of how the afternoon looks.
- Never stain if there’s any chance of frost during the curing window.
The test-patch routine:
Before committing to the full deck on any marginal day, apply stain to a small, inconspicuous area — a corner board or a section under a railing. Then observe:
- Does the stain absorb evenly, or is it sitting on the surface?
- Is it drying at a normal rate, or flashing dry within seconds?
- Does the color look consistent, or are there blotchy patches?
Wait the time your label specifies for touch-dry, then check adhesion by pressing a fingernail lightly into the test area. If the patch looks and feels right, proceed. Cabot recommends this test-area approach specifically for site-specific wood and weather conditions.
Pro Tip: When deadlines are tight, pro-grade stains can expand your workable weather window — but always verify that the specific product label allows the workaround before you rely on it.
8. Common problems caused by wrong conditions and how to fix them
Even careful homeowners run into issues. Here’s what the problems look like, what caused them, and what to do.
Lap marks and blotchy color Root cause: surface too hot, stain flashed dry before you could blend wet edges. Fix: Let the stain cure fully (check label), then lightly sand the affected area and reapply in cooler conditions, working smaller sections to maintain a wet edge.
Peeling or cracking within the first season Root cause: application below 50°F or overnight freeze during cure. Fix: Strip the failing stain, allow the wood to dry fully, and reapply when conditions are stable. This is the most labor-intensive outcome of ignoring temperature guidelines.
Milky or raised-grain finish Root cause: wet wood or high humidity at application. Stain sat on the surface instead of penetrating. Fix: Allow the deck to dry completely (this may take several days), sand lightly to remove the raised grain, and reapply.
Debris embedded in the finish Root cause: wind depositing dust, leaves, or twigs onto wet stain. Fix: Once cured, lightly sand the affected boards and apply a thin additional coat in calm conditions.
If a freshly stained deck looks wrong — act immediately:
- Stop work.
- Check the test patch you applied earlier for comparison.
- Consult the product label for wet-edge repair instructions.
- If the problem is widespread, contact the manufacturer’s technical line before adding more product.
When to call a professional: Large-scale adhesion failure, extensive peeling across multiple boards, or inconsistent cure despite following label guidance are signs the job has moved past DIY territory. Sigma Painting’s deck and fence staining services cover prep, condition assessment, and application for exactly these situations.
Key Takeaways
Successful deck staining comes down to one discipline: measure the wood surface temperature and moisture before you open the can, then confirm weather conditions will stay stable through the full cure window.
| Point | Details |
|---|---|
| Ideal temperature range | Wood surface must be 50°F–90°F; surface temp matters more than air temp. |
| Humidity and rain window | Keep humidity at 40–70%; allow a sufficient rain-free period after application. |
| Avoid direct sun | Even a 70°F day can push surface temps past 90°F in full sun — follow the shade. |
| Test patch first | Apply to a small area and check absorption and drying rate before committing to the full deck. |
| Sigma Painting | For large decks, complex wood, or tight weather windows in the GTA, Sigma Painting handles condition assessment and professional application. |
The condition you’re most likely to overlook
Most homeowners check the air temperature and call it good. The surface temperature check gets skipped because it requires a tool most people don’t own yet. That’s the gap where most DIY staining failures happen.
The 50°F–90°F window is well-established and widely cited. What’s less discussed is how fast a deck surface moves through that window on a clear day. A board that reads 75°F at 8 AM can hit 95°F by 10 AM in direct sun. You’re not just checking conditions once before you start — you’re monitoring them throughout the job. That’s a different mindset than most homeowners bring to the task.
The other underrated factor is the overnight cure. Plenty of people stain on a warm afternoon, feel good about how it looks, and then get hit with a cold night that interrupts curing. The stain may look fine for weeks before the adhesion failure shows up. Checking the overnight forecast isn’t optional — it’s part of the same decision as checking the surface temperature.
For a deck that’s large, made from a dense or oily wood species, or hasn’t been stained in several years, the margin for error shrinks further. Those jobs benefit from professional prep and condition management, not because DIY is impossible, but because the cost of stripping and redoing a large deck is significant. Sigma Painting’s team handles the full assessment — surface temperature, moisture content, product selection, and scheduling — so the result holds up through Ontario’s climate swings.
Sigma Painting handles the conditions so you don’t have to
Getting the temperature, moisture, and weather window right on a large deck is genuinely harder than it sounds. Sigma Painting offers professional deck and fence staining in the GTA with full condition assessment built into every job: surface temperature checks, moisture meter readings, product selection matched to your wood type, and scheduling timed to stable weather windows.

The difference between a stain job that lasts three years and one that starts peeling in the first season usually comes down to prep and conditions, not the product itself. Sigma Painting’s process covers both. If your deck is large, the wood is in rough shape, or you simply don’t want to gamble on a narrow weather window, get an instant quote and let the team handle it from surface prep through final coat.
Useful sources
Manufacturer guidance and trusted how-to resources used in this article:
- Cabot — When to Stain: Cabot’s guidance on timing, direct sun avoidance, and surface temperature requirements for exterior stain application.
- Cabot — Staining Exterior Decks: Step-by-step application guidance including the test-patch recommendation for marginal conditions.
- PPG/FLOOD — Take Your Temperature to Ensure Success: Covers the surface vs. air temperature distinction, the 50°F–90°F window, and pro-grade product options for extended weather windows.
- Behr PRO — Expert Tips for Exterior Deck Staining: Drying-before-staining timelines and moisture content guidance from Behr’s professional resources.
- Better Homes & Gardens — Best Time to Stain Your Deck: Seasonal and humidity guidance for scheduling deck staining.
- Consumer Reports — How to Stain Your Deck: Rain-free window requirements and general application guidance.
- Sigma Painting — Deck & Fence Staining in the GTA: Local professional resource for homeowners who prefer expert condition management and application.