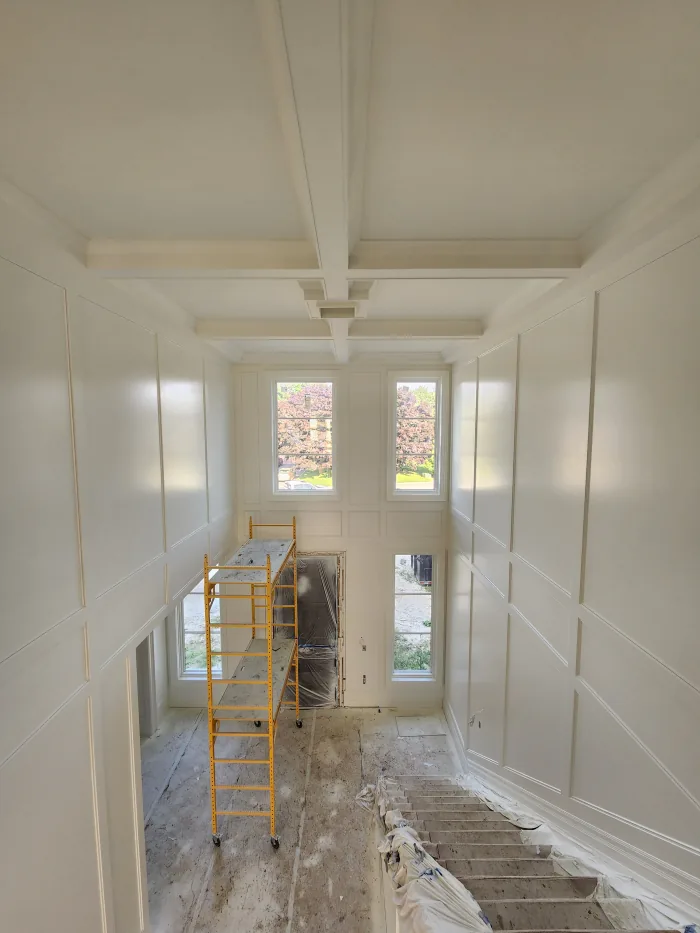
For most interior painting, cover hard floors with a canvas or paper/poly drop cloth, protect synthetic carpet with a self-adhering carpet film, and switch to rigid boards anywhere tools or equipment will be dropped or rolled. The single rule that saves the most floors: clean the surface first, then overlap and secure every seam before you open a paint can. These materials are widely available at hardware retailers, including several models used as examples throughout this guide.
TL;DR:
- A combination of canvas, paper/poly, and rigid boards offers the best protection depending on the floor type and potential impact area.
- Proper setup involves thorough cleaning, overlapping seams by four to six inches, and securing edges with appropriate tape rated for the surface.
- Rigid boards are ideal for impact-prone zones like stairwells and high-traffic paths, while plastic sheeting is best for short-term or waterproof layering.
- Using the wrong tape or leaving protective materials in place too long can cause floor damage, so testing on hidden spots and removing tape promptly is essential.
- For delicate or new floors, breathable rigid boards and careful surface preparation are recommended to avoid trapping moisture or causing finish damage.
Table of Contents
- Which material should you use: canvas, paper, plastic, film, or board?
- How to set up floor protection step by step
- Choosing tape and adhesives that won’t damage your floor
- Special cases: new floors, stairs, and high-impact zones
- What a professional setup looks like on painting day
- The simplest way to avoid floor damage while painting
- Ready to skip the setup and hire it out?
- Sources
- FAQ
Which material should you use: canvas, paper, plastic, film, or board?
Not every drop cloth does the same job, and picking the wrong one is how paint ends up on a hardwood floor you spent a weekend refinishing. Each material trades off absorbency, grip, waterproofing, and cost differently, so the right choice depends on the floor underneath and how much abuse that spot will see.
Canvas is the workhorse for general interior jobs. It is thick, absorbent, and washable, which is why Everbilt’s canvas drop cloth comes in formats like 9x12 feet and 4x15 feet built for reuse across projects. The tradeoff is that canvas is not waterproof: a large spill can soak through to the floor if it sits too long.
Paper/poly drop cloths solve that problem for hard floors. They pair an absorbent nonwoven top with a leak-resistant underside, so a dropped roller tray does not immediately become a stain on the subfloor. Slip-resistant paper/poly options, such as the Everbilt 6 ft. x 9 ft. version and similar sheets from Stain Pro, also add grip, which matters near doorways and stairwells where thin plastic tends to slide underfoot.
Plain plastic sheeting is cheap and fully waterproof, but it is also the material most likely to send someone sliding across a room. It works best as a short-term layer under an absorbent cover, or for quick jobs measured in hours rather than days.
Carpet needs a different approach entirely. Cloth and plastic both shift and bunch on carpet fibers, which is why professionals use a self-adhering film instead. The Roberts temporary carpet protection film is built specifically for synthetic carpeting, comes in a 24-inch by 200-foot roll, and provides temporary protection for several weeks. That same listing is explicit that it should not go on wood or laminate, since the adhesive designed to grip carpet fiber can pull finish off a hard floor.

For anything involving impact, rigid boards beat cloth every time. Products like the Trimaco X-Board are built to survive dropped tools, ladders, and wheeled carts, and some versions are breathable enough to use over floors that are still curing.
Padded or tacky-backed rolls fill a narrower niche: temporary cushioned paths through hallways and stairwells where full board coverage is not practical but a thin cloth would wear through fast.
- Canvas: reusable and absorbent, best for general coverage, not leak-proof.
- Paper/poly: absorbent top with a leak-resistant underside, strong choice near doorways and spill-prone zones.
- Plastic sheeting: waterproof but slippery, best for short jobs or as an underlayer.
- Carpet film: self-adhering and carpet-specific, never used on wood or laminate.
- Rigid boards: built for impact and wheeled traffic, some allow floors to breathe while curing.
- Padded rolls: cushioned, temporary paths for high-traffic routes.
Layered protection often beats a single material. Combining an absorbent top layer with a leak-resistant underside and a non-slip surface handles more real-world accidents than one thin waterproof sheet ever will.
How to set up floor protection step by step
Good floor protection is less about the material and more about the sequence. Skipping a step, like laying cloth over floor grit, is one of the fastest ways to scratch a hardwood surface before you’ve even opened a paint can.
- Clear the room. Move furniture out where possible, or group it in the center and cover it separately.
- Sweep or vacuum thoroughly. Grit trapped under a drop cloth acts like sandpaper every time someone walks across it.
- Test tape on a hidden spot. Before taping along baseboards, press a strip on an inconspicuous area to confirm it lifts cleanly.
- Lay the perimeter first. Position covers tight against baseboards and trim, with a slight lip up the wall if the material allows it.
- Overlap every seam. Canvas and paper/poly should overlap by 4 to 6 inches; rigid boards should be taped along the seam with a compatible seam tape.
- Secure the edges. Tape down seams and any edge likely to catch a foot or a ladder leg.
- Build a protected path. Create a clear, non-slip route from the work area to the nearest exit, and set a mat at the threshold to catch paint before it reaches uncovered flooring.
- Remove promptly after use. Pull tape and film as soon as the job allows, and clean up wet spills immediately rather than waiting until the end of the day.
Pro Tip: Keep a second, smaller drop cloth folded nearby just for tool trays and paint cans. It’s faster to swap a small stained cloth than to re-lay an entire room.
This sequence, clean, perimeter, overlap, secure, protected route, is the same logic behind most professional preparation checklists, and it applies whether you’re painting one room or an entire floor.
Choosing tape and adhesives that won’t damage your floor
Tape failures cause more floor damage than most people expect, usually because the wrong tape sat too long or was matched to the wrong surface. Painter’s tape varies by adhesion strength and dwell time, and using the wrong one on a delicate floor can pull up finish or leave residue behind.
3M’s ScotchBlue Sharp Lines 2093 is rated for medium adhesion with clean removal within a few weeks on the surfaces it lists, but that window assumes the surface matches the product’s intended use. Newly finished or moisture-sensitive floors should always get a small test patch first, since a finish that hasn’t fully cured can react differently than the tape label anticipates.
Carpet film and hard-floor adhesives are not interchangeable. Carpet film relies on a stronger grip to stay put on fibers, and that same adhesive strength is exactly what can damage a hard floor’s finish if someone reaches for it out of convenience instead of buying the right product.
For floors too delicate for any tape, non-adhesive methods work almost as well:
- Weighted edges, using small sandbags or books along cloth borders instead of tape.
- Tuck-under technique, sliding the cloth edge beneath baseboards or thresholds where a gap exists.
- Low-tack double-tape sandwich, applying painter’s tape to itself so only a mild adhesive touches the floor.
The safest general rule is to follow the tape manufacturer’s stated dwell time and remove it as soon as the job allows, rather than leaving it in place for convenience.
Special cases: new floors, stairs, and high-impact zones
Some situations call for more caution than a standard drop cloth setup provides. Newly finished hardwood is the biggest one: a floor that hasn’t fully cured can trap moisture under an impermeable cover, which is why breathable rigid boards exist for exactly this scenario. Test a small, inconspicuous area first, and give a freshly finished floor extra time before covering it at all if the schedule allows.

Stairs and thresholds need narrower materials than a full-room drop cloth. Tacky-backed runners or cut sections of rigid board fit stair treads better than a loose cloth, which can bunch or slide underfoot on a step. Taping the edges of any stair covering matters more here than anywhere else in the house, since a lifted edge on a stair is a fall risk, not just a cosmetic issue.
For zones where tools get dropped or equipment gets rolled through, cloth alone won’t cut it. A dropped hammer or a rolling cart wheel will go straight through canvas or paper/poly, but a rigid board is built to take that kind of impact.
- Relying on thin plastic sheeting alone, which slides and tears under normal foot traffic.
- Skipping the vacuum step and trapping grit under the cover.
- Leaving tape down for the full length of a multi-day project instead of checking it periodically.
- Folding up a canvas cloth while it’s still wet with paint, which contaminates the next job.
Pro Tip: If a job runs multiple days, lift and reposition your drop cloths every evening. It gives you a chance to catch trapped grit or a slow leak before it becomes a stain.
What a professional setup looks like on painting day
A consistent setup routine is what keeps floor damage rare on multi-day jobs rather than a matter of luck. A typical day-of sequence starts with a full vacuum of the work area, followed by a quick tape test on a hidden section of baseboard, then laying the perimeter before rolling out the rest of the room. Seams get taped wherever two pieces of material meet, and rigid boards go down first in any area where a ladder, cart, or tool bag will land.
Reusable canvas only pays off if it’s actually cared for between jobs. A cloth folded while still damp with paint will transfer that paint to the next surface it touches, which is why washing and fully drying canvas before storage is standard practice rather than an optional step. Keeping a few clean, dry covers on hand avoids the scramble of reaching for a stained one mid-project.
For small, single-room jobs, a careful DIY setup with the right materials is usually enough. Larger jobs, high-value flooring, or a tight timeline change that math: covering an entire main floor and staircase correctly takes real time, and a mistake on solid hardwood costs far more to fix than it would have cost to protect properly. That’s the point where professional home protection practices start to make more sense than a solo weekend project.
The simplest way to avoid floor damage while painting
Most floor damage during a paint job comes down to one thing: skipping a step that felt optional at the time. Vacuuming before you lay cloth, testing tape before you commit to a whole room, taping seams instead of trusting gravity, these small habits prevent almost every failure mode covered above. Spend the extra twenty minutes on setup and you’ll spend far less time scrubbing paint out of grout lines later.
— Enrico
Ready to skip the setup and hire it out?
If the idea of taping an entire staircase or protecting a freshly finished hardwood floor sounds like more prep than painting, that’s a reasonable line to draw. Professional painting companies build floor and surface protection into every job, so clients don’t have to test tape on baseboards or rely on a drop cloth that lasts through multiple coats.

- Our interior painting services include full floor and furniture protection as standard, not an add-on.
- Our home protection practices cover how we set up and maintain a clean, protected worksite from day one to final walkthrough.
- Clients can often receive fixed, transparent estimates to understand costs before the job begins.
If you’d rather hand off the setup, cleanup, and everything in between, get a free, fixed estimate and see what a fully protected paint job actually looks like.
Sources
- Everbilt 9 ft. x 12 ft. 8-oz Canvas Drop Cloth | The Home Depot Canada
- ScotchBlue™ Sharp Lines Multi-Surface Painter’s Tape 2093 | 3M Canada
FAQ
What is the best way to protect my floors when painting?
Cover hard floors with a canvas or paper/poly drop cloth, use a carpet-specific film on synthetic carpet, and switch to rigid boards anywhere tools or equipment could be dropped. Clean the floor first, overlap every seam, and secure edges with tape rated for the surface underneath.
What do painters use to cover the floor?
Painters typically combine canvas or paper/poly drop cloths for general coverage with rigid boards in high-traffic or high-impact areas like doorways and stair landings. On carpet, they switch to a self-adhering film such as the Roberts 70-140 instead of cloth.
What kind of plastic can I use to cover my floor while painting?
Plain plastic sheeting works for short jobs or as a waterproof underlayer beneath an absorbent cloth, but it gets slippery underfoot and tends to shift. For anything longer than a few hours, a paper/poly drop cloth with a non-slip backing is a safer choice than plastic alone.
How do I prepare floors for painting?
Start by clearing the room and vacuuming or sweeping thoroughly to remove grit that could scratch the floor under a drop cloth. Lay your chosen cover tight against the perimeter, overlap seams by several inches, and test any tape on a hidden spot before applying it near baseboards.