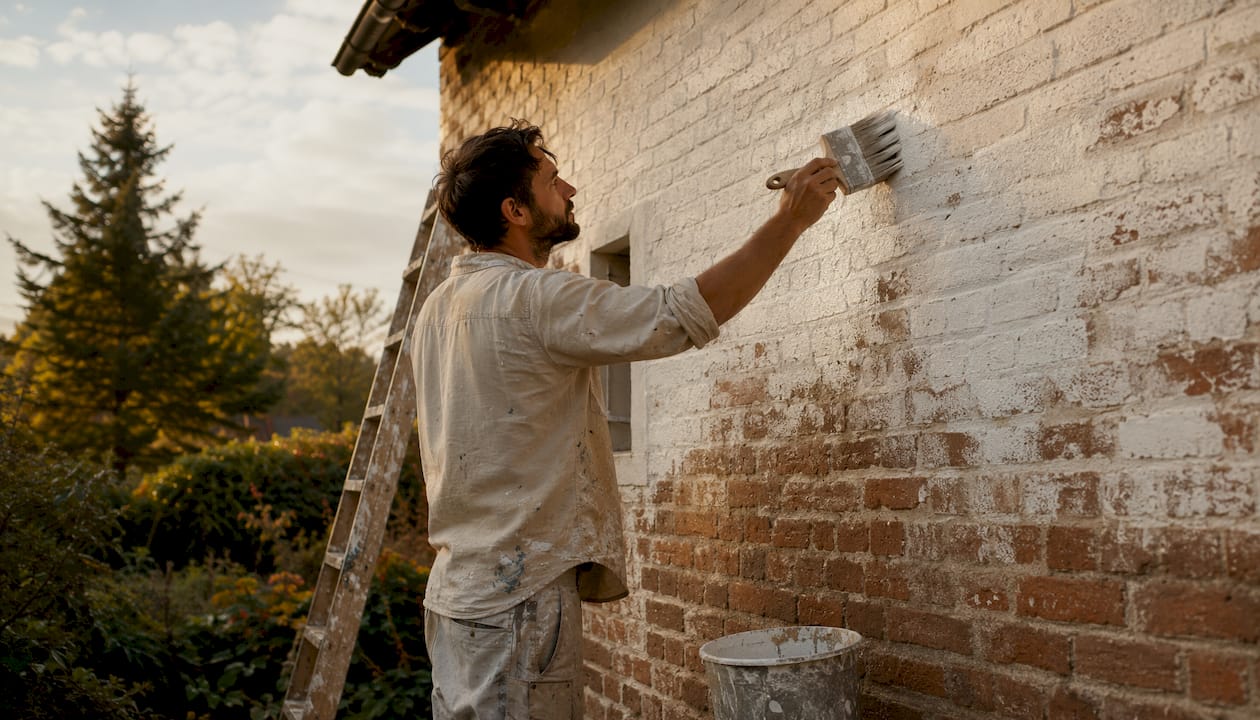
Choose limewash for porous, historic, or moisture-prone masonry where breathability matters. Choose painted brick when you want precise, bold color and full coverage on a sound, dry wall.
- Limewash is the right call on older homes, historic properties, or any exterior where moisture moves through the wall seasonally. It lets vapor escape, so it won’t trap water and cause spalling.
- Painted brick makes sense on modern construction, walls with mismatched repairs you want to hide, or when your design calls for a specific color that limewash’s muted palette can’t deliver.
- Neutral caveat: Neither finish performs well on poorly prepped or actively damp masonry. Moisture testing before you coat anything is non-negotiable.
Reversibility is where the two finishes diverge most sharply. Limewash is semi-permanent and relatively forgiving to change. Paint is effectively a one-way door.
Table of Contents
- What are limewash and painted brick, exactly?
- Limewash vs painted brick: side-by-side comparison
- How do limewash and painted brick actually look?
- How each finish is applied, and what prep is actually required
- What maintenance and lifespan should you realistically expect?
- How breathability and moisture affect your masonry
- What does each finish cost, upfront and over time?
- How reversible is each finish, and what does removal involve?
- How to choose between limewash and painted brick
- What the research and industry experts say
- Key Takeaways
- What Sigma Painting recommends on brick projects
- Sigma Painting handles exterior brick the right way
- Useful sources and further reading
What are limewash and painted brick, exactly?
Limewash is one of the oldest masonry finishes on record. At its core, it’s slaked lime (calcium hydroxide) mixed with water and, optionally, natural mineral pigments. When applied to porous masonry, the calcium hydroxide reacts with carbon dioxide in the air through a process called carbonation, bonding chemically with the substrate rather than forming a surface film. The result is a finish that becomes part of the wall itself. Because it contains no synthetic resins, it’s fully vapor-permeable: moisture passes through freely in both directions.
Painted brick covers two distinct product types:
- Acrylic/latex masonry paint is film-forming. It sits on top of the brick surface, sealing it. This gives you uniform, opaque color and wide color choice, but it reduces or eliminates vapor permeability. On damp or porous walls, that trapped moisture is what causes blistering, peeling, and eventually spalling.
- Mineral silicate paint (such as Keim) occupies a middle ground. Like limewash, it bonds through a silicification reaction with the masonry rather than forming a film, giving it higher vapor-permeability ratings than standard acrylics. It offers a broader color range than limewash while still allowing the wall to breathe. It’s the practical compromise for homeowners who need color accuracy on moisture-prone walls.
The chemistry is what drives every performance difference you’ll read about below. A breathable finish and a film-forming finish are not interchangeable tools.
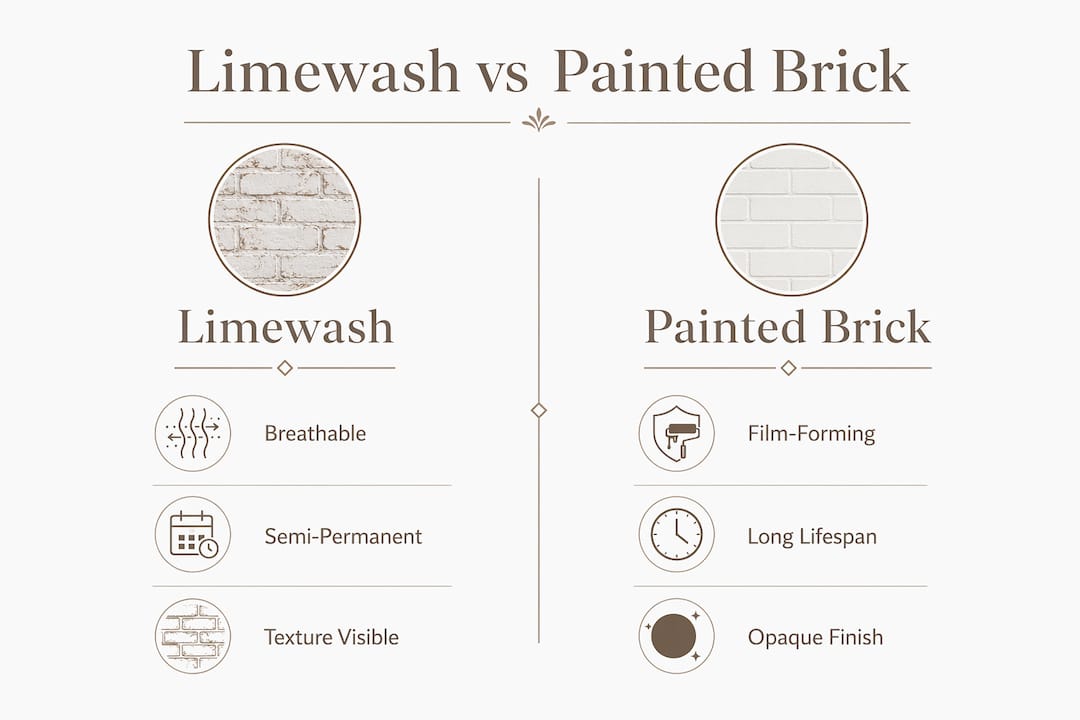
Limewash vs painted brick: side-by-side comparison
| Dimension | Limewash | Acrylic/Latex Masonry Paint | Mineral Silicate Paint |
|---|---|---|---|
| Appearance/texture | Soft, semi-translucent patina; brick texture visible | Opaque, uniform; hides texture and repairs | Semi-opaque; slight texture visible |
| Breathability | Fully vapor-permeable | Low to none | High; comparable to limewash |
| Durability/lifespan | 15–20+ years on protected exteriors | a range of years depending on prep and climate | 15–20 years in many applications |
| Maintenance frequency | periodic touch-ups; full refreshes required every several years | Touch-ups every 5 years; repaint every 10–15 years | Similar to limewash; periodic cleaning |
| Color range | Muted whites, off-whites, earthy tones | Unlimited | Wide, though less than acrylic |
| Application complexity | Moderate; requires dampened substrate and brush technique | Moderate; requires masonry primer and multiple coats | Moderate to high; specialized application |
| Reversibility | Semi-permanent; pressure wash or acid wash possible | Effectively permanent; chemical stripping $8–$15/sqft | Difficult to remove |
| Upfront cost (installed) | $8/sqft materials; $14/sqft installed | ~a few dollars per square foot installed | Higher than acrylic; comparable to limewash |
Mineral silicate paints (e.g., Keim) are a third category worth considering for walls that need color accuracy and breathability. They are not a brand endorsement but a product class with distinct performance characteristics.
How do limewash and painted brick actually look?
The visual difference is significant, and it matters more than most homeowners expect before they commit.
Limewash reads as 60–80% opacity, which means the brick’s texture, color variation, and mortar lines stay visible beneath the finish. Light plays across the surface differently at different times of day, giving the wall a depth that flat paint simply cannot replicate. The aesthetic suits farmhouse, Mediterranean, Tudor, and historic colonial styles particularly well. On a standard red or orange brick exterior, a single coat of limewash can shift the tone dramatically without erasing the character of the masonry.
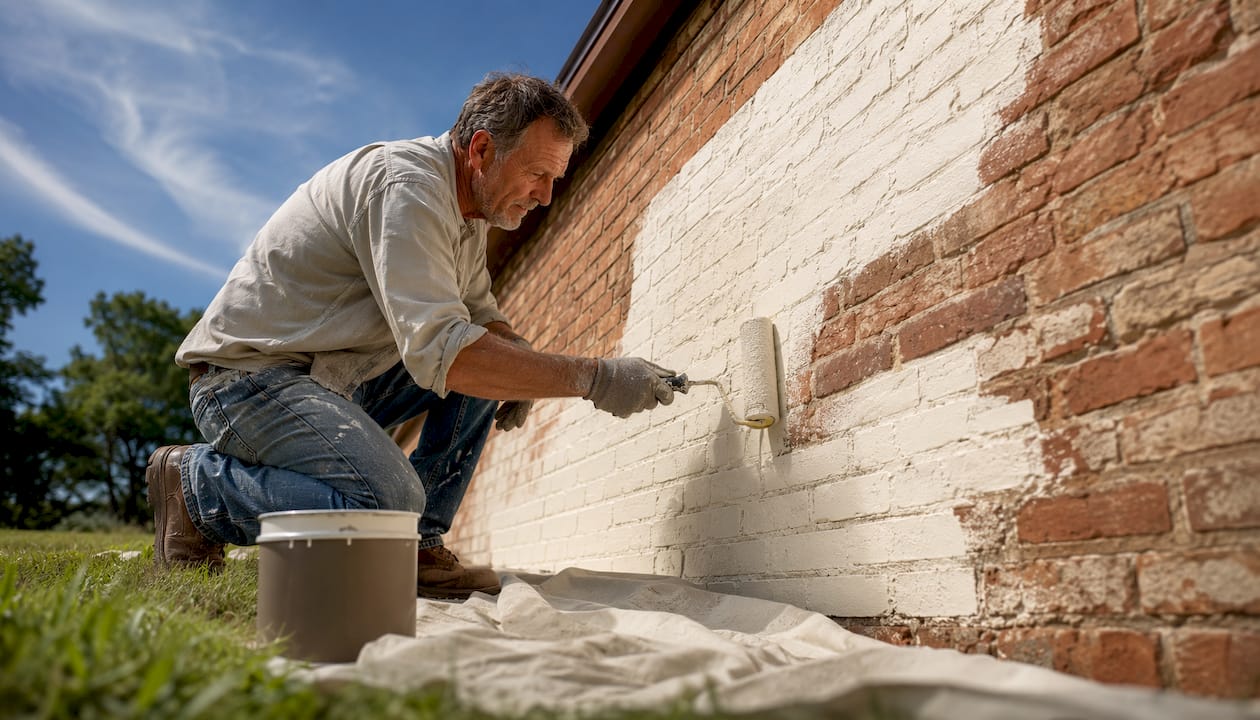
Painted brick is the opposite: fully opaque, uniform, and crisp. That’s genuinely useful when you’re covering mismatched repairs, patchy repointing, or brick that’s been stained or discolored. For contemporary or modern architecture, a clean painted finish reads intentional. The trade-off is that once the texture is gone, it’s gone.
A few design considerations worth knowing before you choose:
- The underlying brick color affects your final limewash tone. Dark red brick under a white limewash will read warmer and pinker than the same product over buff or gray brick.
- Limewash color shifts noticeably between wet and dry states. What looks pale gray when applied can dry almost white.
- For exterior color choices, exterior color guidance can help you visualize how different tones read on masonry in natural light.
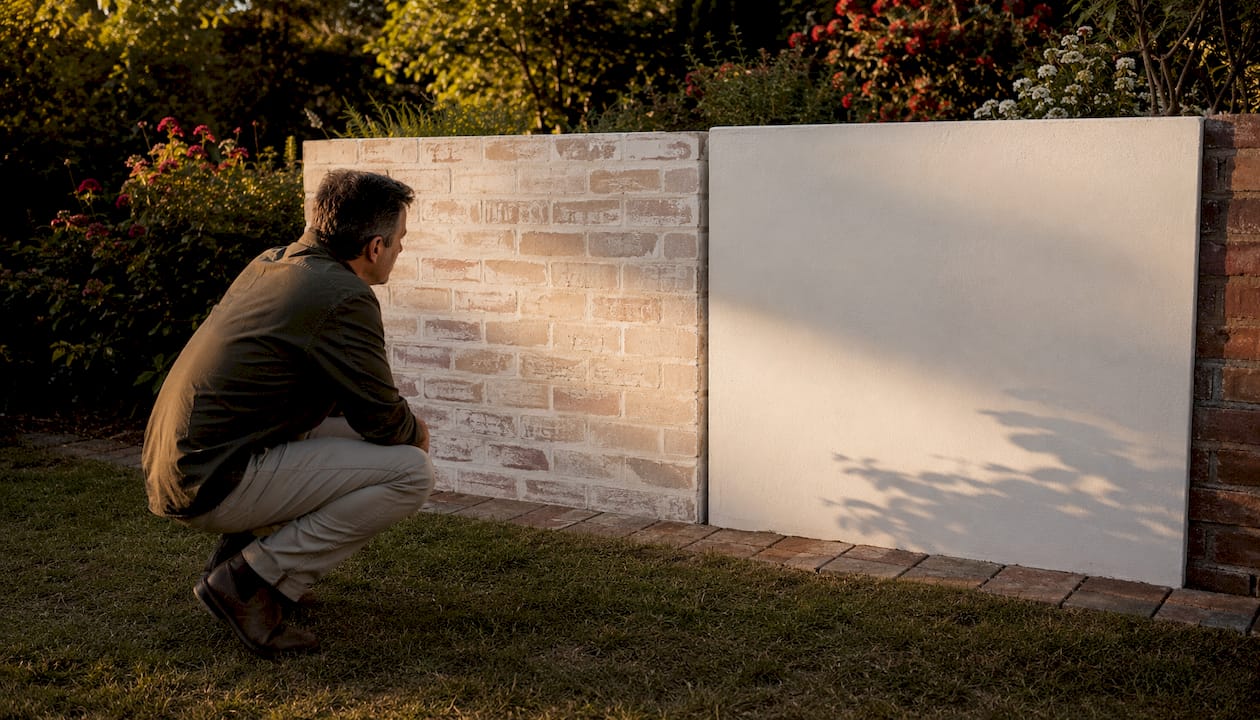
Pro Tip: Before committing to either finish on a full elevation, apply a test patch of at least 4 square feet and photograph it in morning light, midday sun, and overcast conditions. The finish will look different in each, and you want to love it in all three.
How each finish is applied, and what prep is actually required
Preparation is the single most important factor controlling how long either finish lasts. Skipping or shortcutting prep is the primary reason coatings fail early, regardless of product quality. A solid exterior wall prep process covers the same fundamentals for both finishes.
Prep checklist (applies to both finishes):
- Pressure wash the entire surface to remove dirt, mold, moss, and loose material.
- Remove efflorescence with a stiff brush and, if needed, a diluted acid wash.
- Repair cracked or missing mortar. Allow repairs to cure fully before coating.
- Test for active moisture with a moisture meter. Elevated readings mean stop and address the source first.
- Check porosity: sprinkle water on the surface. If it absorbs in under 30 seconds, the wall is porous enough for limewash. If it beads, a primer or surface treatment may be needed.
For limewash application specifically:
- Use a true slaked-lime product like Romabio Classico Limewash for exterior masonry. It’s formulated for outdoor use and doesn’t require a sealer.
- Dampen the brick surface with clean water before applying each coat. Dry brick absorbs limewash too fast, creating patchy, uneven results.
- Apply with a stiff-bristle brush using loose, multi-directional strokes. Work into mortar joints.
- Two coats are standard for solid coverage. Allow 1–2 hours between coats, or longer in cool weather.
For painted brick:
- Apply a masonry-specific primer before any acrylic or latex paint. Skipping primer on brick is a common cause of adhesion failure.
- Use a roller or airless sprayer for even coverage. Two coats are typically required.
- If moisture is a concern, choose a breathable masonry paint or a mineral silicate option rather than a standard acrylic.
Critical warning: Limewash cannot be applied over existing acrylic or latex paint. The film prevents the lime from reaching the masonry and bonding through carbonation. The paint must be fully stripped first, which adds significant cost and labor. If your brick has been previously painted, assess removal costs before planning a limewash project.
Pro Tip: Ask any contractor whether they’re using true slaked-lime limewash or a diluted acrylic “whitewash” product. Performance differs greatly between the two: true mineral limewash bonds chemically and lasts decades; acrylic whitewash sits on the surface and behaves like diluted paint.
What maintenance and lifespan should you realistically expect?
Neither finish is maintenance-free, but the rhythm of upkeep is different.
Limewash weathers gradually rather than failing suddenly. On a protected exterior, a quality mineral limewash can last 15–20 years or more without a full recoat. What you’ll notice over time is a softening and lightening of the tone as the finish patinas. That’s normal and, for most homeowners, attractive. Touch-ups every 3–5 years keep the finish looking intentional rather than worn. A full reapplication every 7–10 years is a reasonable planning assumption for most U.S. climates.
Painted brick has a wider lifespan range depending heavily on prep quality and climate. Industry data shows painted brick typically needs a full repaint every several years, with breathable formulas in dry climates reaching the upper end of the 10–15 year range. Poor prep or a non-breathable product on a damp wall can cut that to five years or less.
Climate affects both finishes significantly. South- and west-facing walls take more UV and heat, which accelerates fading and film degradation. North- and east-facing walls in cold climates face more freeze-thaw cycling, which is harder on film-forming products than on breathable ones. Weather conditions during and after application also affect adhesion and cure time for both finishes.
Maintenance checklist:
- Inspect all exterior masonry every spring and fall for cracks, efflorescence, or peeling.
- Clean annually with mild detergent and a soft brush or low-pressure rinse.
- Touch up limewash with a fresh mix in the same dilution ratio used originally.
- For painted brick, address any peeling immediately. Peeling that’s left spreads.
Pro Tip: Set a calendar reminder for a spring inspection every year. Catching a small crack in mortar or a patch of efflorescence early costs almost nothing to fix. Left for two or three seasons, the same issue can mean full repointing and a new coat.
How breathability and moisture affect your masonry
This is where the chemistry becomes genuinely consequential, not just interesting.
Brick is porous. Water enters from rain, ground moisture, and condensation, and it needs a path to exit. A vapor-permeable finish allows that moisture to pass through as vapor. A film-forming finish blocks that path. When water is trapped behind a paint film and temperatures drop below freezing, the water expands, forcing the film off the wall and, in severe cases, fracturing the brick face itself. That’s spalling, and it’s expensive to repair.
Warning signs that your masonry has an active moisture problem:
- White crystalline deposits on the surface (efflorescence)
- Recurring damp patches that don’t dry out after rain
- Flaking or powdering of an existing coating
- Soft or crumbling mortar joints
- Staining patterns that follow mortar lines
Limewash and mineral silicate paints are the recommended choices for historic masonry, porous brick, and freeze-thaw climates precisely because they allow moisture vapor to pass. Standard acrylic paint on the same walls is a common cause of premature failure and masonry damage.
Applying a film-forming paint to damp or highly porous masonry without proper primer or a breathable product is one of the most common causes of early coating failure, including peeling, blistering, and spalling.
Pro Tip: A qualified contractor will use a moisture meter on multiple points of the wall before recommending any product. If a contractor skips this step and goes straight to a quote, that’s a red flag. Moisture readings above 15% typically mean the source needs to be addressed before any coating goes on.
What does each finish cost, upfront and over time?
Cost is where the two finishes look very different in year one but start to converge over a decade.
Typical installed cost ranges:
| Finish | Upfront installed cost | Touch-up (every 3–5 yrs for limewash, every 5 yrs for paint) | Full refresh/repaint |
|---|---|---|---|
| Limewash | $800–$1,400 per 1,000 sqft | $100–$200 | $600–$1,000 every 7–10 yrs |
| Acrylic masonry paint | $1,500–$2,200 per 1,000 sqft | $200–$400 every 5 yrs | $1,000–$2,000 every 10–15 yrs |
| Mineral silicate paint | Higher than acrylic; varies by brand | Lower frequency than acrylic | Infrequent; long lifespan |
What drives cost up:
- Extent of mortar repair and efflorescence removal needed before coating
- Scaffolding or lift rental for two-story or taller elevations
- Number of coats required (limewash typically needs two; paint needs primer plus two coats)
- Regional labor rates, which vary significantly across the U.S.
Simple 10-year cost example (1,000 sqft wall):
Limewash: $1,400 initial (midpoint) + one touch-up at $200 = roughly $1,600 over 10 years. Acrylic paint: $2,250 initial (midpoint) + one touch-up at $350 + potential early repaint if prep was marginal = $2,600–$4,750 over 10 years.
Over a longer horizon, limewash’s lower refresh cost and longer lifespan between full recoats often make it the more economical choice on exterior masonry, even though the day-one price per square foot can be higher.
Regional variation is real. Get at least two local quotes before budgeting. Use a painting quote calculator to get a ballpark for your specific project size before reaching out to contractors.
How reversible is each finish, and what does removal involve?
Limewash is semi-permanent. Fresh limewash (within the first few days of application) can be removed with water and vigorous scrubbing. Cured limewash requires pressure washing at high PSI or a mild acid wash with diluted muriatic acid. Because it penetrates the brick rather than sitting on top, some residue may remain even after aggressive removal. That said, it’s far more manageable to change than paint.
Paint is effectively permanent without significant intervention. Removal methods include:
- Chemical stripping: Effective but slow and expensive. Chemical stripping of acrylic paint runs $8–$15/sqft in many contractor estimates.
- Mechanical methods: Grinding or abrasive blasting can remove paint but risks damaging the brick face and mortar joints.
- Pressure washing alone: Rarely sufficient for cured acrylic paint. It may remove loose or peeling sections but won’t strip a well-adhered film.
The practical rule: if there’s any chance you’ll want to return to exposed brick in the future, limewash is the only finish that keeps that option reasonably open. Painted brick is a long-term commitment.
How to choose between limewash and painted brick
Work through this checklist before you decide. The top criteria matter most.
Decision checklist (ranked by importance):
- Masonry condition: Is the brick porous, historic, or showing moisture signs? Limewash or mineral silicate paint. Is it sound, dry, and modern? Either finish works.
- Climate: Freeze-thaw cycles or high humidity? Breathable finish is safer. Dry, sunny climate? Acrylic paint with proper prep is viable.
- Color requirements: Need a specific color beyond whites and earth tones? Paint or mineral silicate. Happy with a muted, natural palette? Limewash.
- Reversibility: Want to keep options open? Limewash. Committed to a permanent change? Paint.
- Historic district rules: Many preservation boards prefer breathable mineral finishes. Check local guidelines before choosing.
Questions to ask any contractor before hiring:
- Will you do a moisture meter test before recommending a product?
- What specific product are you using, and is it true mineral limewash or an acrylic whitewash?
- What does your prep plan include? (Expect: mortar repair, efflorescence removal, porosity check.)
- Do you apply a test patch before full application?
- What warranty do you offer on labor and materials?
Red flags that mean get a second opinion:
- No moisture test offered before quoting
- No written prep plan
- Promises “one-coat full coverage” limewash on a previously painted wall
- Can’t name the specific product they plan to use
- Significantly lower price than other quotes with no explanation of what’s excluded
What the research and industry experts say
Three findings from industry guidance are worth anchoring your decision to:
Breathability is the deciding factor for older masonry. True limewash is vapor-permeable and behaves like a mineral stain rather than a film. Mineral silicate paints occupy a middle ground, offering higher permeability than acrylics. For any wall built before the 1950s, or any wall showing moisture signs, a breathable finish is the professional recommendation across multiple regional contractor guides.
Prep quality controls performance more than product choice. Detailed prep including mortar repair, efflorescence removal, and grading to stop water entry is the single most important factor controlling coating performance for both limewash and paint. A premium product applied over poor prep will fail faster than a mid-range product applied over excellent prep.
Historic preservation boards favor mineral finishes. Many review boards prefer true limewash or silicate paints over film-forming acrylics. If your home is in a historic district or subject to HOA review, check with the relevant authority before committing to acrylic paint. The National Park Service’s guidance on brick masonry is the authoritative reference for preservation-grade decisions.
Additional expert recommendations:
- Always test for moisture before coating. Elevated readings mean address the source first, not coat over it.
- On porous or historic masonry, prefer breathable products. The risk of spalling from trapped moisture outweighs any convenience benefit of a film-forming paint.
- For large elevations, hire a professional. Limewash application on a full exterior requires consistent technique across hundreds of square feet, and uneven absorption is hard to correct after the fact.
- Sigma Painting uses premium materials and conducts moisture assessments as a standard part of the project evaluation process.
Key Takeaways
Limewash is the better choice for breathable, historic, or moisture-prone masonry; painted brick suits modern homes where bold color and full coverage are the priority.
| Point | Details |
|---|---|
| Breathability drives the decision | Choose limewash or mineral silicate paint on porous, historic, or moisture-prone walls to prevent spalling. |
| Paint is effectively permanent | Chemical stripping of acrylic paint is costly, while limewash removal is generally less expensive and can often be done with pressure washing. |
| Long-term cost favors limewash | Limewash’s 15–20+ year lifespan and lower refresh cost often undercut paint’s total 10-year cost on exterior masonry. |
| Prep quality matters most | Mortar repair, efflorescence removal, and a moisture meter test before coating control performance more than product choice alone. |
| Sigma Painting’s approach | Sigma Painting evaluates moisture, porosity, and substrate condition before recommending limewash, mineral silicate, or acrylic masonry paint for each project. |
What Sigma Painting recommends on brick projects
Every brick project Sigma Painting evaluates starts the same way: moisture meter readings at multiple points on the wall, a porosity check, and a close look at mortar condition. The product recommendation follows the diagnostics, not the other way around.
For older homes with porous brick, any wall showing efflorescence, or exteriors in climates with real freeze-thaw cycling, the recommendation is almost always limewash or a mineral silicate paint. Both allow the wall to breathe. For modern construction with sound, dry masonry where the homeowner wants a specific color or full coverage, a quality breathable acrylic masonry paint applied over proper primer is a legitimate and durable choice. The goal is always matching the product to the wall, not defaulting to whatever’s easiest to apply.
Sigma Painting handles exterior brick the right way
If you’ve read this far, you know the decision isn’t just about aesthetics. It’s about moisture, substrate condition, product chemistry, and prep quality. That’s exactly where Sigma Painting’s exterior painting services in the Greater Toronto Area add real value.

Every exterior brick project includes a moisture assessment, a written prep plan covering mortar repair and efflorescence removal, and a product recommendation matched to your specific wall. Whether the right answer is limewash, mineral silicate paint, or a breathable acrylic masonry system, you’ll know why before a single brush touches the wall. Sample patches are available so you can see the finish in your actual light conditions before committing to the full elevation.
Ready to get a number? Use the instant quote calculator to estimate your project cost, then reach out to schedule a site assessment. When you’re vetting any contractor for this work, ask for their written prep plan and moisture testing protocol before signing anything.
Useful sources and further reading
The sources below cover the technical, cost, and application dimensions of this topic in more depth:
- National Park Service — Common Problems with Brick Masonry: Authoritative reference for historic masonry, moisture damage, and preservation-grade finish selection.
- Paintbrush Guard — Is it better to limewash or paint brick?: Practical pros and cons comparison with maintenance timelines.
- ATRIA USA — Limewash vs Paint: Detailed breakdown of material chemistry, cost tables, and lifespan data.
- Facade Colorizer — Painted Brick Exterior Complete Guide: Covers opacity, maintenance cycles, and removal cost data.
- Facade Colorizer — Lime Wash Brick Technique Guide: Technical guide on vapor-permeability and product differentiation.
- HomeGuide — Cost to Paint a Brick House: Regional cost ranges for painted brick labor and materials.
- The Paintly — How to Limewash Brick: Step-by-step application guide covering Romabio Classico and product selection criteria.
- Image Painting — Paint vs. Limewash for Brick Homes: Region-focused guidance on freeze-thaw climates and mineral paint recommendations.
- Cesar’s Painting — Brick Paint vs. Limewash: Field contractor perspective on common application failures and moisture risks.
- Sigma Painting — Signs It’s Time to Repaint Your Exterior: Inspection checklist for timing exterior refreshes on GTA homes.