Before picking a single color, prioritize substrate repair over aesthetics: any bid that skips a written prep scope is incomplete. Require the manufacturer name, product line, sheen, and number of coats in writing, and confirm occupied-building logistics — resident notices, protection, staging — are priced into the contract, not assumed to be included.
TL;DR:
- Proper substrate repair, including fastening, taping, and skim-coating, is essential before painting to address underlying wall failures and prevent quick re-coating issues.
- The best corridor paint is a commercial-grade, low-sheen, scrubbable product with specified color sample testing under actual building lighting conditions.
- Bids should include detailed scope, product specifications, logistics, and warranty terms; significant price differences often reflect missing prep or logistical considerations.
- Occupied-building logistics, such as resident notices, staging, and containment, add substantial cost and must be clearly itemized and planned upfront.
- Color choice relies on low LRVs and on-site testing under actual lighting to avoid undesirable undertones or tunnel-like effects in narrow corridors.
Table of Contents
- What Determines Corridor Paint Durability?
- Which Paint and Sheen Work Best in High-Traffic Corridors?
- How Do You Compare Corridor Painting Quotes Fairly?
- What Does Occupied-Building Logistics Cost Add to a Corridor Job?
- How Long Does a Condo Corridor Repaint Take?
- What Paperwork Should Every Corridor Painting Contract Include?
- Sigma Painting’s Approach to Corridor Projects
- Safety Standards and Fire-Retardant Paint for Condo Corridors
- Environmental Regulations and Disposal for Condo Painting Projects
- How Sigma Painting Can Help With Your Corridor Project
- A Closing Note on Getting Corridor Painting Right
- Sources
- FAQ
What Determines Corridor Paint Durability?
Most repeat repaints trace back to the wall itself, not the paint. Seams that telegraph through fresh coats, nail pops, hairline movement cracks, and water-damaged board are the usual culprits, and painting over them just buys you a few months before the same lines reappear. A condo board that repainted the same hallway twice in a year found the paint was never the problem. The drywall underneath was failing, and nobody had scoped repair before the second coat went on.
A proper prep scope includes:
- Refastening loose board where studs have shifted
- Taping seams with mesh or paper tape and setting compound
- Skim-coating repaired areas to blend with the surrounding wall
- Sanding smooth and spot-priming every patch before topcoats go on
Prep work, done right, eats most of the labor hours on a corridor job. That is by design, not inefficiency. Pot lights and stairwell glazing throw raking light across corridor walls at a low angle, which exaggerates every seam and fastener pop a flat overhead fixture would hide. In lobbies or high-visibility runs, that often pushes the job to a Level 4 or 5 finish standard, meaning more skim-coating and sanding than a typical hallway would need.
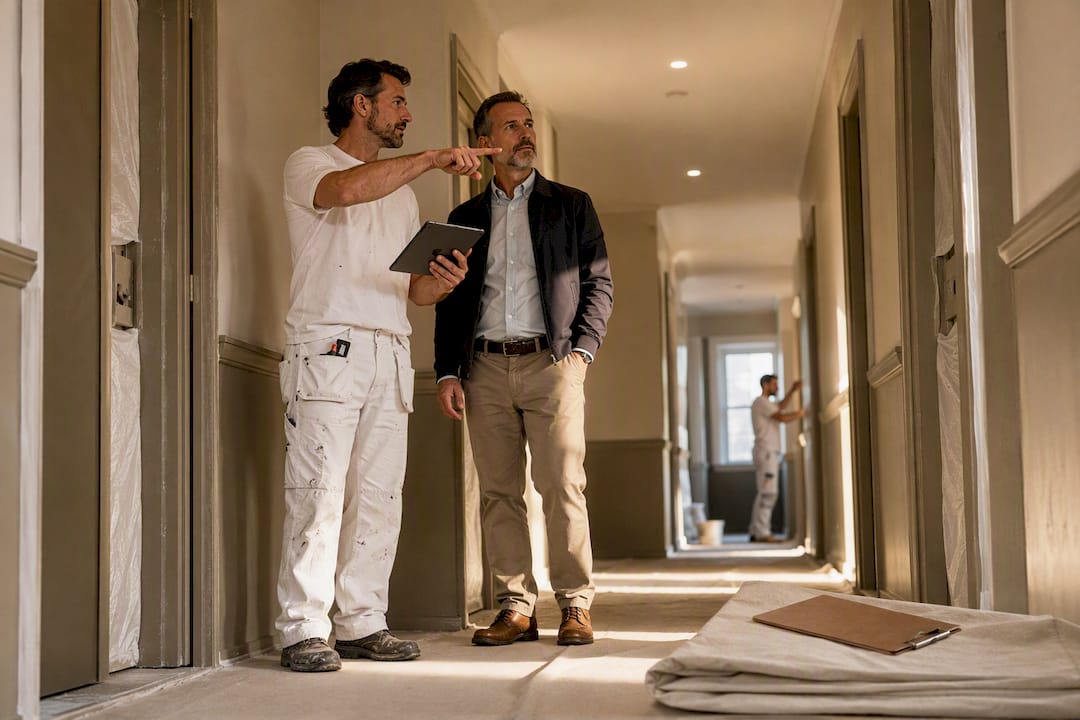
Pro Tip: Walk the corridor with a handheld work light held low against the wall before you approve any bid. If the light reveals ghosting seams or shadow lines under the existing paint, that section needs skim-coating, not just a fresh coat.
Which Paint and Sheen Work Best in High-Traffic Corridors?
Specify a commercial-grade, scrubbable product by name in the contract. “Interior latex paint” is not a specification; “Sherwin-Williams ProMar 400 in a low-satin finish” is. Without that line item, you have no way to confirm the crew used what you paid for.
Sheen involves a real trade-off. Higher sheens wipe clean faster but show every trowel mark and drywall imperfection under corridor lighting. Most commercial painters land on a durable low-eggshell or low-satin finish for corridors: enough cleanability for scuff marks and hand oils, without turning every skim-coat seam into a visible flaw.
Color selection needs the same rigor. Manufacturer guidance from Sherwin-Williams recommends using Light Reflectance Value, or LRV, to predict how a color will actually read in a windowless or narrow run. A color with a low LRV can make an already tight corridor feel like a tunnel, even if the paint chip looked fine in a showroom.
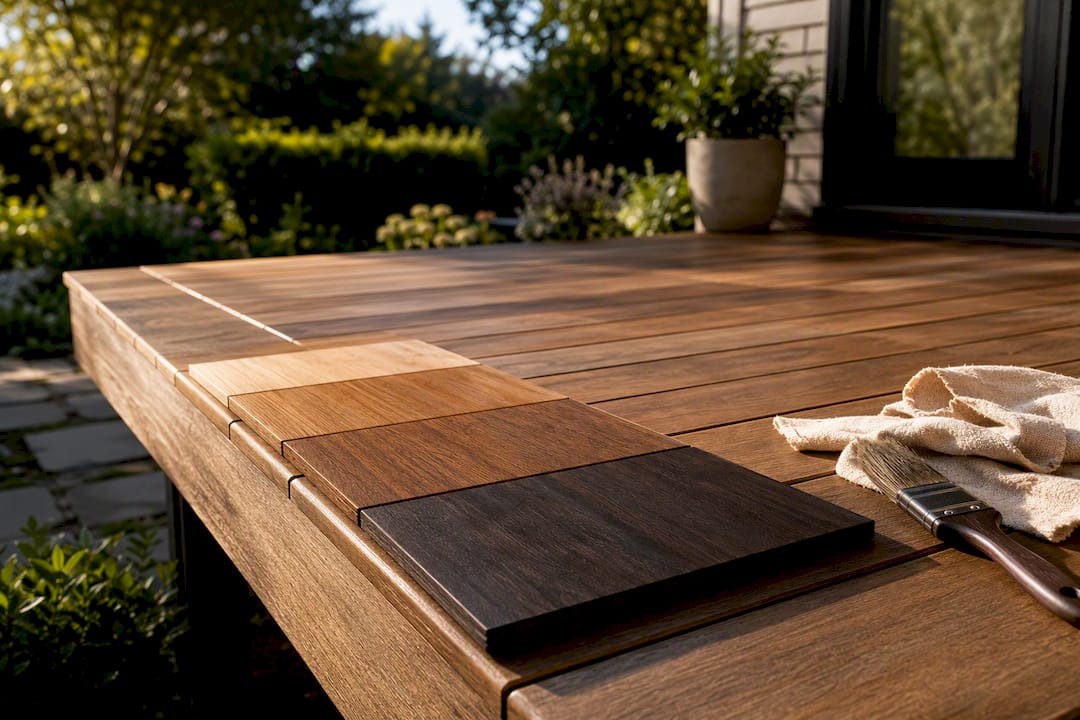
- Request drawdowns at least two feet square, not paint chips
- View samples taped up under the corridor’s actual LED fixtures, not a sample room
- Confirm low-VOC or low-odour formulation, since occupied buildings can’t ventilate the way an empty unit can
Color temperature is the variable most boards miss. Kelvin shifts between bulb types can pull unexpected green, purple, or blue undertones out of a color that looked neutral under daylight. A soft gray that reads calm in a sample room can turn faintly lavender under cool white LEDs. Test on-site, under the fixtures that will actually light the finished wall, or risk approving a color nobody recognizes once it’s on fourteen floors.
How Do You Compare Corridor Painting Quotes Fairly?
“Two coats” tells you nothing about what happens before those coats go on. A board that lined up three quotes for the same corridor repaint found a nearly 40% spread between the lowest and highest bids, and the gap wasn’t the paint. It was everything the cheap bid left out: prep detail, named products, and logistics.
Use this sequence to make bids comparable:
- Require a written prep paragraph covering cleaning, patching, sanding, and spot-priming, not a one-line mention of “prep included.”
- Require the manufacturer, product line, base, color code, and sheen spelled out, so you’re comparing the same paint across every bid.
- Pick the most detailed bid you received and send it back to the other contractors as a scope template, asking them to re-quote against it line by line.
- Flag any bid missing logistics, paperwork, warranty terms, or a clear answer on who performs the work.
That fourth step catches more surprises than price ever will.
Pro Tip: If a bid comes in noticeably lower than the others, don’t assume you found a bargain. Ask specifically what prep steps, product, and logistics it includes. Cheap bids usually got cheap by cutting one of those three, not by being more efficient.
What Does Occupied-Building Logistics Cost Add to a Corridor Job?
Corridors aren’t empty job sites. Residents still need to get to the elevator, and a contractor who hasn’t priced for that will improvise on your building’s dime.
Non-negotiable line items include:
- Resident notices posted with enough lead time to plan around blocked hallways
- Elevator and floor protection for the full duration of the work, not just the wet-paint hours
- Section-by-section staging so one end of a floor stays passable while the other is under repair
- Daily cleanup so residents aren’t stepping around drop cloths and sanding dust overnight
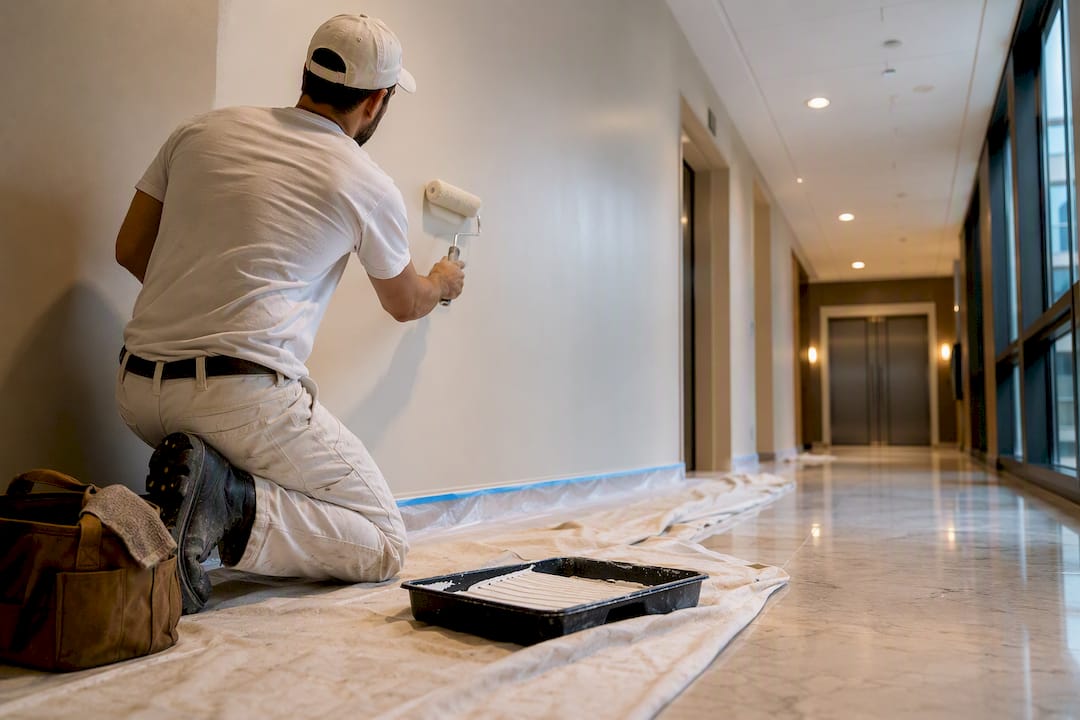
Sanding is where containment matters most. Zippered poly barriers and HEPA vacuum sanding attachments keep dust out of suites and HVAC returns, which matters more in a corridor than almost anywhere else in a building. Low-odour products and defined work-hour windows cut down on complaints, but they take planning time to schedule properly. Ask every bidder to itemize these logistics separately from the paint line item, so you can see exactly what you’re paying for beyond materials and labor.
How Long Does a Condo Corridor Repaint Take?
A corridor repaint runs through five phases: an initial walk and inspection, prep and repairs, priming, finish coats, and a final cure period with touch-ups. A straightforward repaint with minimal wall damage moves through those phases quickly. Add skim-coating or partial board replacement, and the timeline stretches considerably, since patched drywall needs to cure before it can be primed and painted without flashing through the topcoat.
Cost drivers worth budgeting for:
- Substrate repair scope, which is usually the single biggest swing factor
- Staging and logistics complexity in an occupied building
- Higher-end finishes or specified low-VOC lines that cost more per gallon
- Difficult access: high ceilings, narrow stairwells, or elevator lobbies with awkward sightlines
Build contingency into the budget rather than assuming the lowest quote holds. The 40% spread between real bids usually shows up because someone underestimated one of these drivers, not because materials cost more or less. Phased staging, working one wing or floor at a time, keeps egress open and gives the board room to catch problems before they spread across the whole building.
What Paperwork Should Every Corridor Painting Contract Include?
- Current WSIB clearance certificate, confirmed valid for the contract dates, not just on file somewhere.
- Proof of commercial liability insurance naming the corridor project specifically.
- Written confirmation of who performs the work: the contractor’s own crew or a subcontractor, since liability and quality control differ between the two.
- Full product specification, including manufacturer, color code, sheen, and number of coats, plus written acceptance criteria for repairs and a defined warranty period.
Tie payment milestones to inspection sign-offs rather than a calendar date, and hold a final payment until the punch-list is cleared. That structure gives the board leverage if a repair doesn’t hold up once the paint goes on.
Sigma Painting’s Approach to Corridor Projects
Sigma Painting walks every corridor in raking light before quoting, the same low-angle check that reveals seams a normal walkthrough misses. Every scope comes back with named products, defined sheen, and a written prep paragraph, not a vague “two coats included” line. Work gets staged in sections with HEPA containment on any sanding, so residents keep a clear path while repairs happen a run at a time. Prioritizing substrate repair and locking in product specs up front is what keeps a corridor from needing the same repaint again in a year.
Safety Standards and Fire-Retardant Paint for Condo Corridors
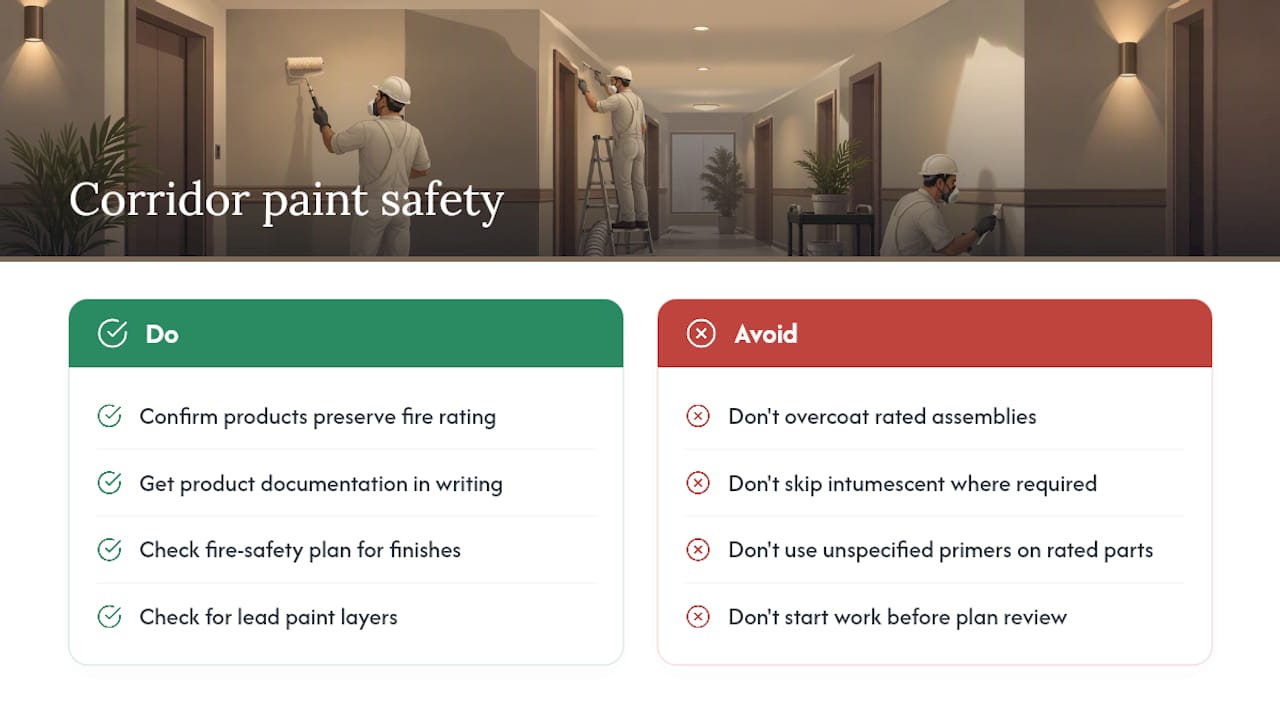
Corridors function as fire-separation zones in most multi-unit buildings, which puts them under different scrutiny than a resident’s living room. Ontario’s Fire Code and the building’s own fire-safety plan govern what happens to rated assemblies, and any coating applied to a fire-rated door, frame, or corridor wall assembly needs to preserve that rating rather than compromise it.
This matters more than it sounds. A fire-rated door assembly is tested and certified as a complete unit, hardware, frame, and finish included. Heavy over-coating, the wrong primer, or skipping intumescent-rated products on components that require them can affect how that assembly performs in a real fire, even if the paint looks identical to what was there before. Any contractor working on corridor doors, frames, or firewall-adjacent surfaces should confirm in writing that the products specified are compatible with the assembly’s fire rating.
Beyond the rated components, look for coatings with a Class A flame-spread rating for general corridor wall surfaces, particularly in older buildings where the existing finish history isn’t fully documented. Ask your contractor which products they’re specifying and whether those products carry documentation suited to common-area use under your province’s building code. If your building has a fire-safety plan on file with the local fire department, check whether that document references specific finish requirements for corridors before work begins, not after.
Boards managing older buildings should also ask whether any layers of the existing paint are suspected to contain lead, since sanding through those layers changes the safety protocol for the whole job.
Environmental Regulations and Disposal for Condo Painting Projects
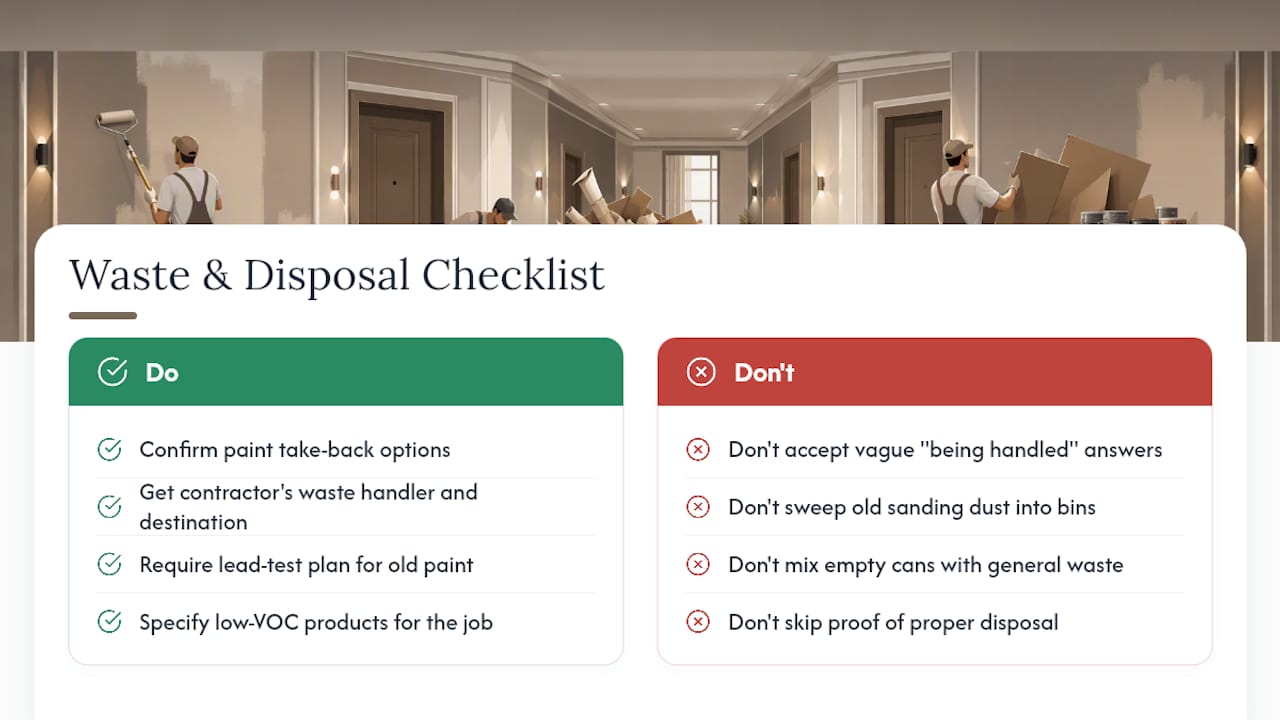
Leftover paint, empty cans, solvent rags, and sanding dust from a corridor job all need a disposal path, and it’s worth confirming that path before work starts rather than asking after the fact.
In Ontario, paint and paint containers fall under extended producer responsibility programs, meaning manufacturers and retailers are required to provide take-back options for unused paint and empty containers rather than sending them to landfill. A contractor working at commercial scale on a multi-floor corridor project should already have a relationship with a paint recycling or hazardous-waste handler, and should be able to tell you where the job’s waste is going, not just that it’s “being handled.”
Sanding dust from older buildings deserves particular attention. If any layer of the existing paint predates the 1990s, the debris needs to be treated and disposed of as potentially lead-containing waste rather than swept into a regular construction bin. Ask your contractor directly how they plan to test for this and what disposal method they’ll use if the test comes back positive.
Low-VOC and low-odour product lines, already worth specifying for resident comfort, also tend to align with lower environmental impact during application and disposal. Confirm with your contractor that empty cans and rags are separated from general construction waste and routed through a proper hazardous-materials or recycling stream, and ask for documentation if your building’s board wants a paper trail for its own environmental reporting.
How Sigma Painting Can Help With Your Corridor Project
If you’ve made it this far, you already know a corridor repaint is a repair project wearing a paint job’s name tag. Sigma Painting handles condo and multi-unit corridor projects across the Greater Toronto Area with that exact framing: prep first, named products in writing, logistics scoped before the crew shows up.

A useful first inquiry gives us building plans or floor layouts, photos of the corridors in question, which runs are the priority, and your preferred timing window. That’s enough for a real site walk, not a phone-quote guess. Our property management painting services cover the logistics side, staged scheduling, protection, resident coordination, and our condo painting services cover the finish side: named products, correct sheen, and a prep scope you can hold us to in writing.
Request a site walk and a written scope-driven quote before your next board meeting. You’ll have something concrete to compare against whatever else lands on the table.
A Closing Note on Getting Corridor Painting Right
Every board wants to talk about color first. That’s backward. Prep and a written scope decide whether the job lasts three years or three months, and color is the easy part once those are locked down.
Three things to do before you sign anything: walk the corridor in raking light and note every seam and pop, demand named products, sheen, and full logistics in writing from every bidder, and schedule the work in staged sections with proper dust containment. Get those three right, and reach out to Sigma Painting for a site walk when you’re ready to see what a scoped quote actually looks like.
— Enrico
Sources
FAQ
Can I Paint the Inside of My Condo Unit Myself?
Yes, painting the interior of your own unit is typically within an owner’s rights, but common-area corridors, hallways, and lobbies are the corporation’s responsibility and require board-approved contractors.
How Do You Properly Paint a Corridor?
Start with a full inspection under raking light to catch seams and cracks, repair the substrate with mesh tape and skim coating, prime spot repairs, then apply a commercial-grade product in a low-satin or low-eggshell sheen for durability.
What Happens After 50 Years of a Condominium?
Ontario’s Condominium Act requires a reserve fund study and periodic building condition assessments well before the typical renewal time frame, and corridors are typically among the first common areas flagged for renewal as finishes and substrates age.
How Much Does It Cost to Paint a Condo Corridor in Toronto?
Cost depends heavily on substrate condition, staging complexity, and finish specification rather than square footage alone; a bid built around a full prep scope and detailed logistics will usually run higher than a bare “two coats” quote, but it’s the one more likely to hold up. Sigma Painting provides scope-driven quotes after a site walk rather than a flat per-floor estimate.